
Knowby
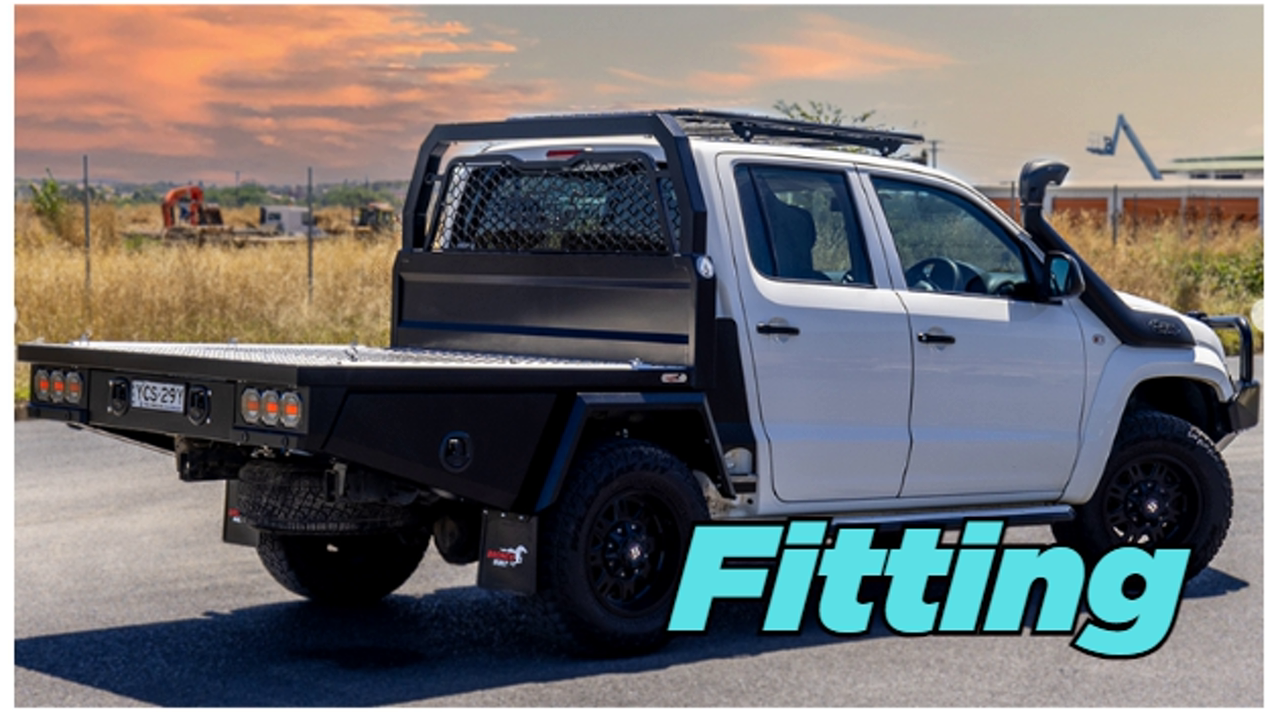
Complete Fitting Instructions - Volkswagen Amarok, 2011-2023
Follow these Knowby instructions for the **the most efficient way**. Every tool, every step clearly shown. **Get it done!**
1
Step 1 of 17

Ideal Fitting Order

  • Tub Removal or Prep Cab Chassis
  • Fit, align, and tighten
  • Mounts
  • Fuel Filler

All the Tech

  • Camera
  • Sensors
  • Tail lights

Everything Else

  • Rear Toolboxes
  • Mud Guards
  • Mud Flaps
  • Front Infill Steps or Front Toolboxes
  • Water Tap
  • Wipe down
  • If customer is keeping their Tub
2
Step 2 of 17
<p><strong>Vehicle Prep</strong></p>
<ul>
<li><a href="https://knowby.show/d16f5cf9-50f5-4271-85ad-ac0590ad7eb6">How to remove the Amarok Tub</a></li>
</ul>
3
Step 3 of 17
<p><strong>Load and Align</strong></p>
<ul>
<li><a href="https://knowby.show/771f0ba5-c933-44ad-ba4b-183f958b1d23">How to Fit Tray/Canopy/Service Body to Vehicle</a></li>
</ul>
4
Step 4 of 17
<p><strong>Tray Mounts should look like this.....</strong></p>
<ul>
<li><a href="https://knowby.show/6dd046d3-5857-4af3-bc35-e499bc9f7446">Dual Cab</a></li>
<li><a href="https://knowby.show/6dd046d3-5857-4af3-bc35-e499bc9f7446">XL Dual Cab Amarok</a></li>
<li><a href="https://knowby.show/247c3751-2dc8-4bdc-a729-3ab70f9144a7">XXL Dual Cab Amarok</a></li>
</ul>

Tray Mounts should look like this.....

5
Step 5 of 17
<p><strong>Select correct Fuel Filler based on the Headboard Type</strong></p>
<ul>
<li><a href="https://knowby.show/11211664-a8b6-4e84-8ed7-0b7d762a1d0a">V4 Style, Standard Dual Cab</a></li>
<li><a href="https://knowby.show/90703600-1d9f-4991-b25a-27fe04888e95">V4 Style, XL Amarok</a></li>
</ul>

Select correct Fuel Filler based on the Headboard Type

6
Step 6 of 17
<p><a href="https://knowby.show/7d5b775c-a791-48b7-8dfd-089397b63645">V3 Style Dual Cab</a></p>
7
Step 7 of 17
<p><strong>Camera</strong></p>
<ul>
<li><a href="https://knowby.show/9d522561-6c63-4dea-88bf-023e332526c3">Re-Fit Amarok Camera</a></li>
</ul>
8
Step 8 of 17
<p><strong>Sensors</strong></p>
<ul>
<li><a href="https://knowby.show/cd3d7b86-8620-40d2-9fa1-2283eb4bfbae">Re-Fit Amarok Sensors</a></li>
</ul>
9
Step 9 of 17
<p><strong>Wiring</strong></p>
<ul>
<li><a href="https://knowby.show/ff5b46ee-c7bb-4381-a2a9-83bf00cd4678">LED Wiring</a></li>
</ul>

Wiring

10
Step 10 of 17
<p><strong>Toolboxes</strong></p>
<ul>
<li><a href="https://knowby.show/3628d3cd-1e21-4279-828c-56680aded3ff">How to fit Rear Toolboxes</a></li>
</ul>
11
Step 11 of 17
<p><strong>Mud Guards</strong></p>
<ul>
<li><a href="https://knowby.show/74f5f920-7d3e-4298-b442-f9ee3e47799a">How to fit &quot;One Piece Flared&quot; Mud Guards</a></li>
<li>How to fit &quot;Stainless Steel&quot; Mud Guard(https://knowby.show/eede133e-ac57-4863-baa9-1e8b3c0a40a7)</li>
</ul>

Mud Guards

12
Step 12 of 17
<p><strong>Mud Flaps</strong></p>
<ul>
<li><a href="https://knowby.show/dfabb4bd-f011-4542-a6d7-4cc21ddb1f16">How to fit Mud Flaps</a></li>
</ul>
13
Step 13 of 17

Infill Steps

14
Step 14 of 17
<p><strong>Water Tank Outlet Tap</strong></p>
<ul>
<li><a href="https://knowby.show/f142b88c-9e4b-441b-ab65-6c1b202dbed1">Fit Water Tap Outlet</a></li>
</ul>

Water Tank Outlet Tap

16
Step 16 of 17
<p><strong>If they are Keeping Tub</strong></p>
<ul>
<li><a href="https://knowby.show/80f43f23-e4a1-4b86-8656-b22d6910fc54">Customer wants to keep their Tub</a></li>
</ul>

If they are Keeping Tub

17
Step 17 of 17

Learn More? Click for Instant Quote Call Bronco Office - (02) 6332 3839