
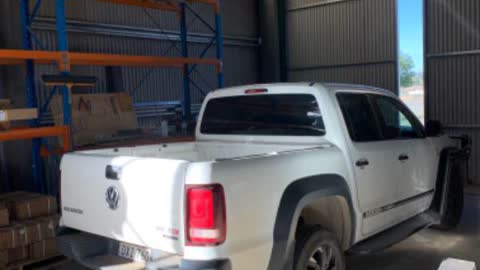
3 people must be present during the removal - 1 on the forklift and 2 on the ground The rubber protection pad must be used

Dual cab Amarok
Open Fuel filler door, remove cap
Remove fuel cap from tub. It can be popped off with pliars
Remove wheel arch, passenger side only
T25 Torx bit 10mm socket
Remove plastic wheel arch lining
T20 Torx bit to remove screw, the Remove fuel housing
Remove 2x time lug nuts with a 10mm socket with extension
Pull fuel filler from from tub
To the back of passenger side wheel arch, Disconnect 2 x plugs.
They are for the fuel filler latch control and 12v auxiliary

Cut zip tie holding the harness to tub

Taillights and wiring
Open tailgate
Using T25 Torx bit remove 2x bolts
Repeat for opposing side
Give a tap in outward direction, will pop light out of its clips
Unplug taillight

Remove zip tie holding wires to tub and repeat on the opposite side

Cut zip ties that hold wires to the tub
Disconnect reversing sensors harness, passenger side

Disconnect two camera plugs
Remove lug nut with a 10mm socket
Passenger side rear, underside of tub

Cut all zip ties holding wires to tub

Rear step
With a T30 Torx bit (with extension) remove 4 bolts

Remove license plate
Remove the nut with a 21mm socket leave the bolt in (breaker bar required)

Spare is very close to use power tools! On the passenger side
Remove bolt 18mm ring spanner
Two person job very heavy remove bolts then remove the step

18mm socket Remove Rear chassis mounts

Middle mounts 18mm socket with extension

Front Mounts 18mm socket with extension
Remove and unplug license plate lights (there are 2)
Remove reversing camera. Pry it off.

IMPORTANT
Put rubber inbetween tub and cab on both sides to protect from scratches
If you don’t, tub WILL scratch back of cabin when removing

Use a suitable lifting method
Lift up tub approx 50mm enough so you can access the fuel line
From passenger side, Remove fuel line from tub And ensure that all wires are not connected to the tub

Lift tub the rest of the way ensuring you do not hit the cab or wheels will need 2 people each side and one on forklift (3 people in total)

Done