
Knowby
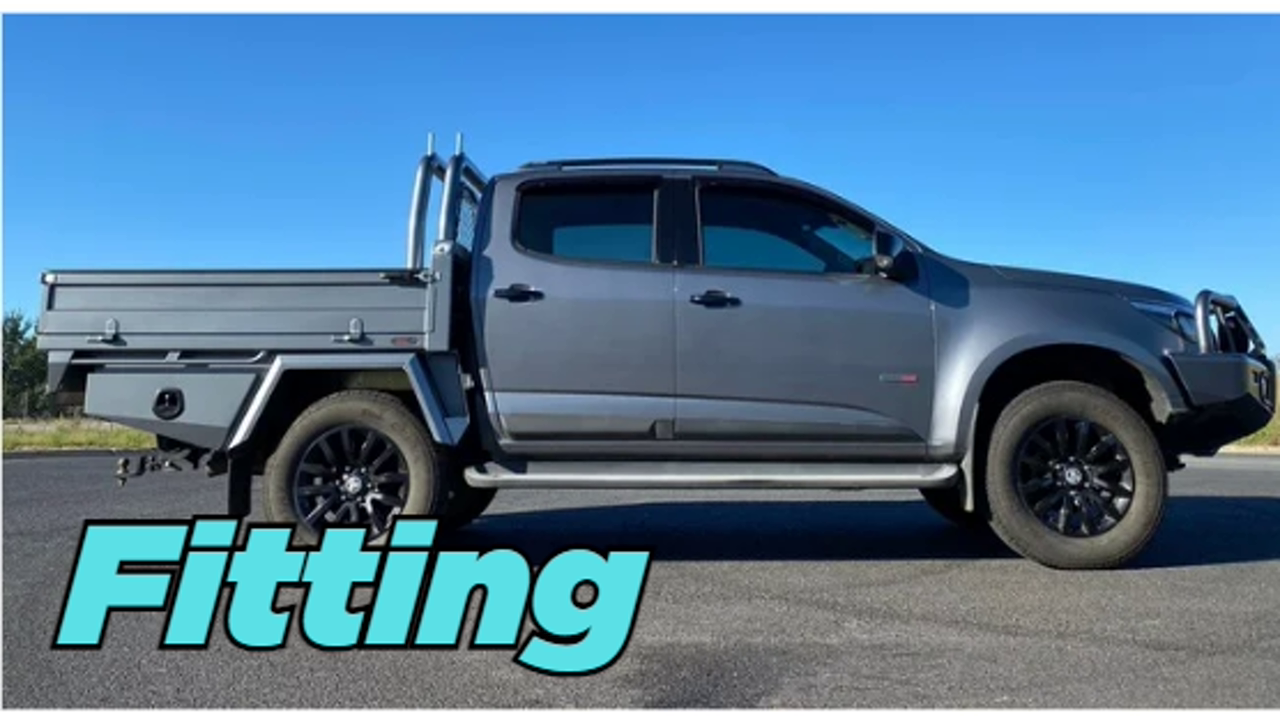
Complete Fitting Instructions - Holden Colorado, 2012-2020
Follow these Knowby instructions for the **the most efficient way**. Every tool, every step clearly shown. **Get it done!**
1
Step 1 of 15

Ideal Fitting Order

  • Removal or Prep Cab Chassis
  • Fit, align, and tighten
  • Mounts
  • Fuel Filler

All the Tech

  • Camera
  • Sensors
  • Tail lights

Everything Else

  • Rear Toolboxes
  • Mud Guards
  • Mud Flaps
  • Front Infill Steps or Front Toolboxes
  • Water Tap Outlet
  • Wipe down and Final Check
  • If customer is keeping their Tub
2
Step 2 of 15
<p><strong>Vehicle Prep</strong></p>
<ul>
<li><a href="https://knowby.show/13f26a37-9f5d-4a01-a05f-c95865315d8f">How to remove Colorado Tub</a></li>
</ul>
3
Step 3 of 15
<p><strong>Load and Align</strong></p>
<ul>
<li><a href="https://knowby.show/771f0ba5-c933-44ad-ba4b-183f958b1d23">How to Fit Tray/Canopy/Service Body to Vehicle</a></li>
</ul>
4
Step 4 of 15
<p><strong>Mounts Should look like this</strong></p>
<ul>
<li>Dual Cab - <strong>need to make this Knowby</strong></li>
<li><a href="https://knowby.show/6776f7ea-263a-4843-8489-6e08841fc375">Extra Cab</a></li>
<li>Sngle Cab <strong>need to make this Knowby</strong></li>
</ul>

Mounts Should look like this

  • Dual Cab - need to make this Knowby
  • Extra Cab
  • Sngle Cab need to make this Knowby
5
Step 5 of 15

Camera

Re-Fit Reversing Camera

6
Step 6 of 15
<p><strong>Sensors</strong></p>
<ul>
<li><a href="https://knowby.show/8ab779eb-b5f6-420a-8549-f5cf27895b20">Re-Fit Reversing Sensors</a></li>
</ul>
7
Step 7 of 15

Wiring

8
Step 8 of 15
<p><strong>Toolboxes</strong></p>
<ul>
<li><a href="https://knowby.show/3628d3cd-1e21-4279-828c-56680aded3ff">How to fit Toolboxes</a></li>
</ul>
10
Step 10 of 15
<p><strong>Mud Flaps</strong></p>
<ul>
<li><a href="https://knowby.show/dfabb4bd-f011-4542-a6d7-4cc21ddb1f16">How to fit Mud Flaps</a></li>
</ul>
11
Step 11 of 15
<p><strong>Infill Step</strong></p>
<ul>
<li><a href="%5Bhttps://knowby.show/2d3f04c5-f079-46d0-8b8a-c483a9ae1ea7">How to Front Infill Side Steps - with FLARED Guards</a>](https://knowby.show/2d3f04c5-f079-46d0-8b8a-c483a9ae1ea7))</li>
<li><a href="https://knowby.pro/view/3b05bdb2-9a95-4177-8839-38c513f316dd">How to Front Infill Side Steps - with STAINLESS Guards</a></li>
</ul>

Infill Step

12
Step 12 of 15
<p><strong>Water Tank Outlet Tap</strong></p>
<ul>
<li><a href="https://knowby.show/f142b88c-9e4b-441b-ab65-6c1b202dbed1">Fit Water Tap Outlet</a></li>
</ul>

Water Tank Outlet Tap

13
Step 13 of 15
<p><strong>Final Check</strong></p>
<ul>
<li><a href="https://knowby.show/ed1751b4-287a-43bc-a545-c6491507ae8d">How to do the Final Check</a></li>
</ul>
14
Step 14 of 15
<p><strong>If they are Keeping Tub</strong></p>
<ul>
<li><a href="https://knowby.show/80f43f23-e4a1-4b86-8656-b22d6910fc54">Customer wants to keep their Tub</a></li>
</ul>

If they are Keeping Tub

15
Step 15 of 15

Learn More? Click for Instant Quote

  • Call Bronco Office - (02) 6332 3839