
Measure and trim tough deck (If Required)
Break Tension on wellside bolts and remove
T40 REAR
T45 FRONT
Fill gap in wellside using sillicone
Using stock triton bolts with washers attach side rails
M10, M8 Washers required
Drill centre hole and attach using 1 M8x230 and nut
Drill holes in front of wellside using template
Apply plastic cover for wiring protection
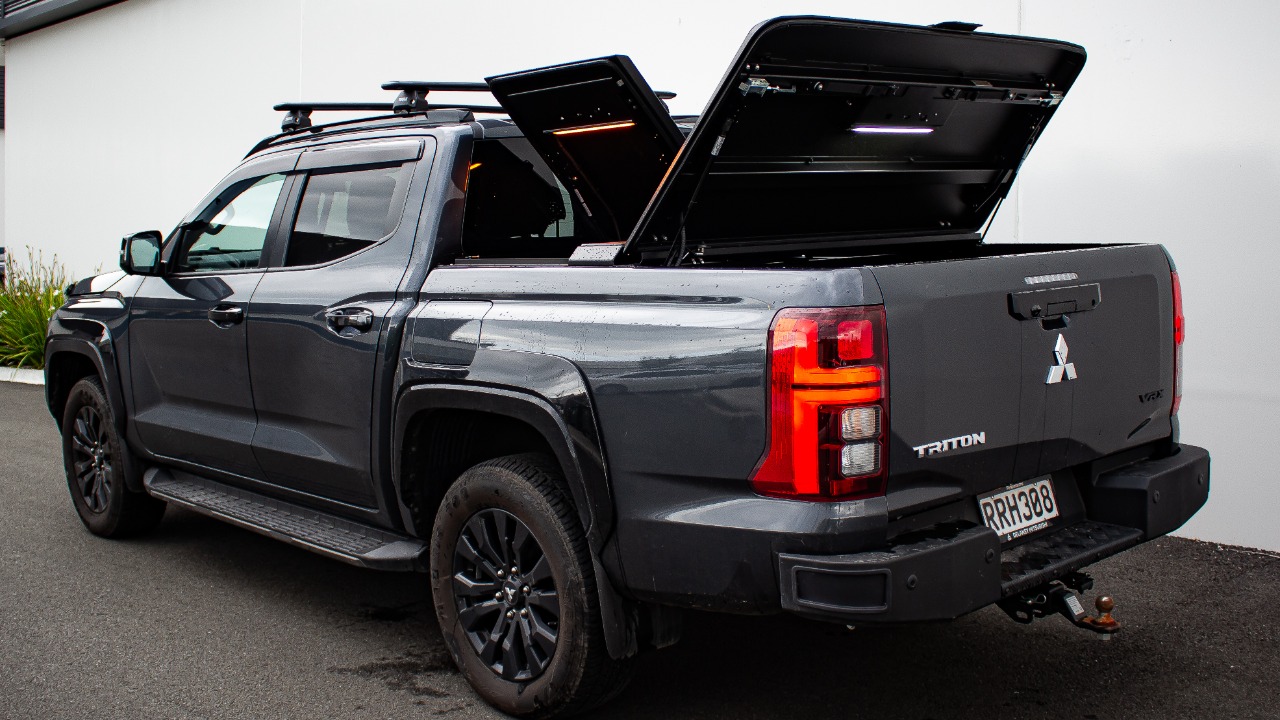
Lift Hardlid in place and secure using designated holes
Hardlids are secured using 6 x M6x20 bolts, ensure bolts have rubber O-Ring in place before securing.
Fix hardlid in place using flanged M6 nylocks
Fasten side hold down points and test and adjust if required to allow hard deck to sit fully open and at 10 degree position.
Lock Adjustment (If required)
In some cases one lock may open or lock before the other, they should open in unison
Lock Adjustment
Adjust latches to ensure latches open and close equally
Lock catches when in correct position will needs to be drilled to ensure there is no movement of the lock catch
If latches are not functioning correctly please follow
After completed installation please run through