
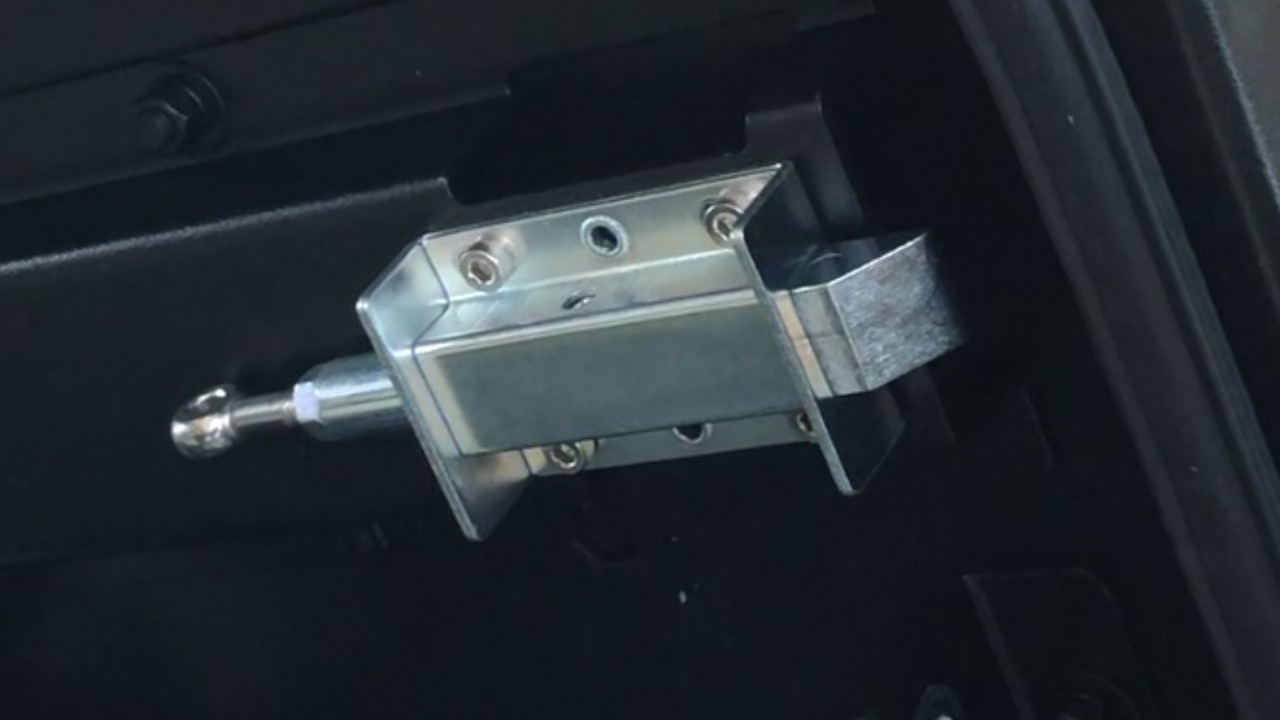
To test if latches are set correctly turn door latch slowly
both latches should release together
if one opens before the other then latches will need adjusting.
Remove lock cover by unscrewing 4 hex side bolts
To adjust latches release nut to allow position change of the locking latch
this will give the latch more or less surface area when engaging with the latch
Adjust in small increments 1 to 2 full turns testing and adjusting further required.
Latch plates can be adjusted
Increasing depth will allow tighter seal if required.
Latches should seal and be tight.
This image shows a latch with poor engagement
Latches need to have good engagement of the latch threshold.
Latches can be adjusted horizontally by loosening off the 4xM5 bolts securing the latch to the hardlid
increase the latch coverage as required.
This will prevent unlocked doors opening while driving on uneven surfaces
Doors when opened should operate/open together.
Secure lock covers in place
Ensure locking pin is correctly located inside actuator arm otherwise central locking will not work.
Rear door adjustment
If there is a gap between the tail gate and the hardlid this can be adjusted by altering the depth of the latches
Loosen off the four bolts on each latch and push latch towards the hardlid this will give the hardlid more downwards pull when closed.