
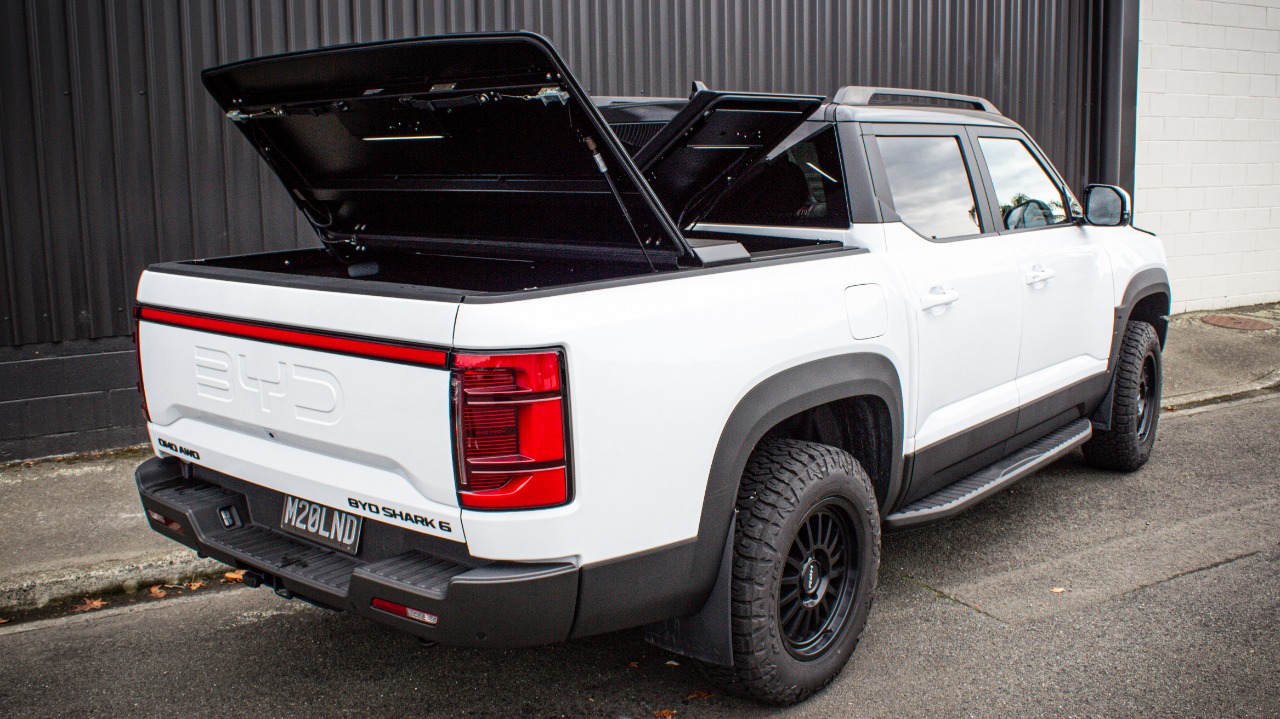
Remove sides and front trim of wellside
(Note) BYD Loctite is strong it helps to break the seal before removing screws with power tool and T40 bit
Do this for the front and both sides of the wellside
Remove trim from sides and front of wellside
clips will break when being removed as they are brittle remove broken clips from wellside and clean surface.
Fasten the mounting rails to the sides of the wellside using M8x25 button heads with spring & flat washers.
Complete step on the other side of the wellside.
Apply plastic cover for cab protection from wiring.
Replace broken clips from the front and side wellside trims.
Place front trim onto wellside and silicone edges of front trim.
Place side trim on wellside and apply another layer of silicone to gap where side trims and front trim meet.
Clean up excess silicone.
Take note of the holes that are used by the front mounting rail.
Holes that are not used will need to be filled using and M6x20 Screw to prevent waterleak
Attach front mounting rail using M6x25 Screw with spring and flat this can be handtight for now allowing adjustment for side rail
(Note)
I can help to re tap holes that will be used for side rails.
Secure rear factory bolt to side mounting rail and then secure the front of the side rail using M6x20 with spring flat loctite
Ensure side rail is level with wellside and secure all remaining factory bolts.
Secure the M6 screws in the fount mounting rail from earlier
Place hardlid on wellside
line up holes to the front and side mounting rails
Secure front of hardlid to front hardlid mount using 4 x M6x25 screws with spring flat and loctite (Both sides of hardlid)
Secure side rail to hardlid using M6x20 with nut.
Secure brackets to hardlid side rails and hardlid using
2 x M6x20 with nut (Rubber o-ring)
2 x M6x12 with nut
After completed installation please follow