
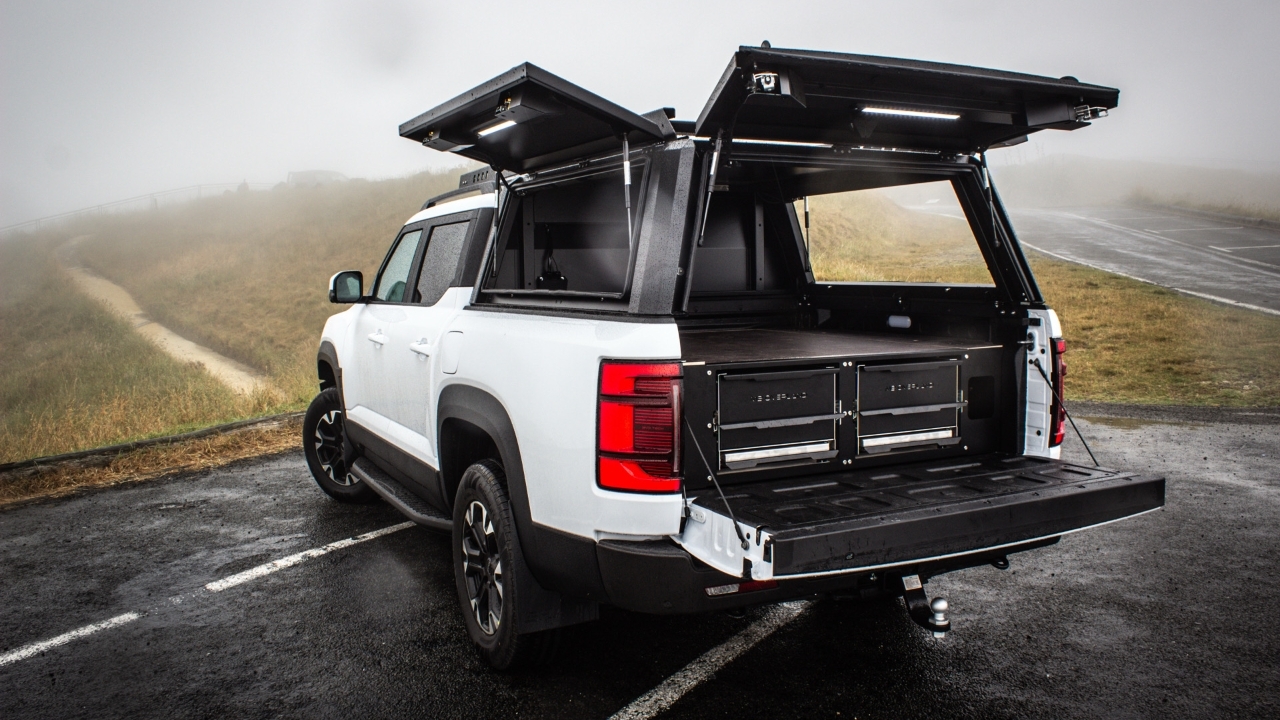
Before you continue you will need to complete waterproofing of the trim. Click link below for instructions:
Remove all screws holding the crate lid on the pallet and lift off carefully. The screws that need to be removed will be marked in red.
Open the canopy doors and remove the x4 nuts and bolts with a 13mm ring spanner. Your canopy is now ready for lifting. Remove the cardboard box. This box will contain your fitting kit, etc.
Begin by removing the x2 factory bolts from the front and rear of the wellside on each side. Apply loctite to the bolts.
Loosely fasten your front and rear mounts using the factory bolts. Repeat on the other side. Pay attention to the shape of the front and rear mounts in this step.
Your mounting brackets should look like this. Apply silicone to the left and right front of the wellside like so.
Apply plastic seal to cab to protect cab and wiring rubbing.
If you have an electrical system, feed the cables between the wellside and cab before lowering the canopy on to the Ute.
Lower your Artemis onto your wellside and insert x4 M8x20 zinc bolts and nyloc nuts to your front and rear mounts.
Fasten all of the factory bolts in to the wellside. Next, tighten the bolts fastening the Artemis to the mounts. Ensure you start at the front passenger side and tighten in a clockwise direction. First round tighten to halfway. Second round is final fitment.
Remove the factory bolt from the centre of the wellside and attach the centre mount using a M8x20 zinc bolt and nyloc. Apply loctite and fasten your factory bolt back where it was through the centre mount. Fasten the M8x20 bolt and nyloc until the inner edge of the two brackets are touching. There is meant to be a visible gap increasing between the two brackets to the outside of the canopy.
Ensure all of your bolts are tightly fastened.
If the latch and barrel nut are fouling, take x2 Allen keys and slightly loosen the barrel nut like so. The barrel nut can by moved up or down. Move to the required height and tighten. Your barrel nut should now slot in to the latch smoothly.
For the rear door latches, the same process from the previous step is used. The barrel nut can move horizontally to it’s correct position. Tighten and your rear door should now latch smoothly.