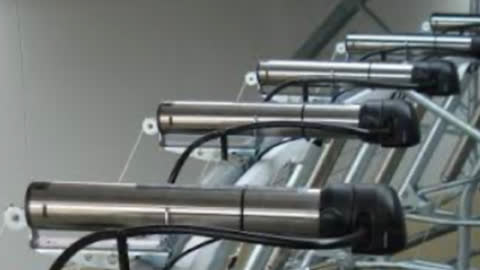
Replace Cord on Waikato Cup Removers
Master the process of replacing cords on your Waikato Cup Removers. This Knowby delivers step-by-step guidance to ensure efficient and proper maintenance of this crucial dairy farming equipment for uninterrupted milking operations.
Master the process of replacing cords on your Waikato Cup Removers. This Knowby delivers step-by-step guidance to ensure efficient and proper maintenance of this crucial dairy farming equipment for uninterrupted milking operations.
1
Step 1 of 10Push in the lugs either side and pull the entire unit out. You may need to use a flat screwdriver to push in lugs.
2
Step 2 of 10Remove the end cover.
3
Step 3 of 10Push the knot out and cut the cord.
4
Step 4 of 10Now pull all the cord out of the unit.
5
Step 5 of 10
Burn the ends of the pre cut new cord ( it’s a good idea to keep a stock of pre cut cords ).
6
Step 6 of 10
Replace cord: Thread through the main opening and around either pulley. Now comeback through one of the two side holes.
7
Step 7 of 10
Knot the end and put the residual cord back through the other side hole.
8
Step 8 of 10
Slide the end cover back over cord and screw in place.
9
Step 9 of 10Push the pulley section back in first. YOU MUST MAKE SURE the cord isn’t twisted when you click the lugs. back in.
10
Step 10 of 10Tie cups back on and you’re done!