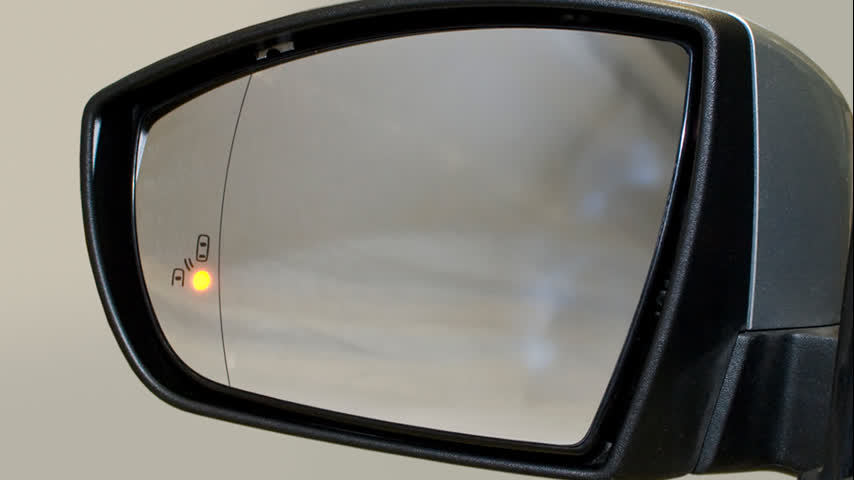

Looks like this once fitted
Remove "Rear Bumper" from vehicle, and put onto a work table
Cut all of the Zip Ties holding the harness to the Rear Bumper.
Remove Radar (Lane Change Assist) from the Rear Bumper. 3 x 10mm bolts per side
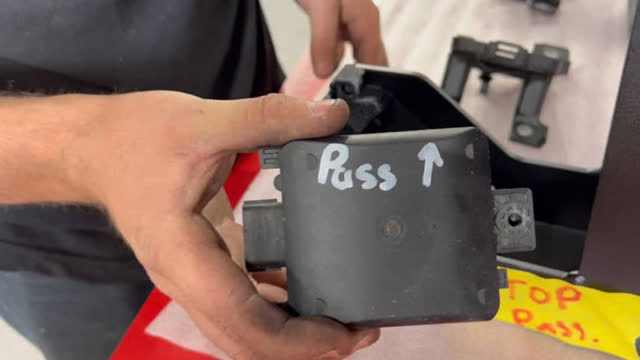
Use a pen to mark the Radar Units
"Passenger Top” for this one Repeat for opposite side
The harness should now be separate from the Rear Bumper
Detach Radar Unit from the harness
T25 Torx to undo screw holding the Radar unit to its plastic bracket.
Pop out the "Clip Nut" , keep them! they will be reused

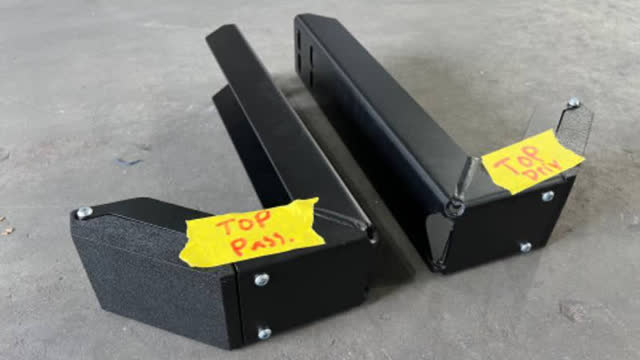
Identify the Supplied Radar Re-mounting brackets.
Fit "Clip Nut" to 3D printed bracket

Make sure you have the correct one!
The one marked "Pass" will go on the passenger side bracket.
Put Radar into the bracket and tighten, T25 Torx
The white sticker will face out.
Repeat for other side
Remove Towbar bolts, 18mm.
If vehicle doesn't have a Towbar, use the supplied fasteners.
Fit Bracket to Passenger side as shown.
IMPORTANT: Tighten bracket so it is parallel with the vehicle's chassis rail. If it is not parallel, it will cause issues later with beeping alarms in the vehicle.
Should look like this once tightened
Repeat for other side
Connect the harness
Strip back the tape/sheath, so that you have more length on the radar plug. You will need this so it can plug in.
Plug in Reversing Sensors
Plug in Radar, and Zip Tie wiring neatly
Will look like this
This is working correctly.
When driving >40km/hr, a yellow warning light will flash if something enters the blind spot. Will work for both sides of vehicle.