The Storco Series 1000 Locker can be assembled by one person, however it is easier to use two people.
You will need to supply the following personal protection equipment and tools:
- Safety gloves
- Utility knife.
- Pop-rivet gun (either manual or electric)
Unpack the box and ensure all the parts are there.
Each box contains the following panels:
One swing door
Two side panels
One top panel
One bottom panel
One back panel.
In addition to the panels, each box also includes:
- One swing door latch
- Two swing door hinges
- 15 rivets - Six rivets for each hinge, and 3 spare rivets.
The two side panels are identical. They each have a 90 degree bend that forms a mullion for the Swing Door in addition to six raised tabs that form the guides, and six rivet points.
The top and bottom panels are identical. They are the smallest of the locker panels and have a total of 4 guide channels; two guide channels aligned at the front edge, and two guide channels offset from the back edge.
The back panel has a total of 4 guide channels; two guide channels aligned with the top edge and two guide channels aligned with the bottom edges. Note: The top and bottom edges are mirrored, allowing them to be used in any orientation.
Remove the protective plastic film from each panel.
Lay the bottom panel flat on the ground with the solid side down. Slide one of the side panels from the front to the back along the outer edge of the bottom panel. Ensure the two guides on the side panels are secured by the corresponding guide channels on the bottom panel.
Secure the side panel to the bottom panel using the push tabs. Push the tabs from the side panel through the tab receiver hole in the bottom panel, and bend the tab back to secure it under the bottom panel. Note: Tabs can be sharp, ensure you are wearing gloves.
On the opposite side, slide the second side panel from the front to the back along the outer edge of the bottom panel. Ensure the two guides on the side panels are secured by the corresponding guide channels on the bottom panel. The mullions should both face the same way.
Secure the second side panel to the bottom panel using the push tabs. Push the tabs from the side panel through the tab receiver hole in the bottom panel, and bend the tab back to secure it under the bottom panel. Note: Tabs can be sharp, ensure you are wearing gloves.
Have one person hold the guides square on the side panels while a second person slides the back panel into into place between the two side panels, ensuring the four guides on the side panels align with their respective guide channels on the back panel.
Secure the back panel to the side panels using the push tabs. Push the tabs through their respective receiver holes, and bend the tab back to secure the panels in place. Note: Tabs can be sharp, ensure you are wearing gloves.
With the solid side facing up, place the top panel on the back and side pieces. Align the rear side guides with the inside edge of the back panel. Slide the top panel forward, ensuring the guide channels from the top panel lock into the guides on the side plates.
Secure the side and back panels to the to panel using the push tabs in each corner. Push the tabs through their respective receiver holes, and bend the tab back to secure the panels in place. Note: Tabs can be sharp, ensure you are wearing gloves.
Attach the hinges to the door using the rivets provided. There are 15 rivets included with each locker; use 6 rivets in each hinge, leaving 3 rivets spare.
Both mullions on the side panels have rivet holes for the door hinges, allowing the locker door to be swung either way. Determine the desired door swing direction for your locker installation and rivet the door hinges to the appropriate side panel mullion.
Insert the latch into the latch recess. Lock the latch into place by sliding it forward into the recess, then pulling it back towards the direction of the door hinges.
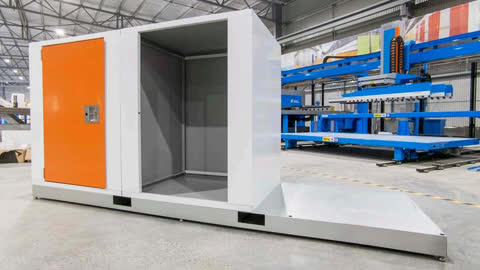
The completed locker can now be positioned ready for use, either on its own or placed in a bank with an optional locker base and fasteners.