How to Set Up and Use the DJI Mic 2
Learn the basics of setting up, linking, and using the DJI Mic 2 for recording audio with various devices.
Learn the basics of setting up, linking, and using the DJI Mic 2 for recording audio with various devices.
1
Step 1 of 12Unboxing
- The DJI Mic 2 includes transmitters, a receiver, and a charging case.
- The receiver can link with up to two transmitters.
2
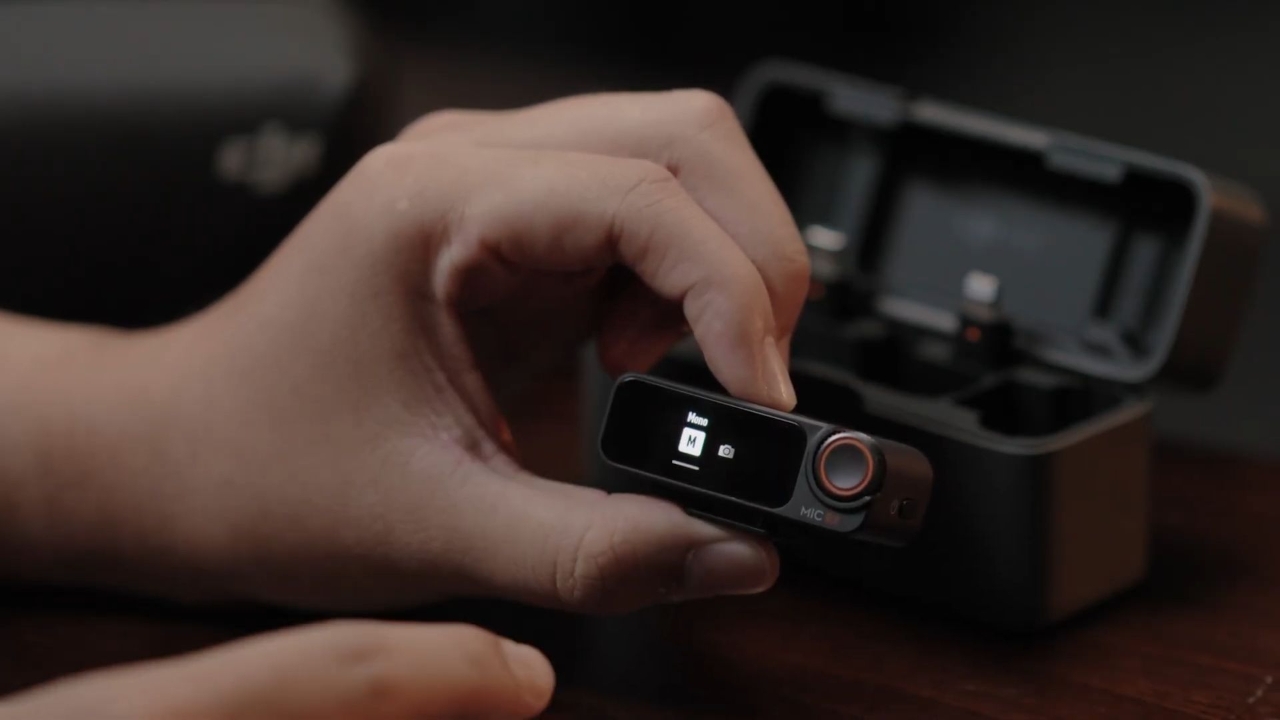
Step 2 of 12Powering On
- Press and hold the power button on each device to turn it on or off.
- First-Time Setup: Set language and time on the receiver.
3
Step 3 of 12Linking the Transmitter and Receiver
Default Link: The transmitter and receiver are linked by default.
- Method 1: Place both devices in the charging case for automatic linking.
4
Step 4 of 12Method 2: Power on both devices, swipe down on the receiver screen, select Link Device, and press the link button on the transmitter. The indicator will turn solid green when linked.
5
Step 5 of 12Using with a Camera
Attach the Receiver to the Camera
- Use the cold shoe mount on the receiver to securely attach it to the camera’s hot/cold shoe port.
6
Step 6 of 12Connect Audio Cable
• Plug one end of a 3.5mm camera cable into the receiver’s TRS output port.
• Connect the other end to the camera’s microphone port.
7
Step 7 of 12Set Recommended Camera Settings
- Swipe down on the receiver screen to access Receiver Settings.
- Swipe left to locate Recommended Camera Settings and select your camera brand and model.
- If your camera is not listed, select None and adjust the receiver and camera gain based on audio monitoring.
8
Step 8 of 12Enable Power Sync with Camera (Optional)
- To power the receiver on and off with the camera, swipe down on the receiver screen.
- Find Power On/Off Camera Simultaneously in settings and enable it.
- Now, the receiver will turn on and off with your camera.
9
Step 9 of 12Using with a Mobile Device
- Connect the receiver to your mobile device with the mobile phone adapter.
- Clip the transmitter to your clothing using the clip or magnet.
- Start recording using your phone’s camera or audio app.
- For real-time audio monitoring, plug headphones into the receiver’s 3.5mm monitor port.
10
Step 10 of 12Using with a Computer
- Windows: Insert the Type-C Mobile Phone Adapter into the receiver’s expansion port, connect to the USB port, go to Sound Settings, and select Wireless Microphone RX.
- MacOS: Connect similarly, and select Wireless Microphone RX in System Sound Settings.
11
Step 11 of 12Charging Case
- The case holds all components (receiver, transmitters, adapters, magnets) and supports charging and linking.
12
Step 12 of 12Firmware Update
- Connect the transmitter or receiver to your computer, transfer the firmware package to the device’s root directory, then disconnect. The device will update automatically.