Step 1 - Flag Any Potential Hazards Upfront
Highlight any physical, chemical, electrical, or ergonomic hazards.
Use visual icons to communicate different types of hazards.
Reiterate hazards again within the specific step where the risk appears.
Example:
Hazard: Sharp edges – Wear cut-resistant gloves
Use Knowby’s visual markup features or icons to reinforce the warnings.

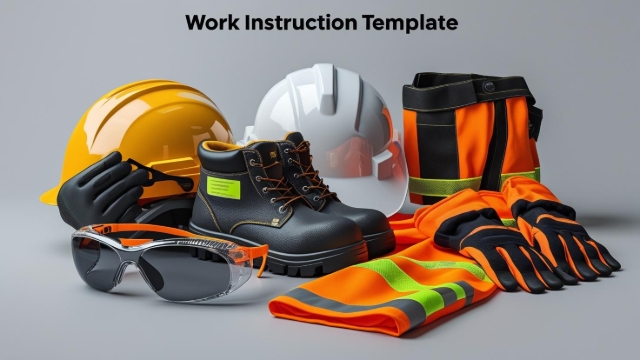
Step 2 - PPE (Personal Protective Equipment)
Clearly state what PPE is required before starting the task. This section should be visible early in the instruction flow. List each required item.
Items may include:
Eye protection, gloves, steel-toe boots, respiratory masks, hearing protection
Tip: Use images or icons for each PPE item.
Tip: Keep a folder of PPE images or equipment on your computer so you can add the relevant items into each knowby.
You can also create a step for each item.

Step 3 - Equipment or Tools Required
List all the tools, machinery, or materials necessary to complete the job.
Break this into categories if helpful:
Hand tools
Power tools
Materials/consumables
Digital tools
Best practices:
Include an image of each tool if possible
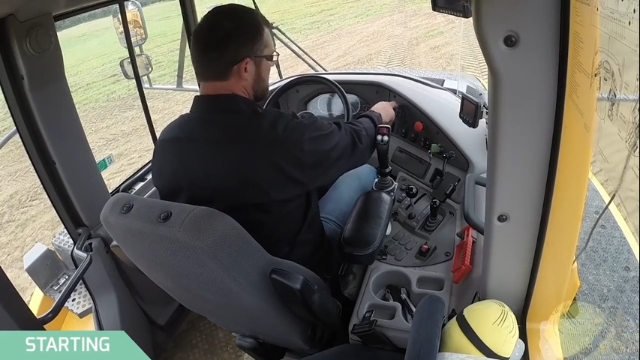
Step 4 - Start Building Your Work Instructions
This is the core of your work instruction.
Each step should be a clear, single action that guides the user confidently through the task.
You have two main ways to build your step-by-step work instruction in Knowby:
Option 1: Build Steps Manually

Option 2: Use Knowby's Video or Document Intelligence
Knowby also allows you to convert narrated videos or PDFs into step-by-step guides, saving significant time in the SOP creation process.
Tips for Both Methods
Be consistent: Whether you're writing or editing AI-generated content, use uniform formatting and tone.
One action per step: This helps users stay focused and reduces mistakes.
Always review the full flow: Run through the Knowby from a user’s perspective—does each step naturally lead to the next?
Use visual hierarchy: Bold keywords, use bullet points, and keep steps easy to scan.