How to Record with OBS
This guide will walk you through recording your screen on Windows using OBS Studio, ideal for high-quality and customizable recordings.
This guide will walk you through recording your screen on Windows using OBS Studio, ideal for high-quality and customizable recordings.
1
Download and Install OBS Studio
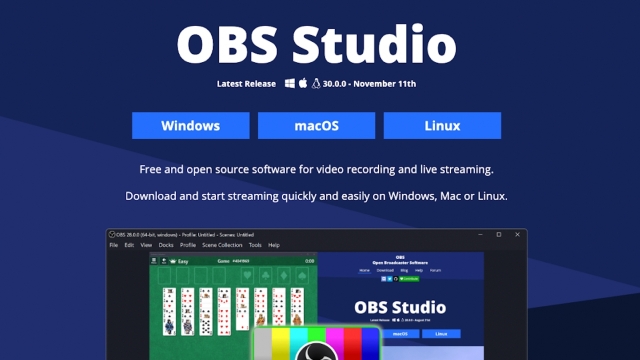
- Go to the OBS Studio website and download the software for Windows.
- Open the downloaded file and follow the installation steps:
- Click Next through the prompts, then Install.
- Once installed, click Finish to launch OBS Studio.
2
Configure OBS for Screen Recording
- Upon first launch, OBS will open an Auto-Configuration Wizard.
- Select Optimize just for recording (skip streaming settings) and click Next.
- Set your Base (Canvas) Resolution to match your screen resolution for the best quality.
- Choose FPS (Frames Per Second). For smoother playback, 60 FPS is ideal.
- Click Apply Settings to save your initial configuration.
3
Adjust Video Output Settings
- In the OBS menu, go to Settings > Video.
- Ensure that the Output (Scaled) Resolution matches the Base (Canvas) Resolution to avoid scaling down.
- Apply changes, then click OK to close the settings.
4
Set Up Display Capture
- In the Sources panel at the bottom of the OBS window, click the + icon and choose Display Capture.
- Click OK in the popup window to create a new Display Capture source.
- In the Display Capture settings, select the monitor you want to record if you have multiple screens.
- Enable Capture Cursor if you want the mouse cursor to be visible in your recording.
- Click OK to save these settings.
5
Configure Audio Settings
- OBS Studio will capture both Desktop Audio (system sounds) and Microphone Audio by default.
- Adjust the volume levels in the Audio Mixer panel at the bottom.
- To mute either source, click the speaker icon next to the volume slider.
- If you don’t want audio recorded, you can lower the volume sliders to zero.
6
Start Recording
- Once you’ve set up your display and audio preferences, click Start Recording in the lower-right corner of OBS.
- Minimize OBS Studio to focus on the tasks you want to record on-screen.
7
Stop Recording
- When you’re finished, return to OBS Studio and click Stop Recording.
- Your recording will be automatically saved to your Videos folder by default.
8
Review and Share
- Open your Videos folder to find the saved recording.
- You can now review the video, edit if necessary, and share it wherever you like.