To start translating your knowby, click the language icon in the top-right corner. You’ll see two options:
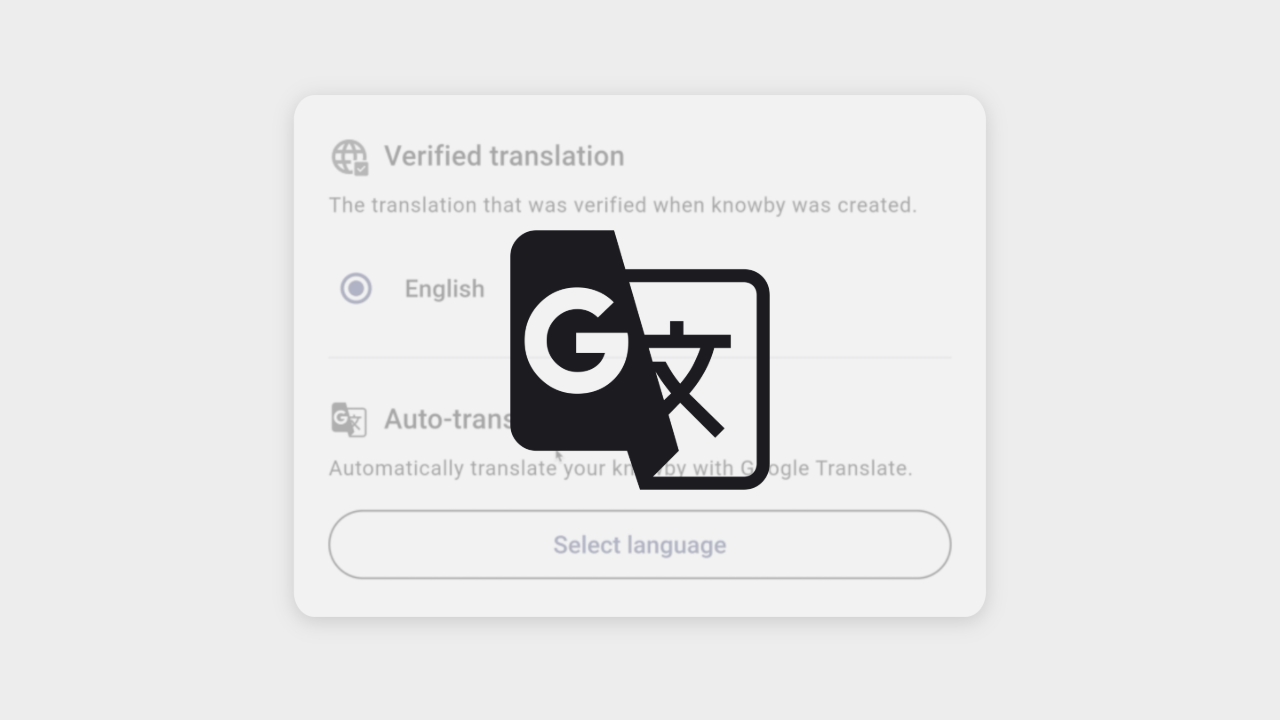
- Verified translation (manually added and confirmed by the author).
- Auto-translation (powered by Google Translate).
To generate an auto-translation, click “Select language” in the Auto-translation section. Scroll or search for your preferred language. When selected, a “Translation and Privacy” pop-up will appear — click Continue to proceed or Cancel to stop.
After translation is complete, an orange banner will appear at the top of the knowby indicating that the content was auto-translated and may contain inaccuracies.
You can translate your knowby into any available language, and the translation will be saved for 7 days.
To return to the original language, click the language icon again and choose the original language from the Verified translations section.
In addition to auto-translation, you can also create verified translations when editing a knowby. Verified translations are marked clearly on the start screen with a language chip next to the title and description. Clicking the chip explains what a verified translation means.
You can also view a verified translation from the Languages menu, under the Verified section. A verified translation means the author manually reviewed and confirmed the accuracy of each step.
To verify a translation, go to the Edit screen and open the Languages tab on the left.
Note: The Languages tab is currently available only on desktop and large tablet devices.
To begin, add a language from the top panel by using scroll or search. The system will auto-translate your knowby into that language, but it will be marked as unverified until you review and confirm each step.
To verify a translation:
- Review the translated text and check the “Translation verified” box for each step.
- You can edit the text, apply formatting, and verify each step individually from the left-hand navigation.
- In the Details tab, verify both the title and description.
When verified, the “Unverified” label and red icon will disappear on a step.
Once all steps are verified, a green checkmark icon will appear next to the language in the Languages tab.
Once verified, the new language is added to your knowby under the Verified section and its language code appears as a chip on the knowby’s start screen.