Click the "+" button in the bottom right corner to create a knowby.
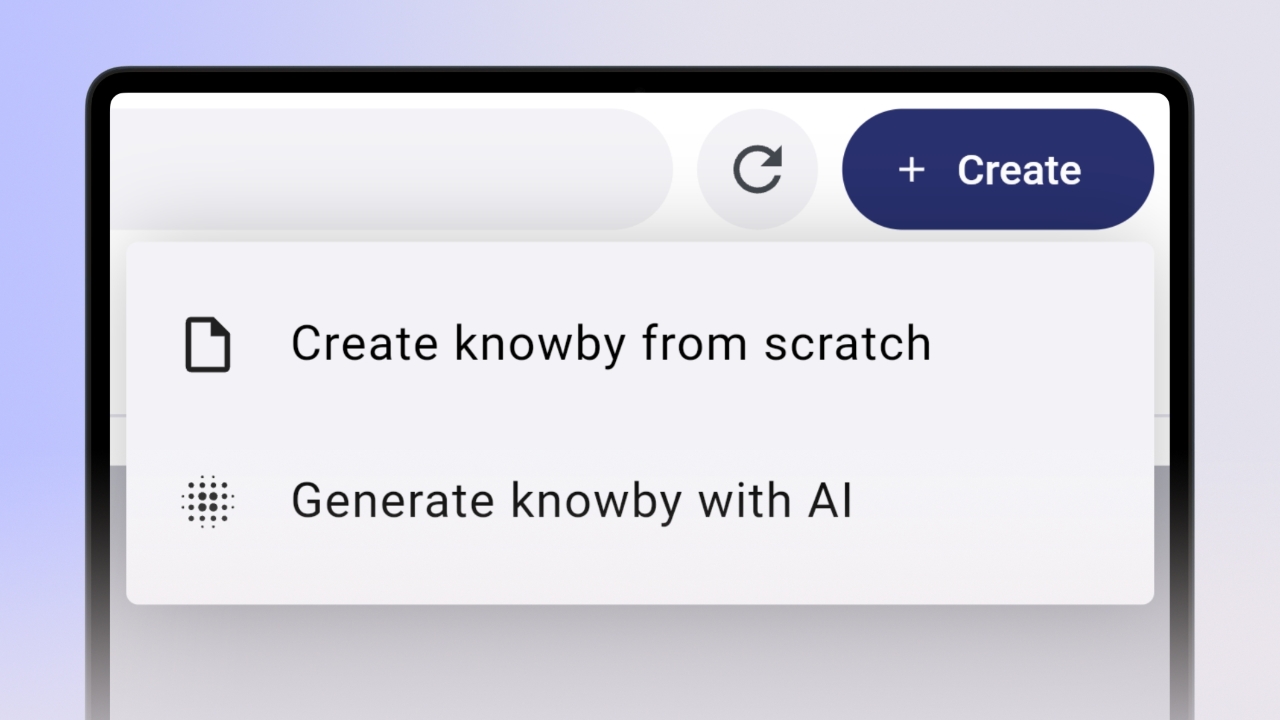
Alternatively, click the "+ Create" button next to the search box to create a knowby.
Select "Create knowby from scratch".

When you create or edit a knowby for the first time, the system will ask you to log in again. This only happens once. Next time, you will go straight to the create/edit screen. Use the same account you used in Knowby Pro.
First, you’ll see the Details tab where you can upload a Cover image, add a Title, Description, and more.
To upload a Cover image, click the "Browse" button in the gray Cover image area or drag and drop an image into the area. Select an image and choose your preferred crop in the 16:9 format.
The system has Autosave: every change is instantly saved, so you won’t lose updates. If you close the tab or lose connection, your progress is saved as a draft knowby when you return.
Click on the Title field and begin entering the name of your knowby. The maximum character limit is 60 characters.
In the Description field, you can provide a short review of what your knowby will cover. The maximum character limit is 280 characters.
You can add "Next review date" - just select a date from a drop-down.
Set the "Estimated completion time" for how long you expect the user to need to complete the knowby. This will appear on the knowby’s start screen.
If applicable, add "Internal reference ID" for a faster search.
To add Steps to your knowby, click the Steps tab on the left side of the screen.
On this screen, you’ll see:
Thumbnails of steps on the left for navigation.
A media upload area in the center.
A text area on the right to add step descriptions.
To add media inside a step, select the media type, click "Browse" in the gray media area, or drag and drop a file into that area.
Provide instructional text for each step. Step text supports various formatting styles:
4 heading sizes;
Code blocks;
Bold, Italic;
Blockquotes;
Numbered and bulleted lists;
Hyperlinks;
Linked knowbys.
To add a new step, click the "+" button below the current step (highlighted in purple) in the thumbnails of steps panel on the left.
Feel free to include as many steps as you need, each with videos or pictures.
You can also manage steps using the three-dot button next to the + button. Click it to see options such as Move up, Move down, and Delete step.
You can move steps by holding the current step (highlighted in purple) and dragging it to a new position between the steps.
Use the line that appears between steps to place your step accurately.
Edit your photo and video files using the built-in media editor. After uploading a file to a step, you can:
- Trim videos by dragging the yellow bars that mark the start and end of the step.
- Crop horizontally and vertically (16:9, 3:4, square, etc.).
- Annotate by adding lines, shapes, and text.
- Attach stickers for emphasis or decoration.

To add translations to your knowby, click the Languages tab on the left side of the screen.
On this screen, you’ll see:
- A language management panel at the top – for adding, deleting, and tracking verified translations.
- Thumbnails of steps on the left for navigation.
- Text boxes – the original text on the left (editable only from other tabs) and the translation on the right.
To add a language, click the "+ Add language" button on the top and select a language from the list. The system will automatically translate all available texts in your knowby: Title, Description, and Steps. This translation is machine-generated and is labeled as Unverified.
To switch between step translations, click on a step in the thumbnails of steps panel on the left.
Review the translation. To edit, use the text box on the right.
When you’re sure the translation is correct, check the Translation verified checkbox in each step. In the Title & Description step, verify both text fields.
Once all steps are verified, a green checkmark appears next to the language, showing it’s verified in your knowby.
You can add multiple languages to your knowby.
Even if not fully verified, the language will still appear in the knowby as an automatic translation.
You can edit the translation and apply text formatting different from the original.
After you’ve added all the details and steps to your knowby, click the "Done" button at the top right. You’ll be taken to the draft preview screen of your knowby.
The next step is to publish your knowby.