Teams let you control access to knowbys by restricting them to specific groups of people.
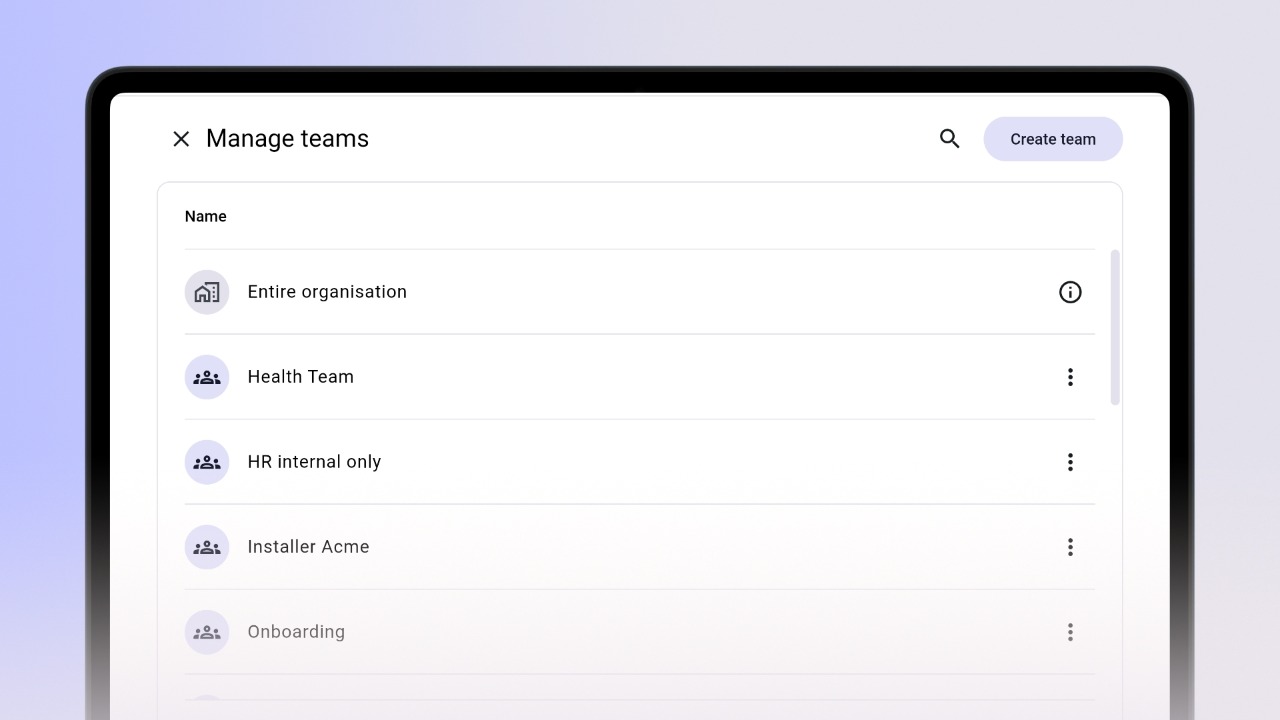
To get started, go to Settings (gear icon) → Manage Teams → Create Team. Name the team and add members.
On the Team Members screen, add or remove members and manage their roles.
Toggle the Approver switch for each member to control who can approve knowbys for this team.
💡 Organisation Admins and Owners are automatically assigned as Approvers in every team.
The Entire Organisation team includes all members. A Member can become an Approver by toggling the switch in the Approver column.
Approvers in the Entire Organisation team can only approve knowbys available to the Entire Organisation. To approve knowbys restricted to specific teams, they must be made approvers in those teams.
To restrict a knowby to a specific team, click Submit for Approval on your draft knowby.
The Approval Process panel will open –
On the access screen, select Restricted to Selected Teams and choose the team.
Click Next, add a comment if required, then select an approver from the team members with the Approver role.
💡 Admins can skip this step and publish immediately by clicking Publish.
To view knowbys restricted to your team, tap your profile icon in the top right → My Teams → select a team name.
You'll see all knowbys restricted to that team and the list of members under the Members tab.
💡 Organisation Admins can access all restricted knowbys even if they're not team members.
Team knowbys appear in the Knowbys tab with a team icon in the bottom right corner of the card.
To see which teams a knowby belongs to, open the three-dot menu → Knowby Details → click the dropdown on the cover thumbnail. The Team row lists all teams it's restricted to.