Tap on the plus sign on the bottom side and add your media.
Select the media you want, choose a project name and then tap on create.
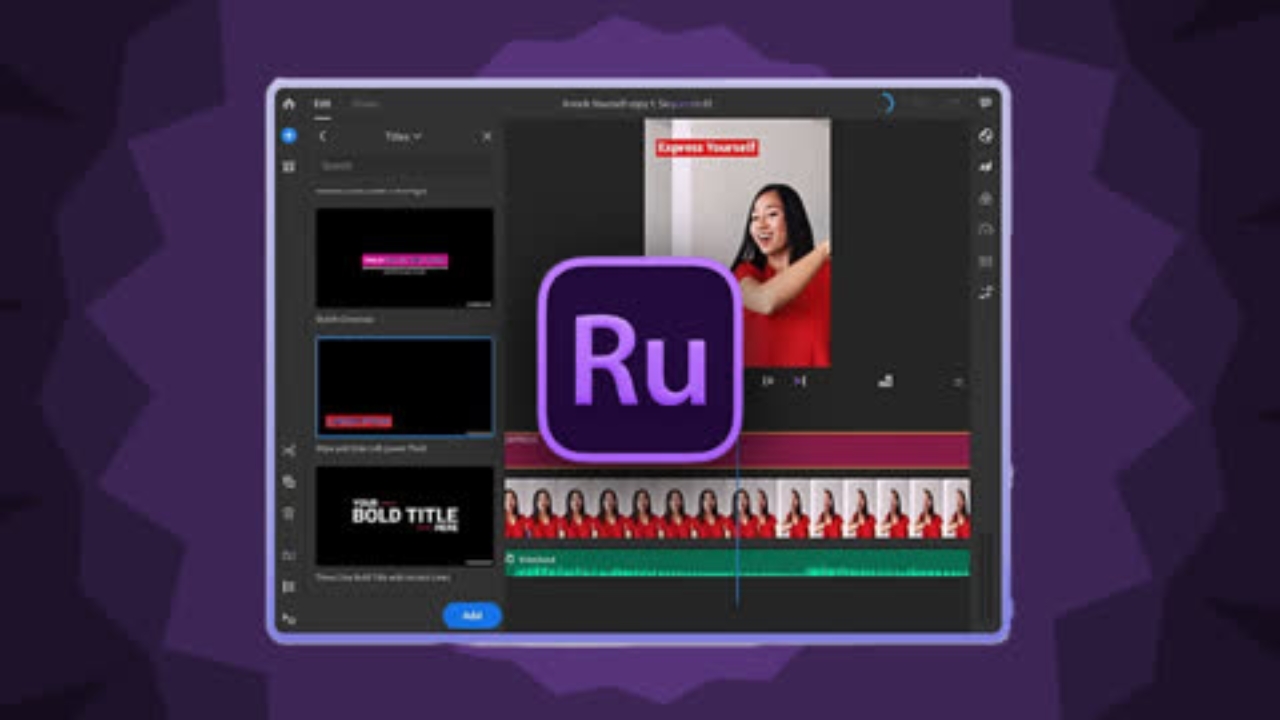
This plus sign on the top left is to add media a voiceover or a title.
Then the archive box is basically your project bin. If you work in Premiere Pro, you know what a project is. This is, where you can find all of your files.
If we go down here we have the cut tool, duplicate tool, and the trash tool.
Then we have an expand tool and a time line tool. I enable this because I want to see all of the tracks.
A cursor + tool. This tool you use if you want to select multiple clips.
Over to the right side, we see titles, transitions, colour, speed and audio transform. All of these things we'll get into later.
Right here, you can change the aspect ratio of the video. If, for example, you want to edit a quick video for your Instagram story or your Instagram feed, you can tap right here and you can choose a portrait or a square.
Time to edit the video. You can zoom in by pinching on the screen.
We can hold our timeline and we move it to where we want the cut to be.
To cut, click on the scissors and as you can see now it is separated.
If you want to delete the cut part, I need to tap on it and then I tap on the trash bin.
If you want the video part of the clip, then you need to delete the audio. To do it, tap and hold on to that clip and then you get this little menu and then tap on a separate audio. Now you can delete the audio.
If we want to zoom in or reposition a clip, we can tap on this transform button.
If you want to put two clips next to each other, so if you want to create a split screen, what you can do is put one of the videos on top of the other one and then open up the advanced menu, and then crop the videos and position them next to each other.
It's time for some text. So we're going to tap on the T icon right here and then choose a template. There are so many different styles and templates! There are even call-outs and a subscribe button, it is super useful.
You can tap on the text field and then you can change the text.
In order to add a transition, tap on the clip that you want to add a transition to, and then tap on transition icon on the top right and just tap on the transition.
When you add a transition to a clip, the transition will be added to the beginning and the end of the clip. If you don't want this, just go to the beginning of the clip and delete the transition there and now you'll see that it's only at the end of the clip.
If you want to edit audio to a whole clip, select all of the dialogue clips by tapping on this button right here and then tapping on all of the clips that I want to add to my selection.
Then go to the audio tab. If we open up advanced, we can change the audio type if needed. We can enhance the speech for women or men. We can reduce echo, whatever is needed to make your video sound a lot better.
Because I selected all of the clips, as you can see, all of those clips are affected. If I increase the volume, the volume of all of those clips has increased.
Now it's time for our music. Adobe Rush already has a small built-in library with music tracks, so if you don't want to use those music tracks, make sure that you've downloaded some music and loaded it on your iPad or your phone and imported it to your project.
I already downloaded a song, so I'm going to add that. As you can see, right now every time that you import something it will be added to the timeline.
You can move the music around the timeline.
The default setting is that the music is really loud, you want to make sure that we can hear ourselves when we talk. So let's edit that. Go back to the audio tab or double tap on the music track and then you can change the volume here.
You can also check auto duck. What it does is that it will reduce the volume when you're talking and it will increase the volume when no one is talking. So as you can see on the timeline this is where the music will be played at clip volume and this is where it's ducked.
To edit colour of video, there are some built-in presets. You can also go to the Edit tab and then use the sliders to adjust the brightness, contrast etc. And if you go down here to advanced, you can even add a few effects like the faded look or vignette.
If you want to create some cinematic back bars, you can do that by going to the transform tab and then tap on advanced and then you can crop the top and the bottom.
The cinematic back bars will only work if you don't put it on top of another clip, because then instead of black bars you just see the underlying clip in those bars.
If you want to mute a sound or you want to mute the entire track, you can tap on this sound icon right here and it will mute the entire track. But if you just want to mute the audio of one clip, you tap on that clip and then you tap on this audio icon right here and select mute.
If you want to slow down a clip all you have to do is go to the speed icon right here and then change the speed of the video.
We can also create a speed ramp by checking the ramp box. If you look at your timeline, you will see two speed markers and you can drag them to wherever you want the speed ramp to happen and then change the range speed to however fast or slow you want the ramp to be.
Time to export our video. Let's tap on the Share tab right here and then select your preferred settings and hit export.