
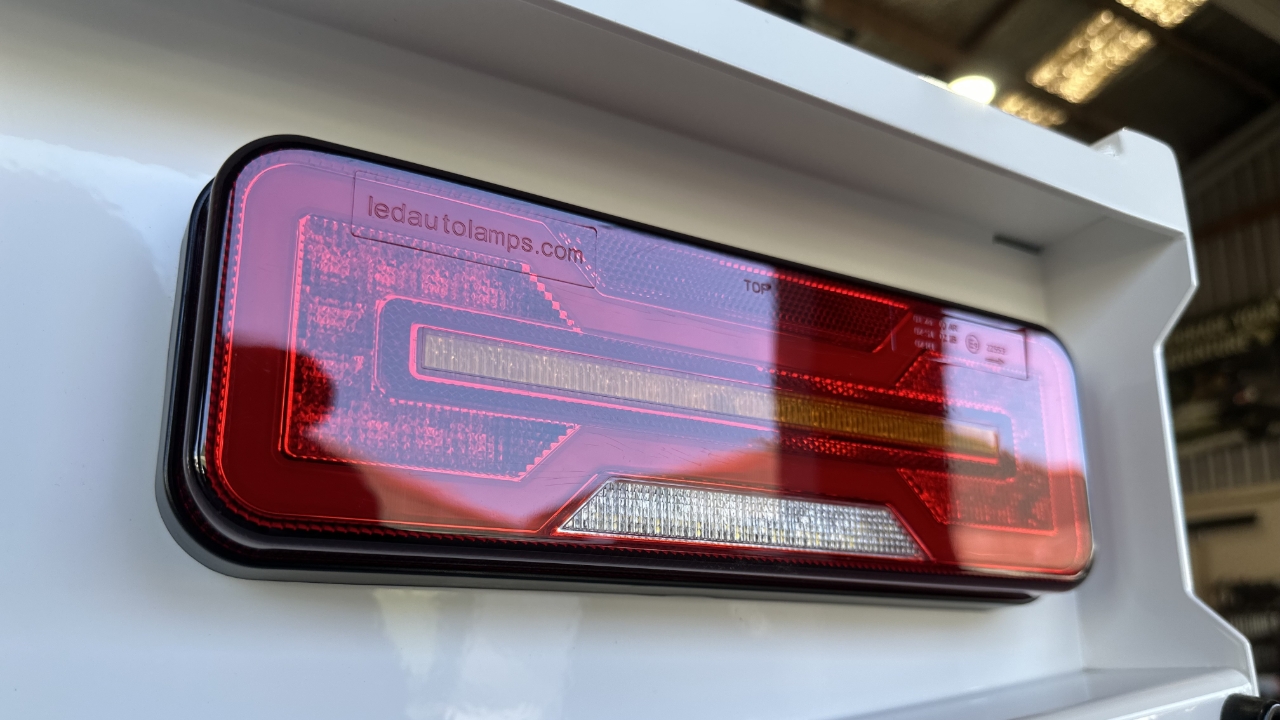
Cut BYD tail light plug from wiring
(Plug is not used)
Wire BYD tail light crimp and connect wiring into one side of the Deutsch plug
Connect LED tail light wiring to other Deutsch plug connector using color guide below to match up corresponding vehicle tail light signals
Strip the housing back from the tailight and cut the soldering off. Strip each of the wires back 10mm.
Do the same to the wires on the black plug.
Solder splice the black wire from the taillight to the blue wire on the black plug.
Solder splice the rest of the wires to one another in the shown orientation.
Cover the wires with housing and electrical tape.
Your taillight should be looking as shown.
Repeat process on the other taillight.
The only difference will be the yellow wire from the left taillight shown will be green on the right taillight. The green wire will still be solder spliced to the yellow wire from the white taillight plug.
Take your taillights and fasten them to the bumper using the supplied flat and spring washer and nut. Make sure you apply anti seize to the taillight screw first.
The BSM brackets also mount to the taillight screws like so.
Plug your taillights back in.
When it comes to your taillight orientation, the brake light sits at the bottom.
A small arrow in the corner should also be facing outwards