
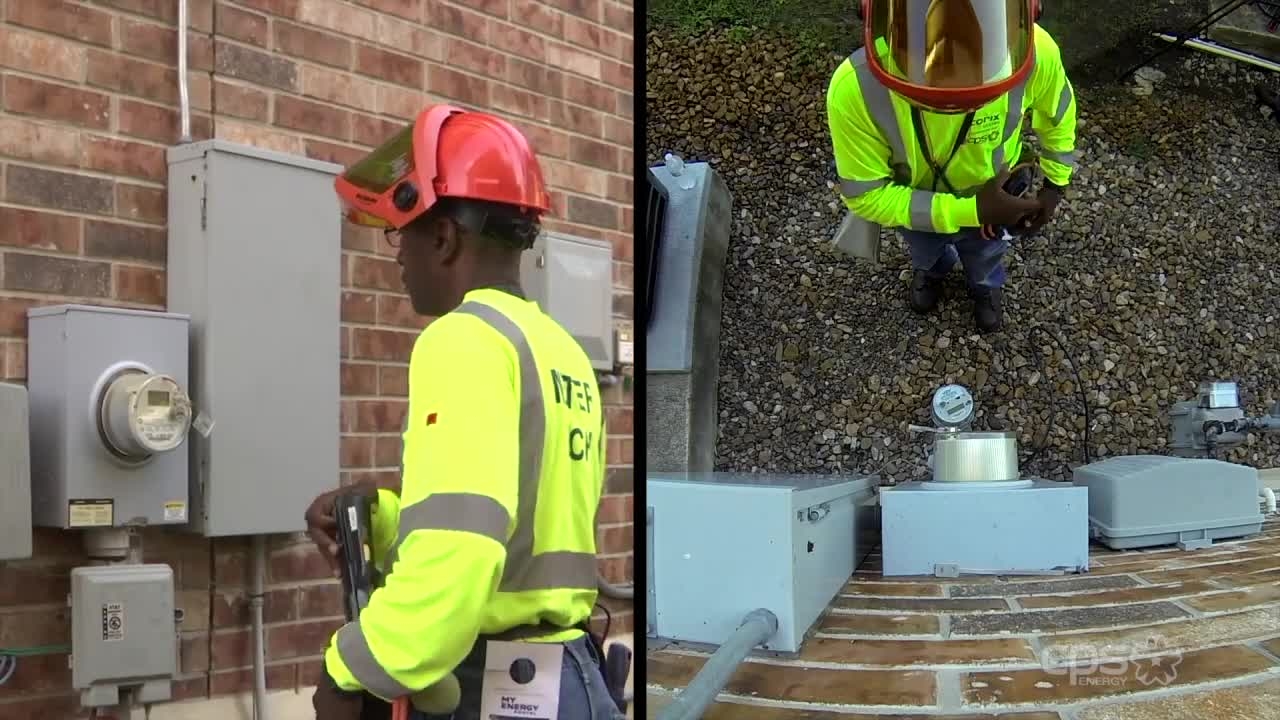
Residential smart meter installation process
Our smart meter installations continue throughout our service territory.
Our smart meter installations continue throughout our service territory.
1
Step 1 of 23As the installer approaches the meter, he uses a handheld device to verify he's at the correct address and that the meter number corresponds to the address.
2
Step 2 of 23If the information does not match, the installer immediately notifies a supervisor for further action.
3
Step 3 of 23The meter read information is then captured into the handheld device.
4
Step 4 of 23The current meter read is then added to the new meter to produce an accurate bill for the month.
5
Step 5 of 23He then photographs the meter information for our records. This step in the process is used to ensure the meter is read correctly and entered accurately into the device.
6
Step 6 of 23Next, the installer puts on additional personal protective equipment for safety as he prepares for the removal of the existing meter.
7
Step 7 of 23Then, the installer inspects the protective seal at the meter for any tampering before removing it.
8
Step 8 of 23He removes the front cover to the meter can, exposing the internal wiring. A voltage test is then performed.
9
Step 9 of 23This helps ensure the correct amount of voltage is going through the meter.
10
Step 10 of 23This step provides the installer with critical information about any voltage that might be coming back to the meter from the home.
11
Step 11 of 23Fluctuations in voltage are reported to a supervisor.
12
Step 12 of 23Next, a pair of jumpers are used to bypass the power around the meter.
13
Step 13 of 23This courtesy step allows the customer to have uninterrupted power while the meter is being exchanged.
14
Step 14 of 23The technician then removes the existing meter from the meter socket.
15
Step 15 of 23The technician performs a visual check and verifies the voltage at the base of the meter.
16
Step 16 of 23This is to ensure that the first voltage check corresponds with the second voltage check.
17
Step 17 of 23Next, the technician uses a gap tool to verify the sockets, or jaws, are in good condition so the new meter fits snug.
18
Step 18 of 23Now the smart meter is plugged into the meter socket and the technician verifies it's sitting firmly in the base.
19
Step 19 of 23The jumper cables are removed from the meter can, and the cover is replaced and a new protective seal is installed.
20
Step 20 of 23The technician then enters the new meter information into the handheld device.
21
Step 21 of 23A photo is taken of the smart meter to confirm replacement.
22
Step 22 of 23And finally, the barcode is scanned to pair the meter number with the address.
23
Step 23 of 23The installation is now complete. The technician gathers his equipment and proceeds to the front door to leave the homeowner a door hanger advising them of the completed work.