
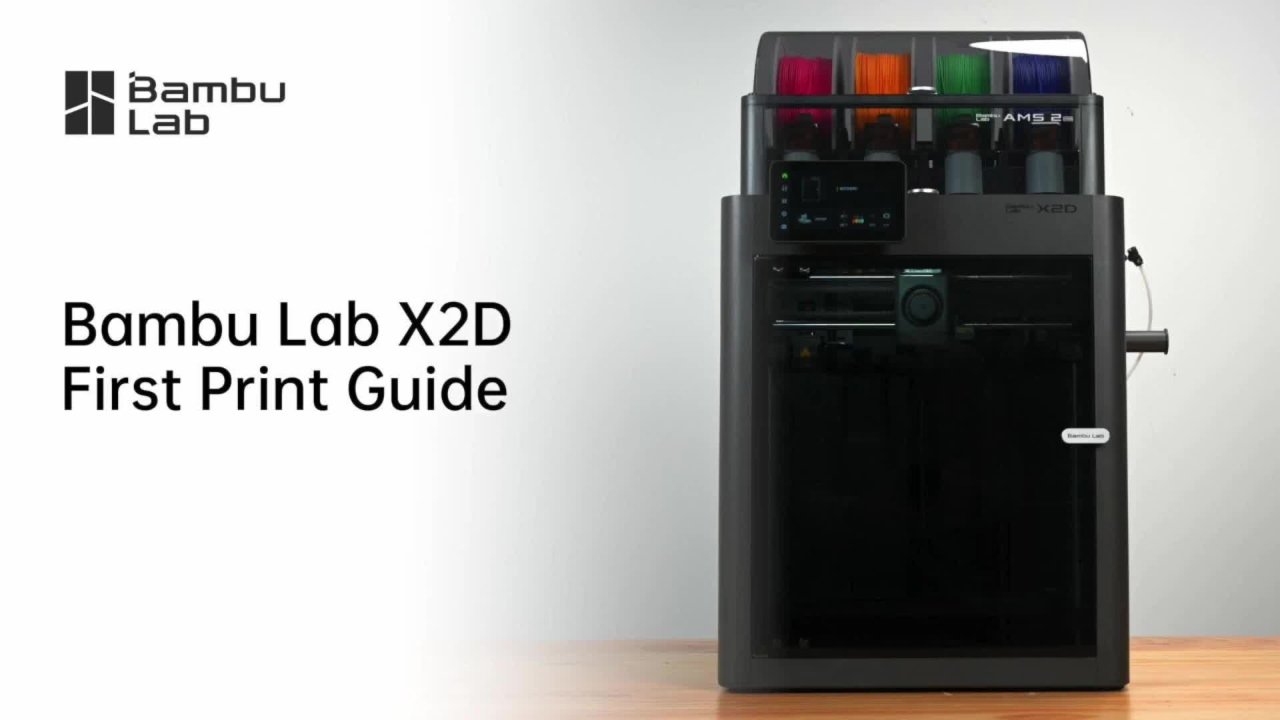
Bambu Lab X2D First Print Guide
Bamboo Lab X2D First Print Guide For the AMS2 combo, your setup should look like this: AMS on top with the grey tube and 6-pin cable connected.
Bamboo Lab X2D First Print Guide For the AMS2 combo, your setup should look like this: AMS on top with the grey tube and 6-pin cable connected.
1
Step 1 of 31Bamboo Lab X2D First Print Guide For the AMS2 combo, your setup should look like this: AMS on top with the grey tube and 6-pin cable connected.
2
Step 2 of 31For the standard setup, it should look like this: Spool holder as the base with the white tube connected directly.
3
Step 3 of 31Now, to begin the first print, confirm that the power switch is turned on.
4
Step 4 of 31Place your filament into the AMS2 Pro slot. Gently push the filament inlet, then insert the filament about 2 cm.
5
Step 5 of 31The AMS will detect it and automatically begin feeding the filament.
6
Step 6 of 31On the screen homepage, navigate to the AMS Setup page via the Assistant and select Auto Mode.
7
Step 7 of 31Tap Detect to start the AMS initialization.
8
Step 8 of 31Next, take a filament spool and note its type and color.
9
Step 9 of 31Place it on the spool holder, paying attention to the winding direction. Tap Edit, choose the correct filament type and color, then tap Confirm.
10
Step 10 of 31Before inserting the filament, make sure to give the tip a clean cut.
11
Step 11 of 31Avoid leaving any bends or sharp burrs. This ensures the filament glides perfectly through the PTFE tubes and into the extruder.
12
Step 12 of 31Once the filament is fully pushed in, you will feel a slight resistance from the spring buffer.
13
Step 13 of 31The screen will display the filament color. Tap Load on the screen, and when prompted, push the filament forward once more.
14
Step 14 of 31When you observe the nozzle extruding filament smoothly, tap the screen to continue.
15
Step 15 of 31Before placing the build plate, check and clean the heat bed surface.
16
Step 16 of 31Place the build plate properly onto the heated bed and double check that it is fully seated and aligned.
17
Step 17 of 31We recommend preparing a USB flash drive for your files. On the homepage, tap Print Files, then select the model you wish to print.
18
Step 18 of 31Confirm the build plate and nozzle information, and set any other options as needed.
19
Step 19 of 31Select the loaded filament for each hotend, and tap Print.
20
Step 20 of 31Once the print is finished, wait for the heat bed and model to cool to room temperature.
21
Step 21 of 31Remove the build plate and gently flex it to release the model and the prime tower.
22
Step 22 of 31Use a scraper to remove the pre-extruded line, then place the plate back.
23
Step 23 of 31To unload your material, follow the procedure for your specific setup.
24
Step 24 of 31If a job is cancelled, simply tap Unload on the touch screen to retract the filament from the extruder back into the AMS.
25
Step 25 of 31For the AMS2 Pro, once a print job completes, the filament will automatically retract into the unit.
26
Step 26 of 31For an external spool, if the filament is not in use, it should be unloaded and stored.
27
Step 27 of 31Tap Unload on the screen and follow the prompts.
28
Step 28 of 31As the filament exits the tool head, pull it back while rotating the spool at the same time.
29
Step 29 of 31Catch the filament near the pneumatic connector and secure the end into the spool hole.
30
Step 30 of 31Congratulations! You've completed your first print.
31
Step 31 of 31You've completed your first print.