Remove the bars and other parts from the box.
Remove the tools and the keys from the box.
Open the fitting kit box and remove the parts.
Keep spare parts and refer to instructions.
Remove the protective film. The "red arrows" indicate the front of the bar.
Unlock and remove leg covers from all bars.
Unscrew the adjustment button 5-10 revolutions.
Push the block out.
Remove the pins from both sides. There is a tool stored in the cover if needed. Repeat on all 4 legs.
Assemble the feet.
Fit the assembled feet to legs.
Using the screwdriver allen key, screw the foot onto the leg.
Insert the coarse thread screws, make sure not to over tighten.
Insert long bolt into the foot.
Locate the bolt into the clamp thread.
For Heavy-duty and Standard bar a spacer can be inserted.
Repeat process for all 4 clamps.
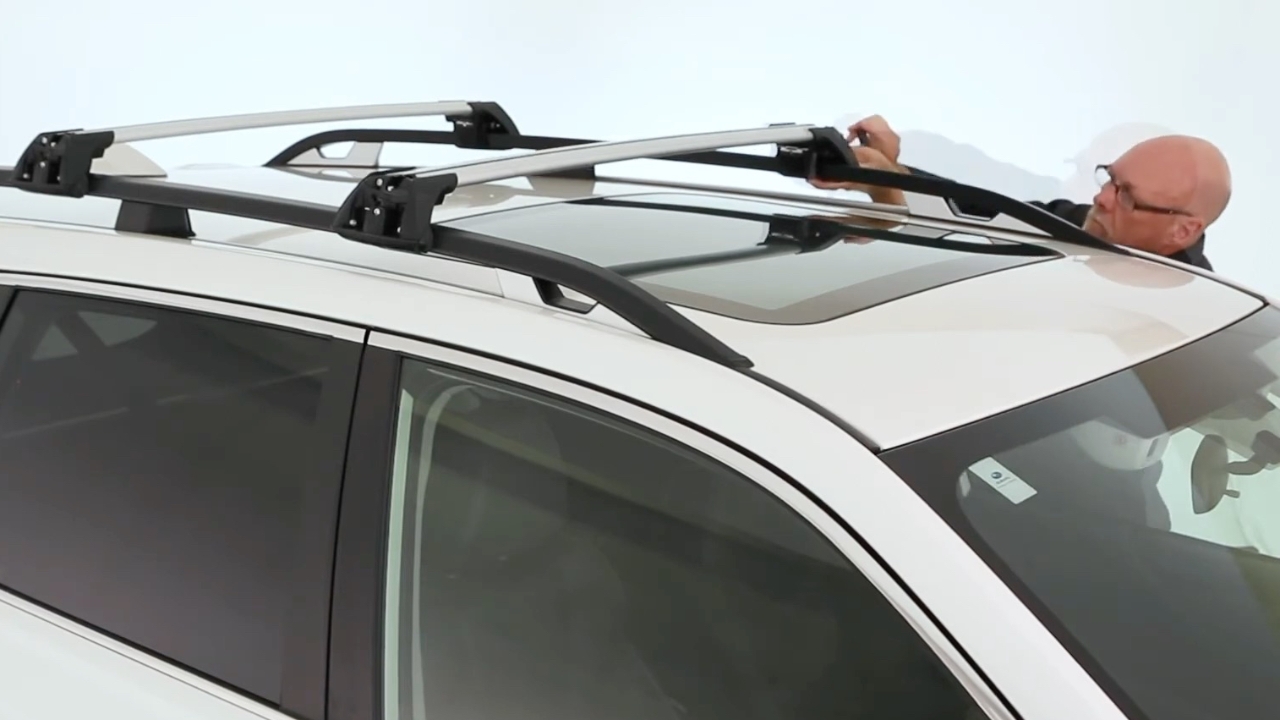
Place bars loosely on the vehicle rails.
Use the adjustment button to alter bar length.
Make sure that the bar is facing forward correctly.
Check instructions for roof bar placement.
Tighten clam bolt securely. Repeat process for all feet.
Tighten adjustment button on all four legs.
Replace and lock the covers.