
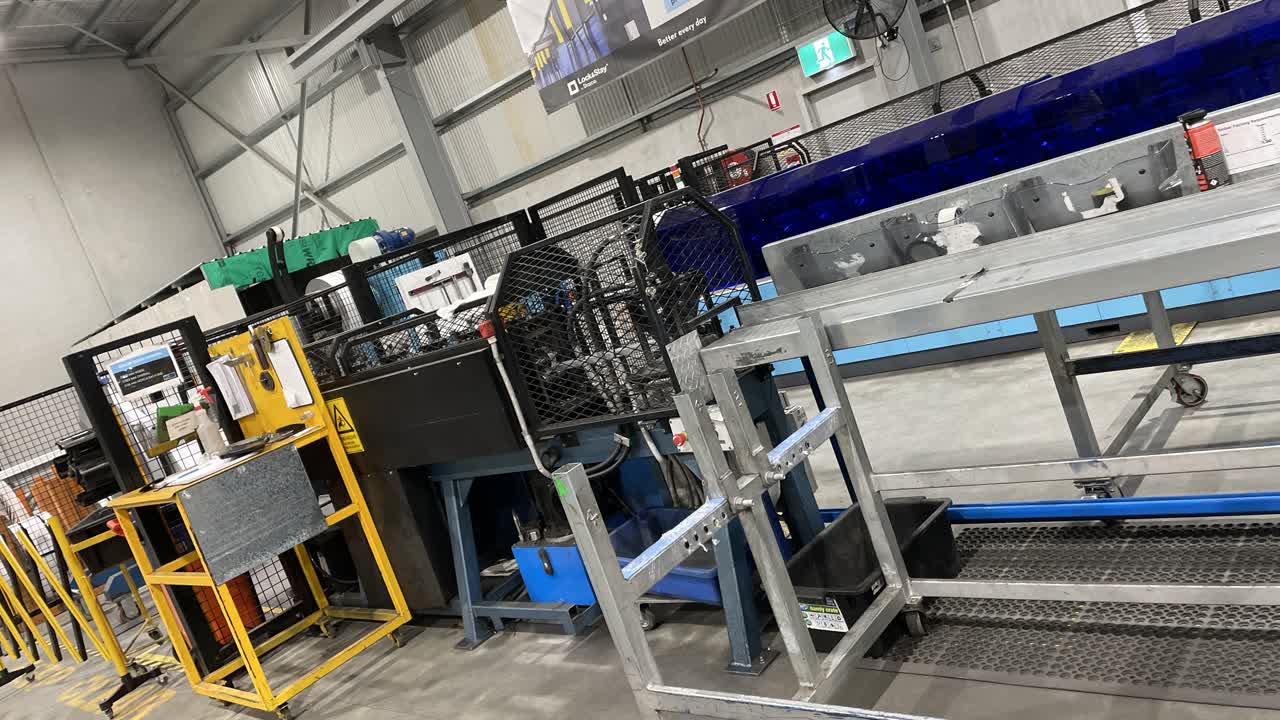

Personal Protective Equipment (PPE). Gloves and Safety Glasses. If you don’t already have a pair of gloves or safety glasses, please see the store person.

QA Sheet. You will find a QA sheet at the machine, if there is no QA sheet there, see the team leader or production. A QA sheet will need to be completed at the start, throughout and, at the end of the day.

Tools required: Crane, two red corners, sling (you must be signed off by the maintenance coordinator before using the crane, if you are not signed off, ask someone who is to do it for you), angle grinder/knife and template.

Removing remaining material from the machine.
Turn Manual/Auto switch to Manual.

Press the yellow Jog button to jog the material through the machine.
Run material out until the machine stops driving using the Jog button.
Cut material by press the blue manual Cut button on the control panel.

New coil. 2 red corners on top and middle of coil. Make sure to use the right sling.
Retract the mandrel on the de-coiler in by spinning the wheel clock wise.
Slowly lift coil up using the crane. ( You must be signed off to use the crane).
Slowly bring coil over to the de-coiler.
Slowly bring coil down and onto the de-coiler and position the coil against the backstop of the decoiler.
Expand the mandrel using the wheel, spinning it anti-clockwise to secure the coil.
Remove sling and red corners.

Remove tape or metal strap to find the end of the coil. (Be careful the coil does not fling out and hit you.)

Place template over the end of the coil and mark out the profile.

Using grinder cut out marked lines to get the same profile as the template.(while wearing safety glasses and gloves).
Carefully feed coil through the guide and into the machine.
Press yellow Jog button to continue feeding coil through.
Going from the back of the machine, go back to the console and press the yellow Jog button to bring the coil the rest of the way.
Carefully Jog the coil through the profile of the cutting blade.(while wearing gloves).
Once the coil is through, press the blue manual Cut button [hold the button down until the blade returns back to the home position, which is in the upward position].
Turn the Manual/Auto switch back to Auto.