

Select the base panel.

Peel the plastic off of the base panel.
Peel the plastic. Make sure to do this step with all of the parts because it will be difficult to peel the plastic off once everything is attached, make sure to check for the plastic, some of the plastic could be clear.

Select the side panel and peel plastic.

Align the holes and rivet the side panel to the base panel.

Repeat step 4 and 5 for the other side panel.

Place the timber support shelf on top of the side panels.

Select the metal shelf and place on top of the timber support shelf.

Align the holes and rivet the metal shelf to both sides panels.

Repeat step 4, 5, 6 and 7 until the roof. The roof won’t have a timber support shelf.

There is no timber support for the roof, so you will have to lift slightly to align the rivet holes, repeat on both sides.

Select the back panel and peel off the plastic.

Pay attention to the engravings inside the back panel as it will tell you which end goes up.

Starting at the bottom, rivet the back panel to the wall panels working your way up to the top.

Select a mullion panel and peel off the plastic.

Pay attention to the engravings inside the million as it will tell you which end goes down.

Align the holes and rivet the mullion to shelf panels, repeat for the next shelf and the top.
Repeat adding mullion panels to each section until it’s time to add the corner panels.
Select a corner panel and peel the plastic off.
Align the holes and rivet the corner panel to the front and side of the shelf panels on the front ends of the locker.
Repeat step 19 and 20 for the other corner panel.

Select a door panel and peel off the plastic.
Rivet the hinges to door panel.
Align the holes and rivet the doors on to the mullion or corner panels.
Repeat steps 20, 21 and 22 for the other doors.
After the door panels are attached add your locks into the opening in the doors.
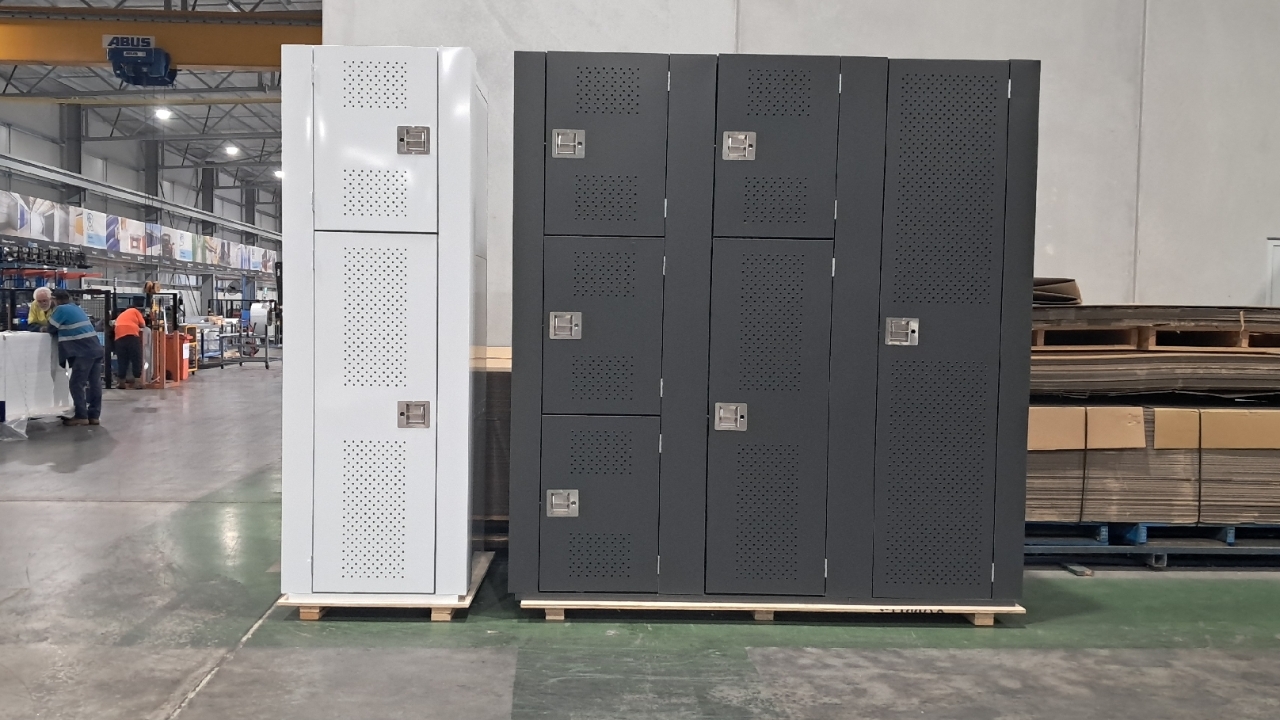
Once the locks are in the wine locker is complete.