
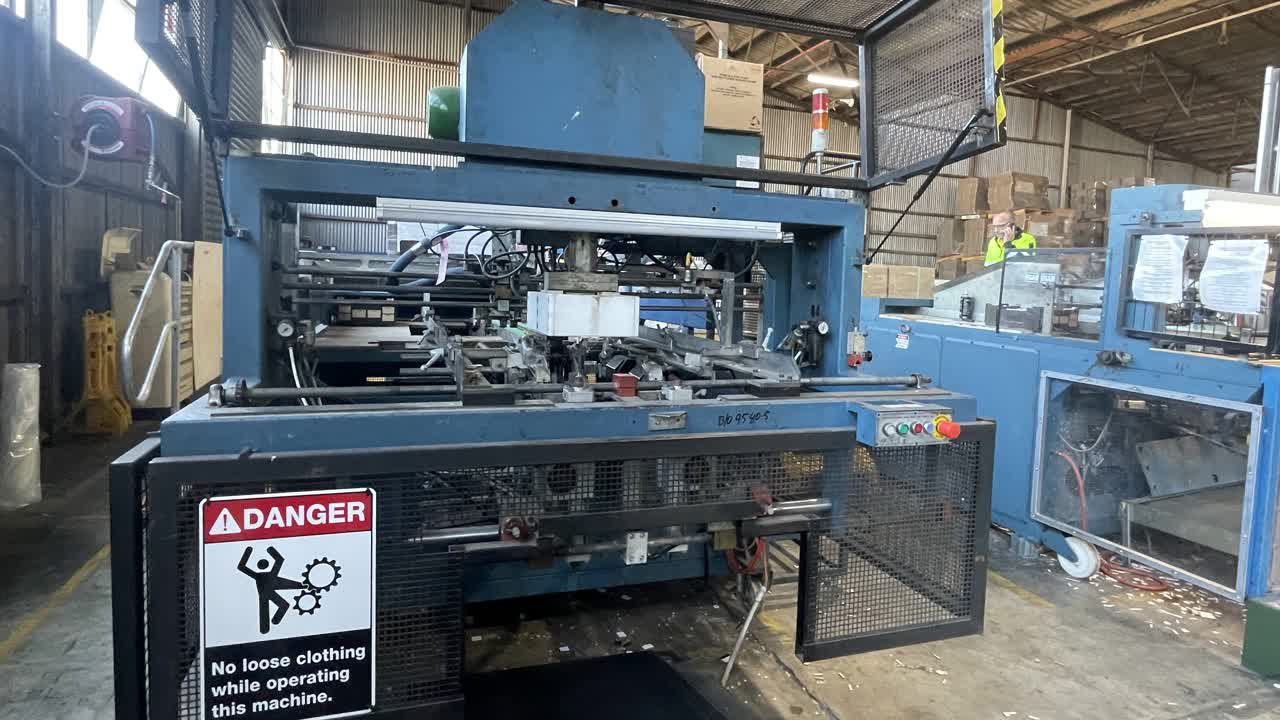

PPE required - high vis clothing, safety boots, safety glasses and eye protection. Gloves will be required for some tasks

Make sure E=Stop button in out Press blue Operation Switch to turn on Glue select switch to be on (turn clockwise)

E-Stop to be out Press Vacuum pump button (green) Press cycle on button (blue) to start production Press cycle off button (red) to reset program or for a controlled stop

Machine is not ready until the Glue Gun light is on (Green READY light)
Place blank in the machine as a guide - underneath the mandrel Use the crank handle on the drive side of the machine, adjust the rail guides until they sit firm against the blank Remove the handle and store in a safe position

Ensure the suction cups are in the lowest position - on ESPAC Machine 1 they are always in the lowest position
Put the blank into the machine before adjusting the feeder guide plates
Undo the lock and turn the black wheels to move the rails into position, allowing 2mm tolerance on either end of the carton
Feed blank onto machine
The Blank Pusher adjusts where the box stops under the mandrel Put a blank under the mandrel and adjust the pusher to the correct position with the crank handle. Check for the correct fit/position
To adjust the blank pusher use the crank handle and wind to adjust
The photo eye may also need adjusting - undo the grub screw and move forwards or backwards to the correct position.
The photo eye determines where the pusher will stop
To refill glue gun - you must wear gloves and a face shield Take cup and add glue pellets to hopper Ensure glue pellets box is closed after use