
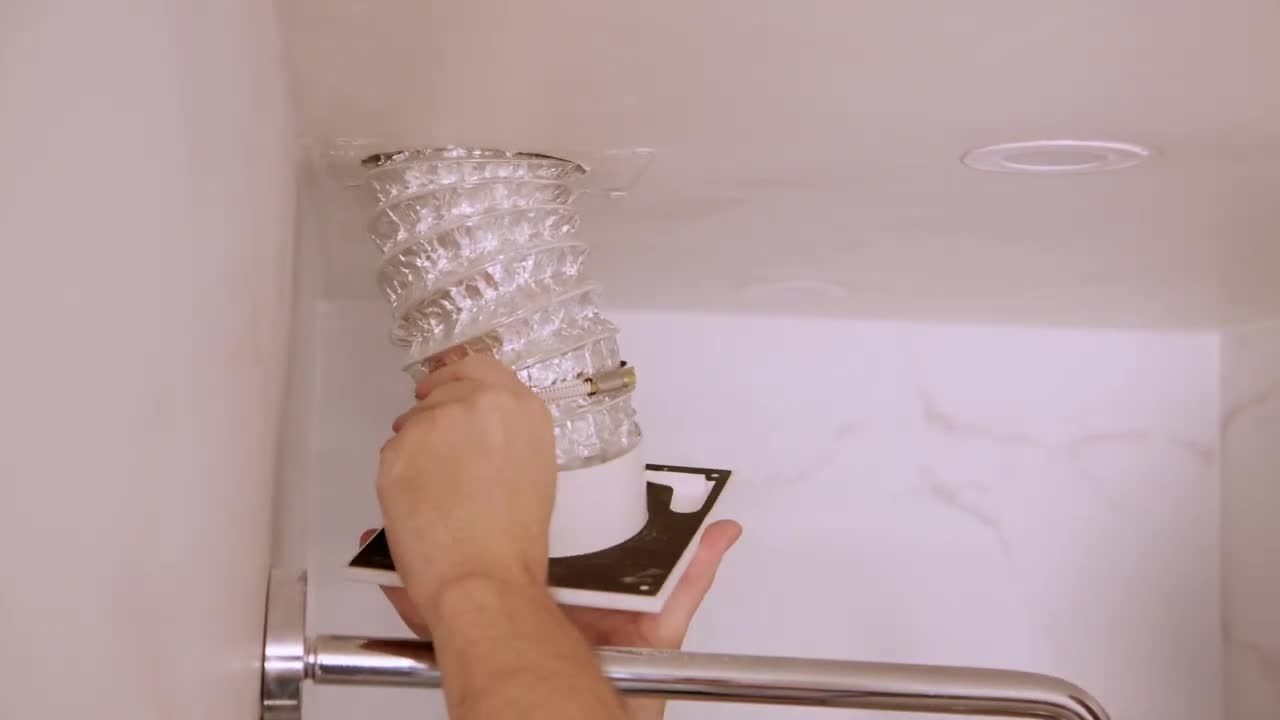
Renson Hoe plaats je zelf een badkamerventilator stap voor stap
Installing ventilation yourself is perfect, especially if your storage is limited to opening the bathroom, installing an extra toilet or installing your kitchen.
Installing ventilation yourself is perfect, especially if your storage is limited to opening the bathroom, installing an extra toilet or installing your kitchen.
1
Step 1 of 23In this bathroom, the Waves Plus is replaced by a existing fan operated by the light switch.
2
Step 2 of 23Therefore, both the exhaust pipe and the power cable are already ready.
3
Step 3 of 23Always turn off the fuse before you disconnect the old fan.
4
Step 4 of 23The Waves Plus fits perfectly in the existing air channel of 100 mm in diameter, but thanks to the foam rubber ring, the fan is also compatible with tubes of 125 mm in diameter.
5
Step 5 of 23Now position the housing of your Waves correctly on the spot of the previous fan.
6
Step 6 of 23To confirm this, you may need to drill new holes and use the right plugs.
7
Step 7 of 23Check that the existing wiring is still intact before you connect it again.
8
Step 8 of 23Also check your fuse box to see if your fan is connected behind a double pole fuse and secured with a differential switch with a sensitivity of 30 mA.
9
Step 9 of 23After that, place the cover on the housing of the Waves Plus and tighten it.
10
Step 10 of 23I have just finished the installation. The previous fan worked on the basis of a light switch.
11
Step 11 of 23The current Waves Plus worked fully automatic, which required the wiring to be adjusted.
12
Step 12 of 23Electric adjustments like this must be done according to the rules of art, as described in the general regulations on electrical installations.
13
Step 13 of 23If you do not trust this, then ask a graduate electrician for advice.
14
Step 14 of 23As soon as you turn on the fuse again, your Waves Plus will start working automatically.
15
Step 15 of 23Attach the front panel to the cover and your assembly is on it.
16
Step 16 of 23Now all that remains is to set the Waves Plus. Do this with all windows and doors closed and the window air vents open.
17
Step 17 of 23In the manual of your device, you will find how to set it up with the button on the fan.
18
Step 18 of 23Or you download the free Sense app.
19
Step 19 of 23You can follow it step by step when setting the correct range of space.
20
Step 20 of 23A toilet is prescribed 25 cubic meters per hour, a bathroom is set to 50 cubic meters per hour and a kitchen to 75 cubic meters per hour.
21
Step 21 of 23This way you are sure of enough fresh air. In the app you can follow at any time how Waves Plus automatically does its job to keep the air quality on the top of the list.
22
Step 22 of 23By activating the Eco mode, the speed of the device will be reduced for a quieter operation.
23
Step 23 of 23Tip! By combining different Waves Plus For more information about the Waves Plus, go to Rensson.