
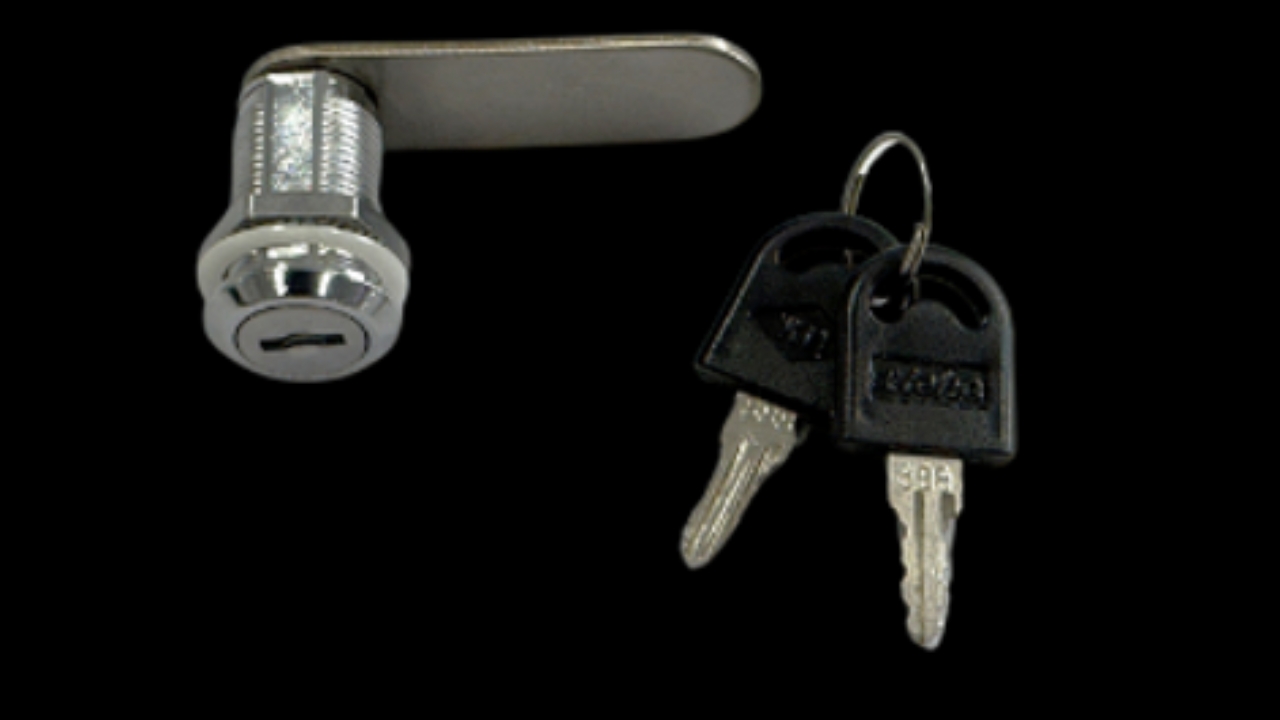

Before you begin replacing the cam lock, you'll need the following parts/tools:
Cam lock
Phillips head screwdriver
Long nose pliers or shifter

Using a Phillips head screwdriver, unscrew the two screws holding the front panel to the cabinet.
The screws are located under the panel. To access the screws the door needs to be open.

Bracket Under Panel

Remove the control panel by pulling the bottom of the panel outward off the bracket underneath and lifting upward.
Refer to Step 3 to see the bracket under the panel.

- Remove the screw holding the cam to the main body. (Keep the removed cam to reuse on your new lock.)
- Using long-nose pliers or shifter, remove the cylinder nut & main body from the panel.

Install the Main Body:
Insert the new cam lock body into the hole.
Installing the lock hardware:
After inserting the lock body into the hole, install the cylinder nut and tighten it using a long-nose or a shifter.
Fit the rotation washer, cam and retaining screw onto the back of the lock and tighten.
Test:
With the cam lock securely fastened to the front panel, test it by opening and closing the lock to make sure it operates correctly. If it operates in the opposite direction the lock body needs to be rotated until it operates in the required direction.