
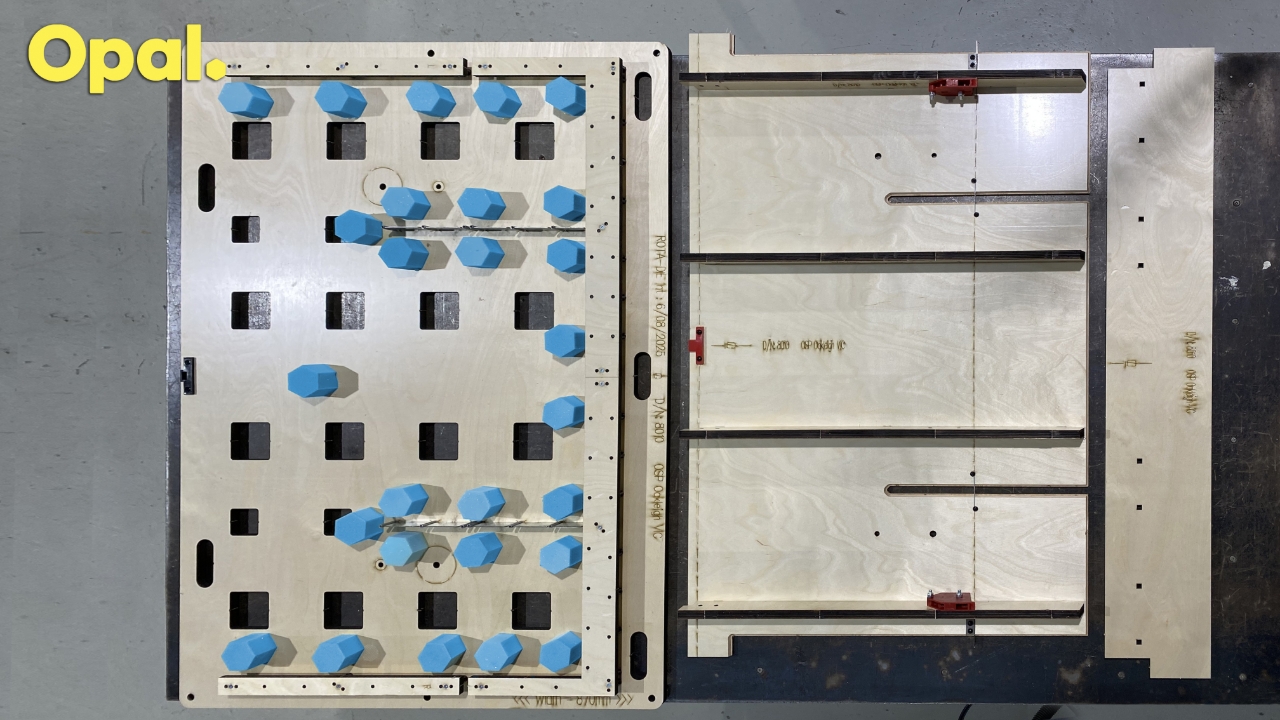

Place the Male and Female stripper units on opposing benches.
Using the pein on the rear of cross pein hammer to knock out the vent holes on the male stripper unit.

Knock out rail holes on the female stripper.

Tap in the black male spacers into the correct holes of the male stripper unit.

Continue until black spacers are complete.

Layout steel correct size steel pieces for the job.

Hit steel pieces in using a rubber mallet.

Insert steel pins to the male using a hammer.
If using crown pins use a rubber mallet.
Remove the male components from the female stripper unit.
Use the edge of the bench to support the timber inside of the cut line.

Sand the burs where the timber was joined to the female flush.
Attach the components to the black spacers on the male stripper unit. Hit down a little at a time repeating along the component.
Do not try to hit in one go as it may break the timber.
Use screws to complete the attachment of the components.
Make sure that the drill is straight (plumb) to the job and screw is flush.

Clamp the female stripper unit to the bench. Ready to routed.

Ensure the Router bit depth is correct. Not touching the surface of the bench.
Make sure you grip the router tightly by the handles with two hands.
Start Router on the right hand side for the external part of female and move in an anti clockwise direction.
Push/Pull or hold router against the surface firmly.
For internal parts Router clockwise.
Insert and screw back breakers. Tap in from the side not down from the top.
Measure and cut steel lengths for any fly-overs. Screw in place at each end if not under a rail.
Separate the rails from laser cut. Line the feet of rail with correct position on the female stripper unit.
Knock all rails into female with a hammer.
Unclamp the female, turn it over and nail the rails from the front side. (side that hits the cardboard.) Use 18 Gauge nail gun.
Attach the red centreline bracket and the red claws to the female.

Female Stripper Unit Complete
Using the spacers provided, insert into correct holes in the male stripping unit and then place the female stripping unit over the top using correct holes.
Confirm that all spacing and layout is correct between the male and the female.
Use the supplied tool to break the surface anywhere you need attach foam with HotMelt glue.

Select the correct foam for the job.
Use hot melt glue and apply an appropriate amount of glue to the foam.
Click Link For:

Male stripper unit complete.

Profile with square holes is complete.
If profile has round holes insert 5/16 tnut

Stripper Unit Complete

Fill in Timesheet and checklist.