
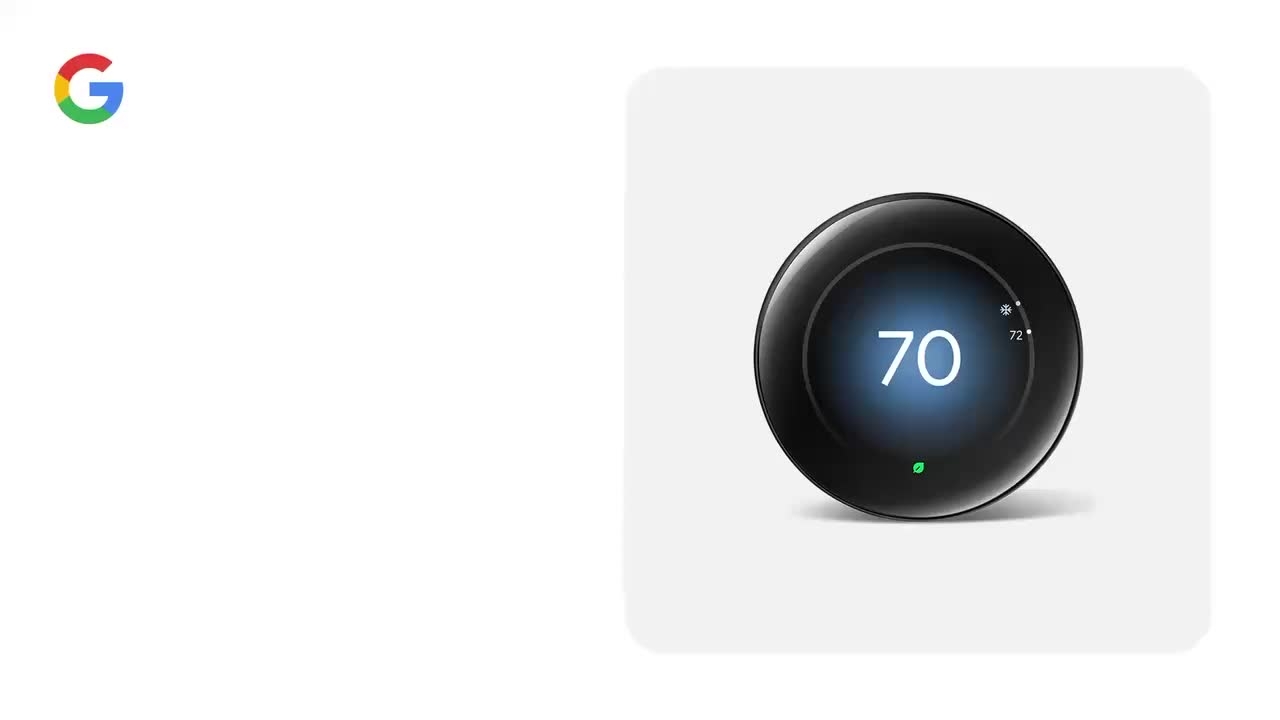
Install Nest Learning Thermostat 4th Gen
To install and set up your Nest Learning Thermostat 4th Gen, first make sure you have all the parts that were included in the box.
To install and set up your Nest Learning Thermostat 4th Gen, first make sure you have all the parts that were included in the box.
1
Step 1 of 80To install and set up your Nest Learning Thermostat 4th Gen, first make sure you have all the parts that were included in the box.
2
Step 2 of 80The Quick Start Guide, Thermostat, Base Plate, Metal Plate, Trim Plate, Screws, and Temperature Sensor. You'll also need a Google Account, the Google Home app, and a Wi-Fi connection.
3
Step 3 of 80If you don't have a Google Account, go to accounts.
4
Step 4 of 80google.com. To set up your account, tap Create Account and follow the on-screen steps.
5
Step 5 of 80If you don't have the Google Home app, download it from Google Play or the Apple App Store.
6
Step 6 of 80Open the Google Home app. Tap Devices.
7
Step 7 of 80Tap the Add Device button. Tap Google Nest or Partner Device.
8
Step 8 of 80Select your home. Tap Thermostat, then tap Nest Learning Thermostat 4th Gen.
9
Step 9 of 80Scan the QR code on the back of your thermostat.
10
Step 10 of 80Tap Next. Review the legal terms, then tap I agree.
11
Step 11 of 80The app will walk you through the steps to install and set up your new thermostat.
12
Step 12 of 80Gather your tools now so that they're available when you need them.
13
Step 13 of 80You'll need a #2 Phillips screwdriver and pencil.
14
Step 14 of 80Pliers, wire strippers, and a flashlight are optional.
15
Step 15 of 80Then make sure your heating and/or cooling system is working properly before you start.
16
Step 16 of 80Go to your home's breaker box and turn off the power at the circuit breaker.
17
Step 17 of 80This will protect you and your equipment during installation.
18
Step 18 of 80To double-check that the system is off, adjust the temperature with your current thermostat.
19
Step 19 of 80Wait a few minutes to make sure your system doesn't turn on. Turning the power off may disable Wi-Fi, so make sure your phone has mobile data turned on.
20
Step 20 of 80Next, follow the steps in the app to remove the front of your thermostat and check the type of system you have.
21
Step 21 of 80If you see 120V or 240V labels, stranded wires, or thick wires with wire nuts, your system is high voltage and not compatible with the Nest Learning Thermostat.
22
Step 22 of 80Important! Do not connect a Nest Learning Thermostat to these high voltage wires.
23
Step 23 of 80If your system is compatible, tap Not High Voltage.
24
Step 24 of 80Take a picture of the wires with your phone. This will be useful for reference later.
25
Step 25 of 80If there are jumper wires connecting one wire to another, loosen the screws to remove them.
26
Step 26 of 80You won't need them. Some thermostat terminals may have two labels, one for conventional systems and one for systems with a heat pump.
27
Step 27 of 80If your terminals have two labels, tap Yes.
28
Step 28 of 80Otherwise, tap No. Identify and select the type of wires your thermostat has.
29
Step 29 of 80Depending on the type of wires you have, the app may walk you through additional steps.
30
Step 30 of 80Because every heating and cooling system is different, it's important to label your wires.
31
Step 31 of 80With the power still off, remove the wires from the terminals one at a time and attach the matching sticker label provided in your thermostat box.
32
Step 32 of 80Most thermostats have screws that hold the wires in. Use a screwdriver to disconnect them.
33
Step 33 of 80Other thermostats may have buttons that you simply press to release the wires.
34
Step 34 of 80Carefully remove your old thermostat. You may want to wrap the wires around a pencil so they don't fall back into the wall.
35
Step 35 of 80If you're installing your Nest Learning thermostat on an electrical box, tap Yes and use the included metal plate, or tap No.
36
Step 36 of 80To install the trim plate to cover any wall imperfections, tap Yes.
37
Step 37 of 80If you're not installing the trim plate, tap No.
38
Step 38 of 80Gently pull the wires through the thermostat base.
39
Step 39 of 80Use the bubble level to make sure the base plate is straight. Then mark where the screws will go.
40
Step 40 of 80To attach the base plate to the wall, use the long pointed screws that came in the box.
41
Step 41 of 80If you are installing in drywall, use anchors.
42
Step 42 of 80If you need to drill holes in your wall, remove the base plate before doing so.
43
Step 43 of 80Pre-drill a hole with a 3/32 inch or 2.5 mm drill bit.
44
Step 44 of 80Tighten the screws until the base plate is firmly against the wall.
45
Step 45 of 80Use the bubble level to make sure it's straight. Untangle the wires and align them with the terminals, but don't insert the wires yet.
46
Step 46 of 80Check the ends of your thermostat wires. They should be straight.
47
Step 47 of 80If not, re-strip them and trim the ends, leaving 3/8 of an inch or 10 mm of wire exposed.
48
Step 48 of 80Use the on-screen diagram as a wire guide. Starting from the top, hold each lever all the way down while inserting the wire into the correct terminal.
49
Step 49 of 80When the wire is secure, the lever will remain pressed.
50
Step 50 of 80Push in the wires so they're flush with the back plate, and make sure the levers stay pressed when the wires are gently pulled or adjusted.
51
Step 51 of 80This lets you attach the display properly. If the levers don't remain pressed, strip the wire a bit more.
52
Step 52 of 80Then, reinsert the wire. To attach the display, align the display and base.
53
Step 53 of 80Then press evenly along the entire edge of the display until it clicks into place.
54
Step 54 of 80Now go to the circuit breaker and turn the power back on.
55
Step 55 of 80Your Nest Learning Thermostat's display is now on and the thermostat is ready to connect.
56
Step 56 of 80Note, if you're unsure if the thermostat is receiving power, you can always pull the display back off.
57
Step 57 of 80The level at the top of the base illuminates when the thermostat has power.
58
Step 58 of 80Select your language. The app will show you which wires have been detected on your thermostat.
59
Step 59 of 80If they match the wires you installed, tap Next.
60
Step 60 of 80If not, turn your power off and check that you've inserted the wires into the right connectors, and make sure they're pushed all the way in.
61
Step 61 of 80Next, the app will test the installation to make sure your thermostat is getting enough power.
62
Step 62 of 80Follow the on-screen steps to tell your thermostat a few more things about your system.
63
Step 63 of 80Select the mode you want to use when you turn your system on, such as heating or cooling mode.
64
Step 64 of 80Next, you'll connect your thermostat to Wi-Fi.
65
Step 65 of 80Select the location of your Nest Learning Thermostat.
66
Step 66 of 80Confirm or add your home address. Or, to change your address, tap Edit Address.
67
Step 67 of 80The Google Home app will guide you through some thermostat features, like Nest Renew Energy Savings Program, Eco-Temperature Automations, and Smart Schedule.
68
Step 68 of 80The sensors in your device can help determine if someone's home. To keep presence sensing turned on for this device, tap Next.
69
Step 69 of 80If you turn on presence sensing, we recommend using both your phone location and device sensors to detect when someone is home or everyone is away.
70
Step 70 of 80Presence sensing also works best when everyone in the home participates.
71
Step 71 of 80You can set up different features now. Or, to set these features up later, tap Not Now.
72
Step 72 of 80To get Google updates on hardware products, offers, and more, tap Sign Up.
73
Step 73 of 80Or tap No Thanks. Your Nest Learning Thermostat might need some time to update.
74
Step 74 of 80Once it's done updating, you can rotate the dial to change the temperature.
75
Step 75 of 80Or press down the display to see a more detailed menu with a description of what your thermostat is doing.
76
Step 76 of 80The Google Home app makes it easy to control your Nest Learning Thermostat, even when you're not at home.
77
Step 77 of 80You can adjust the temperature, change settings, see your energy dashboard, and more.
78
Step 78 of 80When you're done setting up your thermostat, tap Done.
79
Step 79 of 80Or, to set up the temperature sensor that came with the thermostat, tap Set Up Nest Temperature Sensor.
80
Step 80 of 80The app will lead you through the setup process.