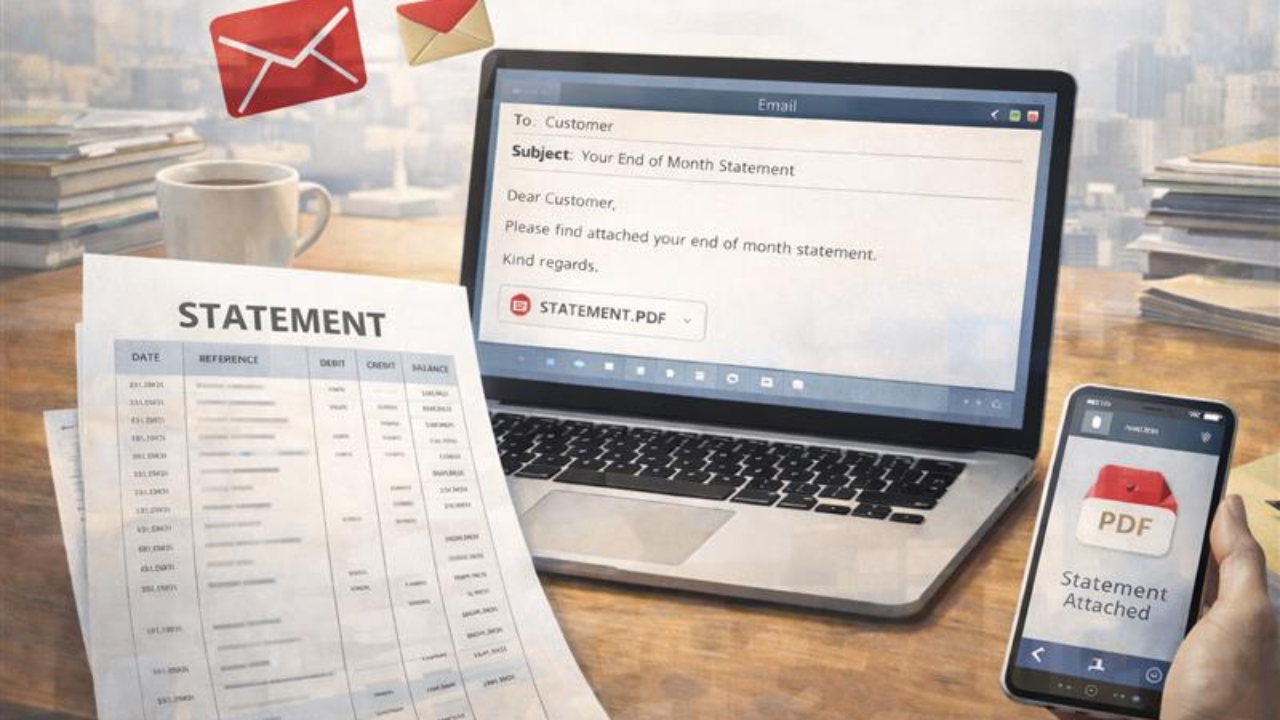

Sending EOM Statements to Customers for the previous month (MYOB)
All reports are saved in:
Finance → Reports → Fiscal Year
Copy and paste the EOM Statement Report (always update the file name with the month covered and the date).
Sending EOM statements is done from the 1st to the 3rd day of each month.
Note - COGS & Compariosn report must done before you send statement

Download the Debtors Report from Salesforce
Open the Debtors Report in Salesforce (SF).
Click the arrow down beside Edit
Select Export.
The extracted file will automatically be saved to Downloads folder.

Arrange by each region and by payment terms, as we only send EOM statements to debtors that have a 30‑day EOM account.
Highlight the EOM debtors that have been invoiced in the previous month and due at EOM.
![<p>Export the <strong>Receivables Reconciliation [Summary]</strong> report from MYOB to compare it with the <strong>Debtors Report</strong> from SF.</p><p></p><p>Go to:<br><strong>Reports → Sales → Receivables Reconciliation[Summary] report</strong></p><p></p><p>Set the date <strong>As of the current date</strong> when processing this report.</p><p><br>Then click <strong>Export to Excel</strong>.</p>](https://knowby.show/media/fdc8a103-a0b7-4a01-91b2-7cd0b1656c76/knowbys/ede4d5f8-85ac-4c31-b836-e7ace55642ab/steps/d7bab98d-5070-4828-b371-5b9d79213e7b/110c2664-0780-45bb-96e8-9d8abc7c7c2d-web.jpg)
Export the Receivables Reconciliation [Summary] report from MYOB to compare it with the Debtors Report from SF.
Go to:
Reports → Sales → Receivables Reconciliation[Summary] report
Set the date As of the current date when processing this report.
Then click Export to Excel.

Match the total due receivables to the Debtors Report.

After matching the debtors with amounts due at EOM:
Go to MYOB → Sales → Print/Email Statements.

Click To Be Emailed, then go to Advanced Filters.
Set the date range from the 1st day of the previous month to the current date.
Click Customise, then click OK.

It will display the SFM Statement format.
Update the date to the current date, then close the window.
A pop‑up message will appear asking if you want to save — click Yes.

Before sending the actual EOM statements to the debtors, send a test copy to your own email first to ensure the EOM Statement is correct.
Check and set the date range from the 1st day of the previous month to the current date.
Click the debtor’s transaction account email address, then temporarily change it to your email.
A pop‑up message will appear asking if you want to update the card — click No.
Make sure your email address appears in the Email Address field (this is temporary because you selected No).
Tick the transaction and click Send Email.

Check the date details and the ending balance.
If all information is correct, go back to Print/Email Statements to actually send the EOM statements to the EOM debtors.

When sending the EOM debtor statements, go back to the report to match the correct transactions and double‑check the balance.
Verify the date covered.
After confirming the match, tick the transactions and click Send Email.

To check if all EOM statements have been sent to each debtor:
Go to MYOB → Sent Emails.