
Note the material and FG code from the job ticket and the pre-press plate form as you will require it to load the correct program. Ensure the numbers on the job ticket, plate form and job bag are the same.
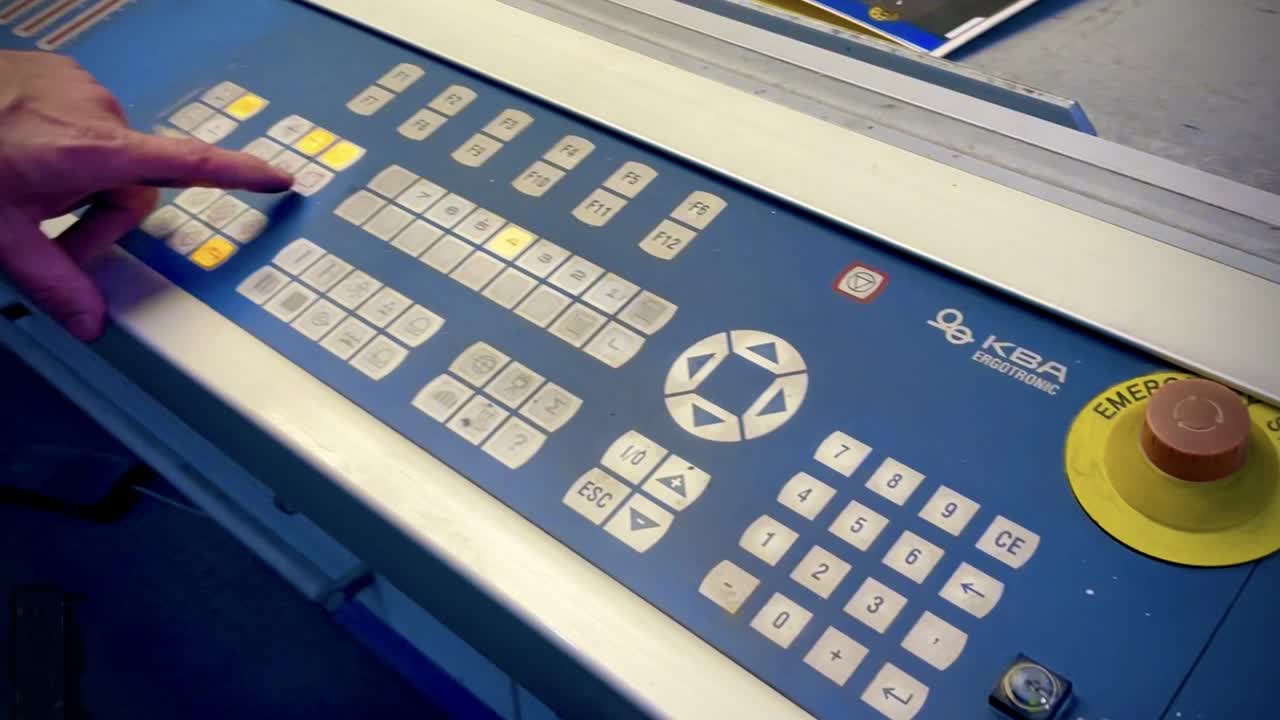
Press to illuminate the 'New Job' button on the control panel. This will open the 'job' screen
Press the 'current/next' button on the control panel to switch off light. Ensure the blue borders on the screen switch off.
Press the 'Load' button on the bottom left of the touch screen to open the 'Search' window.
Use the numeric keypad on the control panel to enter the finished goods (FG) code in the 'Job' text field then press 'Search' on the touch screen.
When the job data is found, press to highlight the triangle icon on the touch screen. When the icons in the 'Job header data' turn cyan, press the 'Load' button at the bottom of the screen. This will open the 'Load' window.
If running the job for the first time select the 'Preset data' check box. If the job has been run before, select the 'Repitition data' check box on the touch screen. Press the 'Load' button.
Zero the 'Gross' & 'Good Sheets' fields in the 'Sheet counter' section using the numeric kepad in the top right corner of the touch screen. Refer to the 'Job ticket' for the run quantity located in the 'Printing, section. The run quantity is refered to as 'Sheet in'. Enter the quantity in the 'Copies' field
Press the second step button on the control panel to access the 'Job changing' configurations screen. Press 'Step 1' on the bottom left of the touch screen.
Use the controls on the touch screen to select the desired wash cycles. Blue check marks will indicate the enabled wash cycles. Press 'Step 2' at the bottom of the screen (Note: Individual print stations can be enabled/disabled using the buttons directly below the machine diagram).
Use the touch screen controls to engage clutch, plate changer, ink inlet and blanket washing. Blue check marks will indicate the functions that have been enabled. Press 'Step 3' at the bottom of the screen.
Refer to job ticket 'Materials' section for sheet dimensions and enter them into the fields in the 'Size settings' section of the touch screen.