
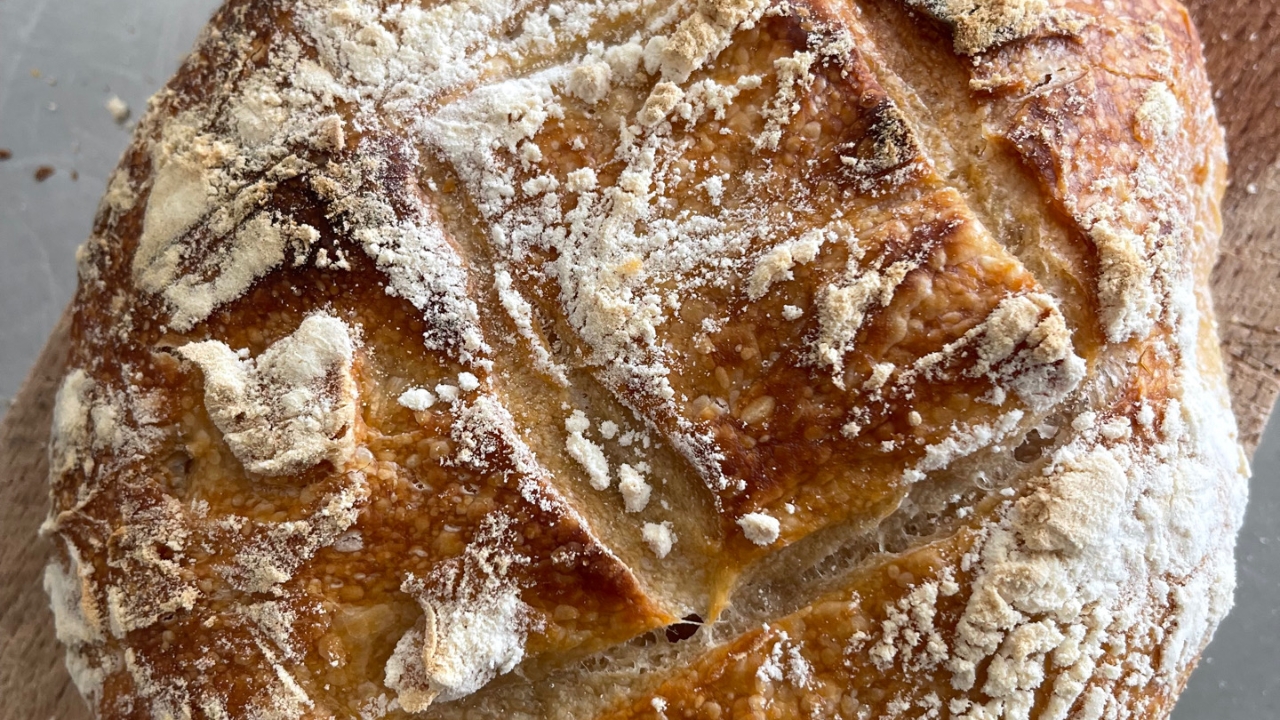

Start preparing late afternoon for a great breakfast next day.
You need roughly 30 minutes of time to work the dough and about 14 hours to rest it in various steps of this recipe. This is where most of the magic happens! 😁
Baking the bread will take 30-45 minutes.

Ingredients:
- Sourdough starter (*see instructions in the Bourke Street Bakery book or online resources)
- Bread flour (ideally high protein organic flour)
- Salt
- Water and some ice cubes
- Olive oil or other light vegetable oil
Equipment:
- Kitchen scales
- Calculator
- Mixing bowls and a mesh-like basket to rest the dough
- Baking paper and plastic wrap
- Tea towel
- Pizza stone, cast iron frying pan or Dutch Oven

Begin the process by weighing your starter
Add bread flour in a weight ratio relative to your starter.
The weight of flour to be added = 1.9 times the weight of your starter.
This means if you are using starter that weighs:
- 200 gm use 380 gm flour
- 250 gm use 475 gm flour
- 300 gm use 570 gm flour
Also add water in a ratio relative to your starter.
Use 1.2 grams of water for each 1 gram of starter.
This means if your starter weighs:
- 200 gm use 240 gm of water
- 250 gm use 300 gm of water
- 300 gm use 360 gm of water
Mix ingredients together until there are no dry lumps.
Cover the mixing bowl and let the mixture stand in a warm place for 30 minutes.
Once the mixture has rested for 30 minutes, it’s time to add salt and work the dough.
For each gram of starter add 0.05 grams of salt. This means if you use starter that weighs:
- 200 gm use 10 gm salt
- 250 gm use 12.5 gm salt
- 300 gm use 15 gm salt.
Mix the ingredients for eight to ten minutes if you are mixing it manually - it can be quite relaxing 😁

Place the mixture in a lightly oiled bowl, cover with a tea towel or similar.
Rest in a warm place (24-26C) for two hours. You should see bubbles forming in the mixture by this time.
Place the dough on a lightly floured surface.
Begin by shaping the dough into a rectangle.
Follow that by stretching the dough to double its width in one direction then folding one third towards the middle. Stretch the dough in the other direction then fold it back to overlap the middle section.
Now draw the dough towards yourself then fold it back over the centre. Do the same in the opposite direction.
While the dough is still on the floured working surface, use the ball of your left hand as a guide and gently shape the dough by pushing in a circular motion with your right hand. Go slowly here and don’t push too forcefully.
Cover lightly with plastic wrap to stop the dough from drying out and let it rest for 30 minutes.
Sprinkle a small amount of flour on a clean working surface then place the dough mixture in the centre.
Starting from one corner, pull the mixture away from the centre, then fold the dough over itself back to the centre.
Do the same moving from each side of the dough until you have a smooth parcel.
This is the final shaping process.

Add baking paper to the inside of a banneton (or mesh-like basket), sprinkle flour lightly on top of the paper, then add the dough parcel with the seam facing up. Sprinkle more flour on top of the dough.
Cover the dough and let it rest for eight to twelve hours in the refrigerator. This will allow the bread to develop the characteristic sourdough flavours.

Remove the dough from the refrigerator and place it in a warm area (ideally 26-27C) or in the oven on the lowest temperature together with a small container of warm water to help keep the area moist.
Let it rest for one to two hours until it has gained a third or half its size.

Place the dough in the fridge for ten to fifteen minutes then make quick slashes across its surface to allow the dough to expand when it’s placed in the oven.
Sprinkle the top lightly with flour.
Preheat pizza stone, cast iron frying pan or Dutch Oven at 230C for 30 minutes in the oven.
WARNING: it’s time to be very careful: the oven and the cooking area are hot! Be aware of your working area and how you move around it.
Carefully place the baking paper supporting the prepared dough on the cooking surface.
If you are using a pizza stone or cast iron frying pan as a base, spray the interior of the oven with about 100ml of water after loading the dough and throw some ice cubes into the bottom tray of the oven beneath it.
If you are using a Dutch Oven, make sure the lid is added before you close the oven door.
Bake the bread for 30-45 minutes depending upon the size of your dough.

There it is! Bring the bread out of the oven and let it rest for a minimum of 15 minutes or so. Tap the bottom of the bread to ensure it’s firm and gives off a slightly hollow sound. It’s then ready to be sliced.
Enjoy with your favourite toppings! 😋😋😋