Knowby SUPAWOOD
Knowby
How to Operate the Aluminum Saw
How to start, set up & operate the Luna Machinery Aluminium Saw
1
Step 1 of 12
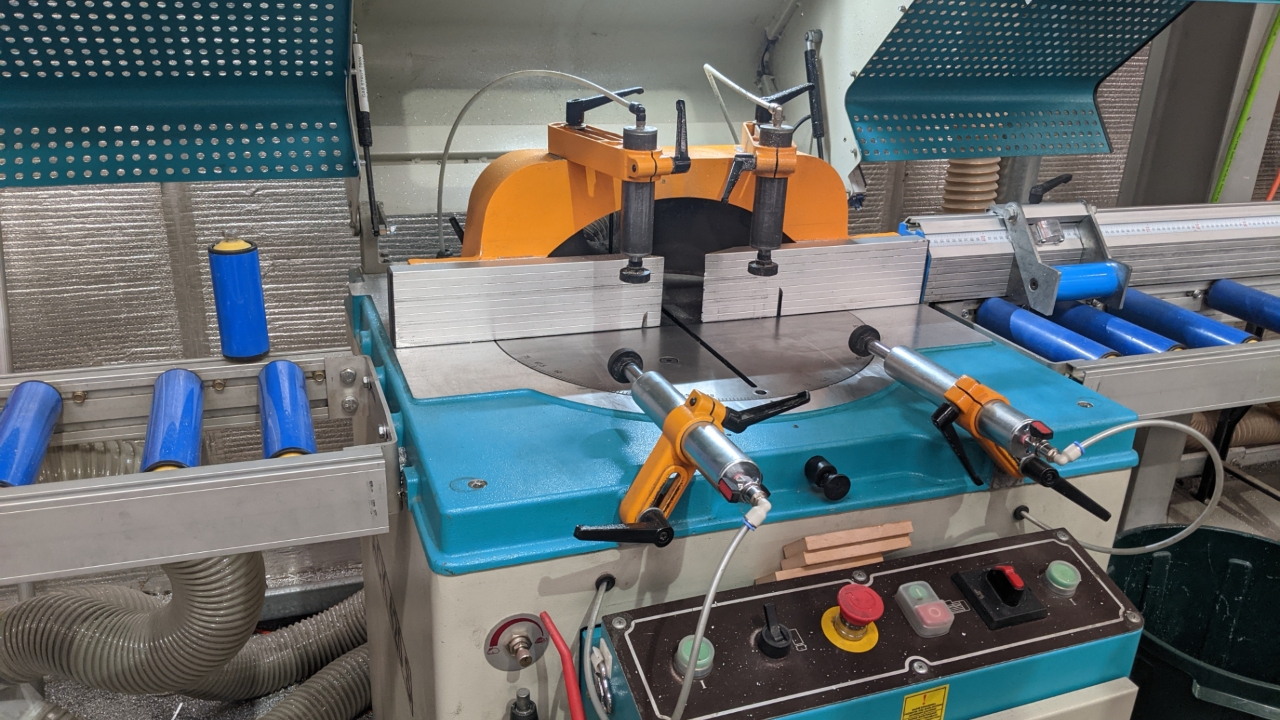
<p>This is the aluminum saw.</p>

This is the aluminum saw.

2
Step 2 of 12
<p>Check cutting fluid level in clear container on the lower right side of machine.</p>

Check cutting fluid level in clear container on the lower right side of machine.

3
Step 3 of 12
<p>If container is empty add cutting fluid up to marked line then fill container with water. Note: Machine must not be operated without cutting fluid.</p>

If container is empty add cutting fluid up to marked line then fill container with water. Note: Machine must not be operated without cutting fluid.

4
Step 4 of 12
<p>Remove any oil or grease residue from the turntable by spraying with kerosene &amp; wiping down.</p>

Remove any oil or grease residue from the turntable by spraying with kerosene & wiping down.

5
Step 5 of 12
<p>Ensure all swarf (aluminium shavings) are removed by using compressed air to blow out the turn table carefully.</p>

Ensure all swarf (aluminium shavings) are removed by using compressed air to blow out the turn table carefully.

6
Step 6 of 12
<p>Identify measurement required from the paperwork, move stop to required position and lock off.  Note: DO NOT overtighten any clamps on this machine.</p>

Identify measurement required from the paperwork, move stop to required position and lock off. Note: DO NOT overtighten any clamps on this machine.

7
Step 7 of 12
<p>Machine has 4 x air powered clamps, ensure clamps are open before loading beams.</p>

Machine has 4 x air powered clamps, ensure clamps are open before loading beams.

8
Step 8 of 12
<p>Load beam, move up against stop, HOLD beam in place, flick black switch to clamp.</p>

Load beam, move up against stop, HOLD beam in place, flick black switch to clamp.

9
Step 9 of 12
<p>It is important that clamps be centered on the work piece when engaged.</p>

It is important that clamps be centered on the work piece when engaged.

10
Step 10 of 12
<p>When work piece is clamped close the lid in preparation of cutting.</p>

When work piece is clamped close the lid in preparation of cutting.

11
Step 11 of 12
<p>Push down both green buttons at once to cut.</p>

Push down both green buttons at once to cut.

12
Step 12 of 12
<p>Cut complete, Lift lid, push black switch back to release work piece.</p>

Cut complete, Lift lid, push black switch back to release work piece.