

Personal Protective Equipment (PPE). Gloves and Safety Glasses. If you don’t already have a pair of gloves or safety glasses, please see the store person.

Tools required: Forklift (you need to have a forklift licence to be able to use the fork lift, if you dont have a forklift licence then get some who does to move the coils for you), angle grinder and metal cutters.
Remove the remaining material.
Turn Safe Guard machine to Manual.
Turn the de-coiler to Manual.
Retract the mandrel. [Turn to the right]

Make sure coil tail is facing downward.
Using a forklift, lift the new coil up and onto the de-coiler.

Make sure coil looks like this and is back as far as it can go.
Expand the de-coiler. [Turn to the left]
Remove the coil holder.
Pick up a new coil with the forklift.
Put the new coil on the coil holder. [again ensure the tail is pointing down]

On the coil loaded on de-coiler; cut the tape, make sure to hold the tail so it doesn’t hit you.

Make sure the coil looks like this. The coil is running from the bottom.
Jog the coil to get some extra length.
Using the metal cutters, cut a curved edge on the end of the coil.
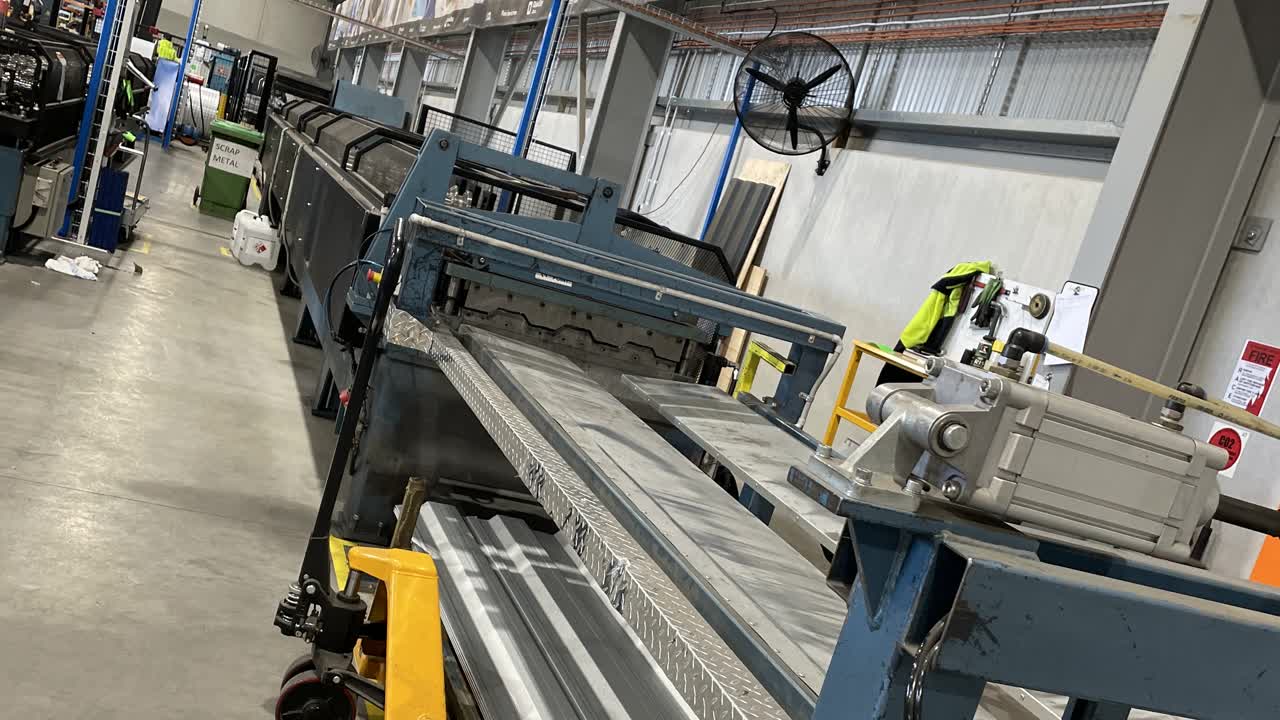
Feed the coil into the guide, under the counter and into the machine.
Press the yellow Jog button at the back of the machine to jog the coil through.
Turn the de-coiler to off.
Jog the coil through the machine.
Pressing the yellow jog buttons along the machine, jog the coil to the end.

Carefully jog the material through the guillotine.
Stick the pole into the guillotine and tighten it with the Allen key.
Repeat step 24 on the other side then remove the Allen key and pole.
Press the black Manual Cut button to cut the safe guard.

Check the safe guard and make sure the Seams are open and not malformed.
Turn the decoiler back to Auto
Turn switch back to Auto

Make sure to write in the comment section of your QA sheet that you have completed a coil change.