
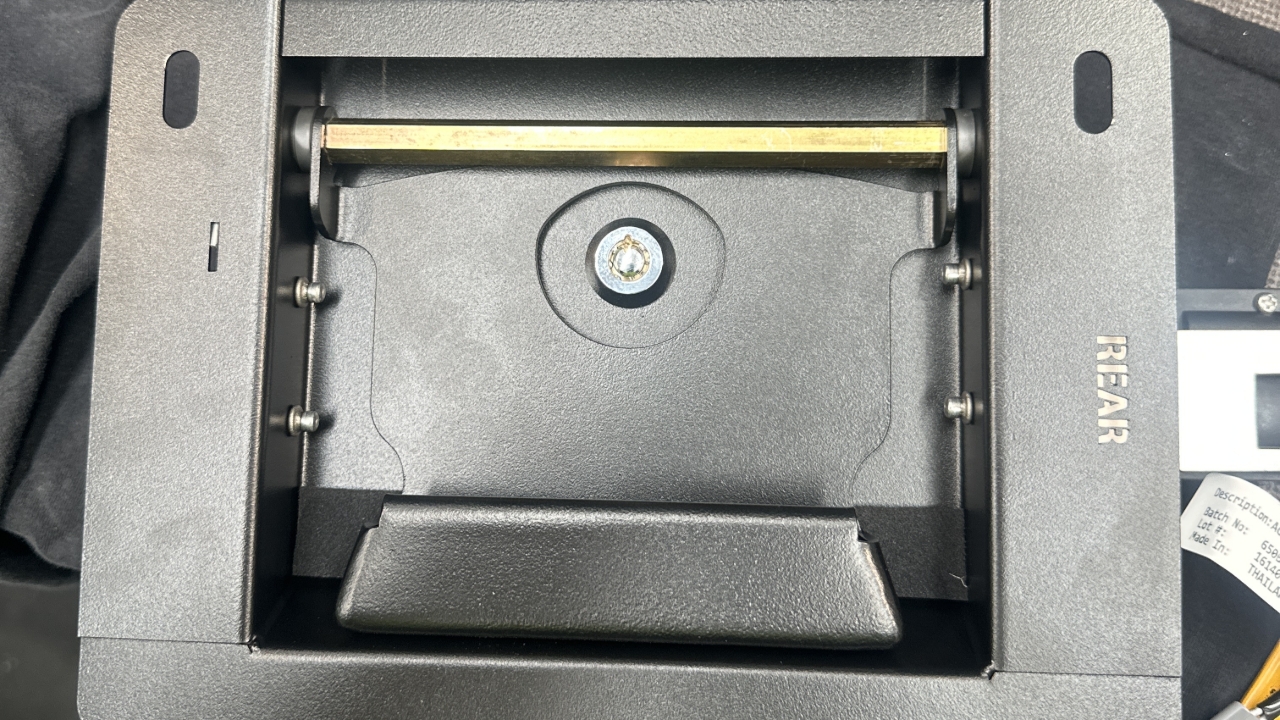

CQC:
- Standard lock barrel
- Same internal mechanism as Trailcore
- Actuator as standard
- New housing and handle
Inspect all powder coated parts for any defects refer to PCQC02

For this process you will need to use the TC ALL/CPY REAR handle riveter on the TC handle assembly station.

Find PRT-005197-01 and PRT-005323-01
Connect both the parts by using the rivet press.
Ensure you connect them with PRT-005197-01 on top of the folded part of PRT-005323-01
PRT-005323-01 then gets connected to the other end of PRT-005199. Ensuring it is connected underneath.
Connect using the rivet press
PRT-005200 is then connected to the end of PRT-005199 using the rivet press.
Connect using the rivet press

Example for reference
Slide PRT-005264 over PRT-005199 and the rivet into the center of PRT-005200.
NOTE: some of these holes on the lock mechanism is very tight. DO NOT DRILL simply use a hammer to get the rivet in place.
Secure with the rivet press.
Example as reference
Connect the internal latch PRT-006074 to PRT-005200. Secure with the rivet press.
Secure with the rivet press.

When tightening these next lot of threads ensure you are using BLUE MEDIUM STRENGTH loctite.
Standard barrel goes through the hole on PRT-011225.
Placing PRT-006512-01over the back of the barrel and secure with a M20 half nut.
Place the sponge foam on the bottom of PRT-011225.
This is to stop the handle from hitting the back plate and making noise/scuffing etc
Slide a foam washer on to ASM-006815 (standard shaft)
Slide the shaft through PRT-011225. Sliding a rubber washer then PRT-008332 then another rubber washer before sliding through the other side of PRT-011225.
Secure the shaft in place with a washer and a Socket head bolt.

Reference photo.

slide the spring on to the end of the shaft and hook around the shaft.
Place PRT-006505 (crush washer) on the lock barrel.

Place PRT-005197-01 on to the barrel and arrange the lock mechanism like the image.

Place PRT-005198-01 on the lock barrel and through the slit in PRT-005197-01.
Apply Loctite on the barrel thread and Flange nut.

Tighten until flush

On the side of the assembly there are two holes that need to line up with PRT-011225 and PRT-005264.
Secure with rivets.

Hook the spring from PRT-005197-01 to PRT-005200

Hook the spring from PRT-006512-01 to PRT-005197-01

Rivet the CLK bracket (PRT-005780) to the side of PRT-011225.
Place the actuator bracket on to the actuator and secure with screws

Line the actuator bracket up with the CLK bracket and secure with bolts.
Spin the end of the actuator, hook the rod into the hole and clip into the pivot.

Reference photo of completed MK4 Rear Door Handle Assembly.