
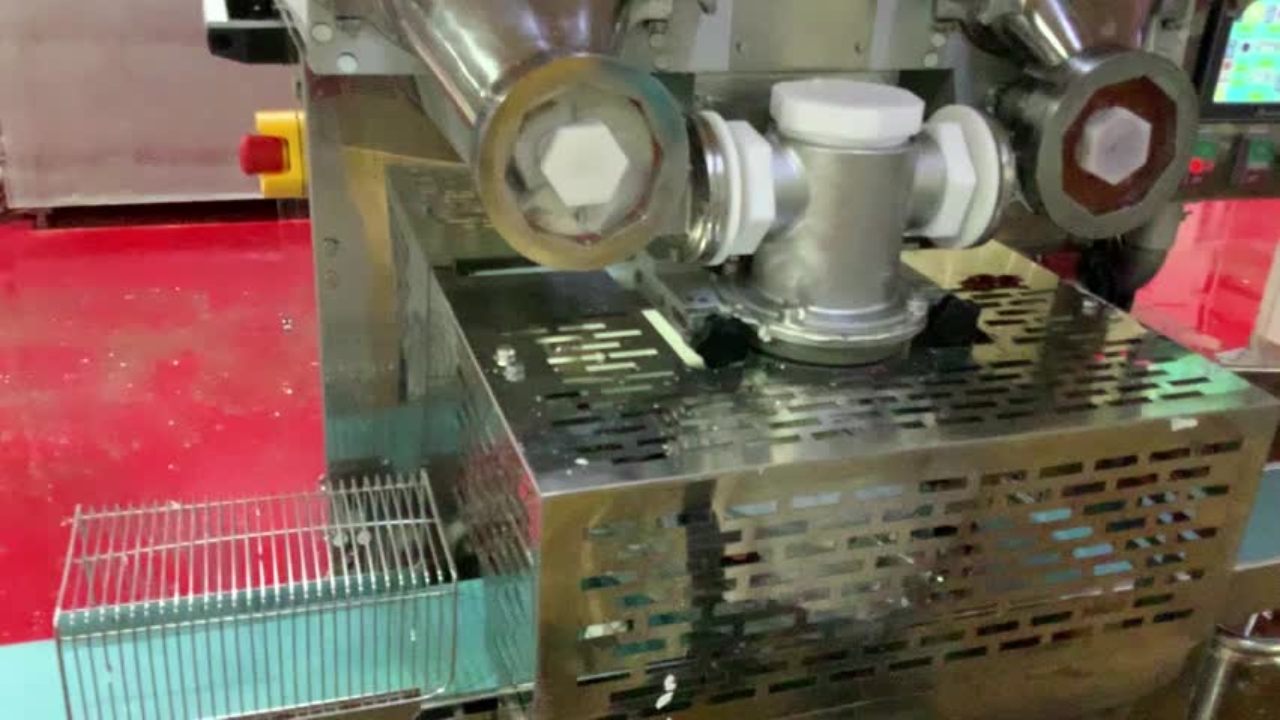
Once bun production is complete, begin by emptying any remaining pastry from the machine.
Only the outer and cutter functions should be turned on to help remove any remaining pastry from the machine.
Run the machine until no more pastry comes out, then dispose of any remaining pastry appropriately.
Ensure the dough flow control is empty before proceeding.
Stop the machine, then change the program to Product 1. In this program, the machine parts operate at a much slower speed.
Start only the Outer and Shutter 2 functions, then monitor the shutter through the guarding.
Stop the machine once the shutter is fully closed, then switch off the machine power.
Remove machine's shutter guarding.
Ensure the shutter is closed or nearly closed. So that it is easier for next day installation.
Switch off the power supply before dismantling the machine.
Take down the upper filling hopper.
Clean out the filling.
Take off the white plastic cover.
Use the tool to loose the metal cover.
There is open arrow marked on the cover.
Remove the white screw part, then detach the transparent part from the metal cover.
Take off the metal cam.
Remove as much of the filling as possible, then detach the flow controller.
Take off the wings and cover.
Remove as much filling as possible from the flow controller housing.

Loosen the screw.
Use a tool to gently push the filling guide tube towards the compound nozzle.
Loosen the three bolts and remove the flow controller housing.
Take off the white plastic O ring.
Remove as much filling as possible.
Unlock those 2 screw Shafts.
Gradually pull out the screw shaft and remove the filling.
Repeat the previous steps to remove the other component, then clear any remaining filling from the hopper.