
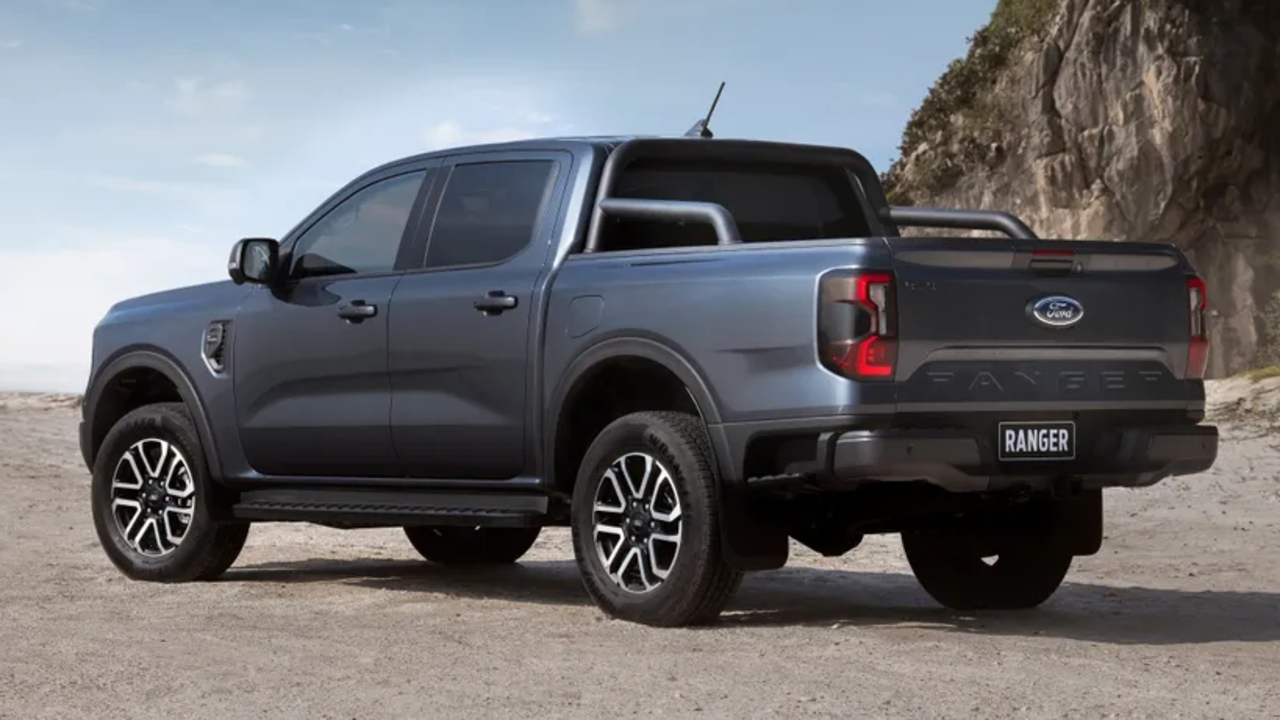
Remove battery earth clamp and ensure it doesn’t rest back on post. Remove cab aerial and cover cab.
Disconnect all electrical plugs at the rear of wellside. And cut all retainer clips and cable ties.
Remove both taillights.
Remove taillights and place on bench, ensuring all components are placed on the respective left and right sides.
Begin cutting the cables ties that hold the wires. Unscrew the BSM housing from the tail light.
Remove BSM housing from tail light.
Cut cable ties and remove the BSM by pushing down on the two clips like so.
Unplug the BSM and write passengers/drivers side on the correlating BSM to ensure you do not get them mixed up.
Remove bolts in bumper and place on bench.
Remove tailgate plastic cover.
Remove tailgate steel cover. Disconnect high stop, lock and camera plugs. Mark high stop.
Remove reverse camera.
Remove cable retainers and feed tailgate harness back though tailgate.
Feed harness back through wellside and unplug from Ute.
Place on bench on respective side.
Drill out rivets in passenger side inner guard.
Remove clips and inner guard.
Cut and remove retainers to fuel filler neck, tank breather, and fuel cap.
Reinstall fuel cap once filler neck is removed from wellside. Disconnect fuel flap plug. Remove small filler drain tube.
Remove all 6 wellside mounting bolts.
Lift wellside off, ensure nothing is still attached while lifting.