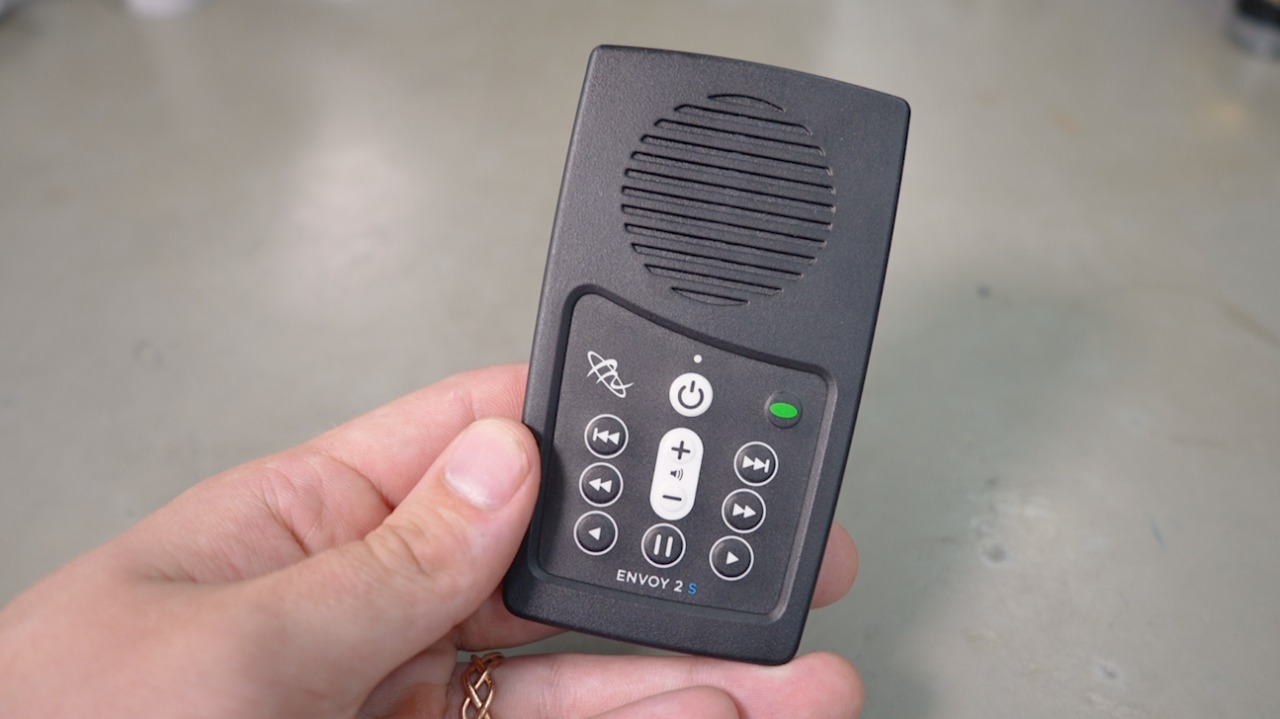
Soldering the Speaker
Apply flux to both outside solder connections points
Solder red wire to the right and black to the left
Scrape in-between if there's any solder connecting to the inside solder points
Soldering the Solar Panel
Apply flux to the two connection points on the back of the solar panel
Apply solder
Solder the two wires to their respective connection point
Installing the Solar Panel
Apply glue to case back, ensure no gaps in glue lines (could use a little less glue than depicted)
Insert solar panel wire through hole
Place solar panel into case back
Press solar panel firmly/gently into case with jig
Gently bend wires toward top right corner
Apply hot glue at base of solar panel wire and wait a minute to dry
Installing the Battery
Cut a piece of double-sided tape (length about the width of the battery)
Place tape in case back
Remove tape film
Remove battery from plastic case and remove light
Place battery in case, words down
Press firmly into case
Apply battery spacer
Installing the Speaker
Peel cover off speaker adhesive
Line up speaker with adhesive and press together
Peel off plastic from adhesive
Place speaker in case front with wires off to the left
Press firmly into case
Apply speaker spacer
Installing the Keypad and PCB
Remove keypad and peel off back
Insert pad into case front
Press down around all edges, ensure entire rim is glued to case
Insert PCB, bottom first
Press down top until it snaps in
Plug in the speaker to the PCB, press until fully inserted
Plug in battery
Plug in solar panel
Close the case, top first
Ensure solar panel wire is to the side of the speaker, not on top
Firmly snap closed
Ensure it's completely closed
Turn off speaker then turn back on and then off again
Inspect case for any defects or blemishes
Screw down the case
Inspect case to finish, polish off any blemishes (especially on the solar panel)
Insert into ziploc bag and pass on to QC
Torque setting: 3 IN-LB