
Run Water Through System: Transfer the 3 hoses from the ink bucket to a bucket of clean water
Note: Run clean water through the system for at least 5 minutes.
Prepare Path: Lay cardboard sheets on the floor to catch dripping ink.
Put on Gloves: Put on cut-resistant gloves. The doctor blades are very sharp!
Switch Off The Ink Pump: Turn knob until the ink pump stops
Open Safety Guard: Remove the interlock switch tongue and open the safety guard.
Pull Back Ink Capture Tray: Pull the ink capture tray back a little bit so that it can catch the dripping ink in the next steps.
Remove Ink Pipes: Undo cam lock levers to release ink pipes from Doctor blade chamber (both sides).
Move the Ink Hoses to the Drainage Pit: be mindful of ink spill, put the hoses near the centre of the pit facing down.
Block Hose Connections: Block the hose inlets/outlets with paper towel to reduce ink spill.
Release Chamber Latches: Loosen knob then swing away the latch that holds the doctor blade chamber in place (both sides).
Swing Back Doctor Blade Chamber: Use the handles to pull the doctor blade chamber down.
Note: This step will expose the sharp edges of the doctor blades.
Undo Blade Chamber Holder Bolts: Undo (turn anticlockwise) the bolt that secures the doctor blade chamber in its holder (both sides).
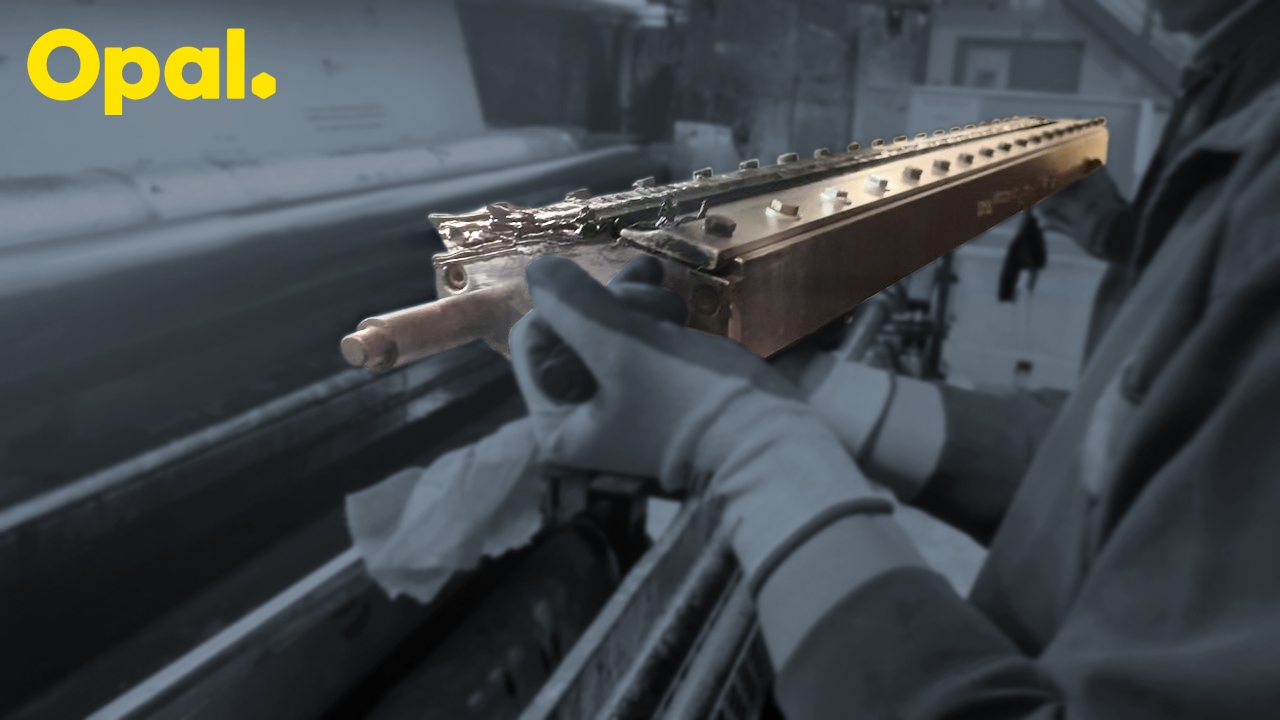
Lift Out Doctor Blade Chamber: Grab the chamber by placing one hand on handle and the other on the round bar at the end. When both operators are ready, carefully pull back, then lift out the assembly.
Note: Two person lift.
Bring Doctor Blade Carrier to Sink: Carry the doctor blade carrier to the sink. Place the carrier with the blades facing down in the sink.
Installing Doctor Blade Carrier: Grab a ready-to-go doctor blade carrier from the rack, and carry it to the machine.
Note: Two person lift
Place Doctor Blade Chamber in Holder: Place the doctor blade chamber in holders and tighten the locking bolt.
Lift Blade Chamber: Swing the doctor blade chamber all the way up until the blades touch the anilox roller.
Secure Blade Chamber: Swing down Chamber retainer and tighten bolt.
Reconnect Ink Hoses: Reconnect and secure the ink hoses to the doctor blade chamber using cam lock levers.
Close the Safety Guard: Lower the safety guard and reconnect the interlock switch.
Circulate the Ink: Place the ink hoses into the ink bucket and start the ink pump.