
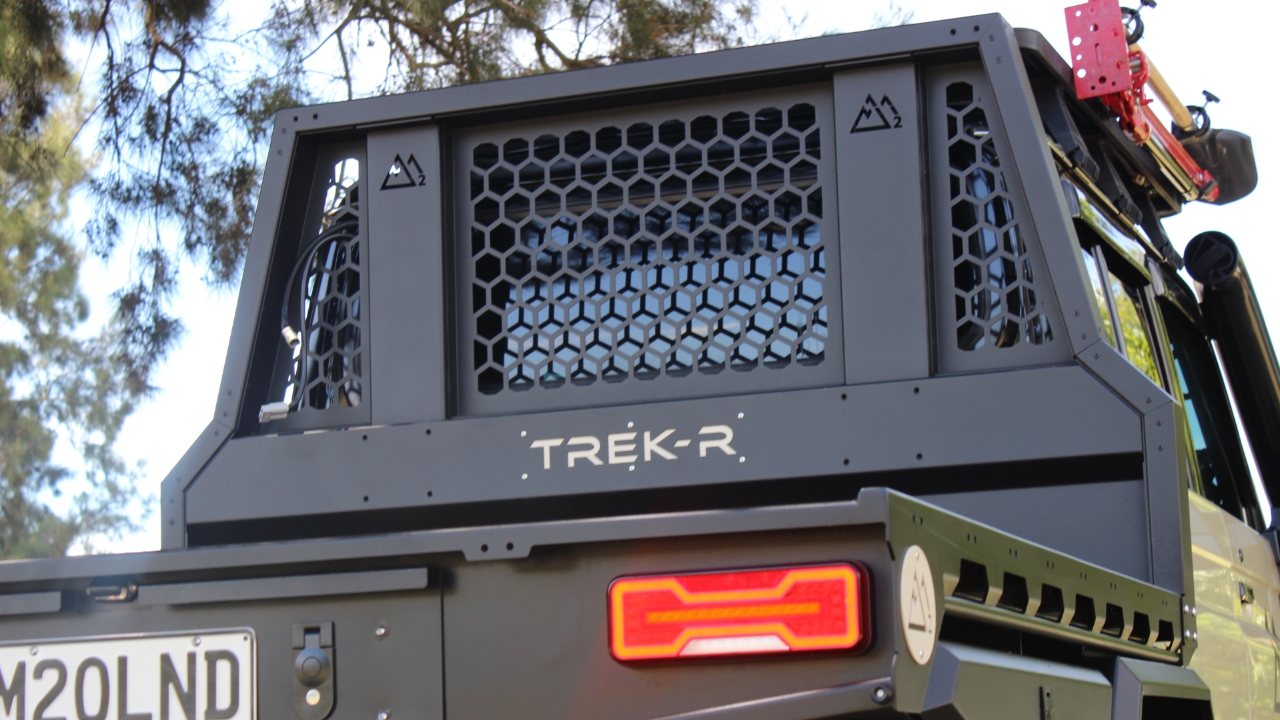

Apply supplied brake paste to all M8 fixings supplied
Fit headboard to chassis with 2 people minimum being careful not to scratch outside of chassis
Fit M8 bolts into side plates of headboard. Leave loose for alignment purposes.
Place M8 bolts with flat washers into the headboard centre lower mount points

Lay out the M6 bolts, nylon nuts and flat washers
Apply heavy amount of brake paste to first bolt then disperse amount over remaining 7 bolts
Fit all M6 bolts through the headboard and into the front crossmember of the chassis. Leave loose for alignment purposes
Fit M8 bolts to front of headboard with brake paste applied. Leave loose for alignment purposes
Using a large square ensure headboard is positioned square on both sides to the chassis side rail
Tighten side plate bolts first with a 5mm Allen key ensuring the bolts are done up tight and the headboard stays square to the side rail.
Tighten the M8 bolts in the centre lower mount points using a 5mm Allen key. Ensure the bolts are tight.
Tighten the M8 bolts on the front outer edge of the headboard. Ensure they are done up tight
Tighten the M6 bolts along the bottom of the headboard (8 in total) using a 4mm Allen key and a 10mm socket