Here is the issue:
If you haven't already created a category in the Settings menu, you will not see the Categories tab when publishing a knowby, and you can't filter by categories.
Begin by adding a category by clicking on the Settings icon > Manage categories > Add.
Enter a name for the new category then click Create.
To add a category to a published knowby, you'll first need to unpublish the knowby briefly, so that a draft of the knowby appears in your Workspace, so it can later be republished with the category assigned.
From the Knowbys tab, click on the ellipses (...) in the top right hand corner of the knowby, then click Knowby Details > Unpublish then confirm by clicking the Unpublish button in the dialog box
In the Workspace tab you will now see a draft of the knowby.
Note: Admins will see both My Drafts and Draft. My Drafts are knowbys created by you, Drafts are knowbys created by anyone in the organisation. This allows an admin to access any draft in the organisation, and prevents drafts from being orphan when a person leaves an organisation.
Now, to republish the knowby and assign a category to it, click on the ellipses (...) in the top right hand corner of the knowby, then click Submit for approval.
You will now see the Categories tab appear in the Approval process workflow.
Select the category or categories you wish to assign to the knowby, then follow the Approval process workflow as you normally would.
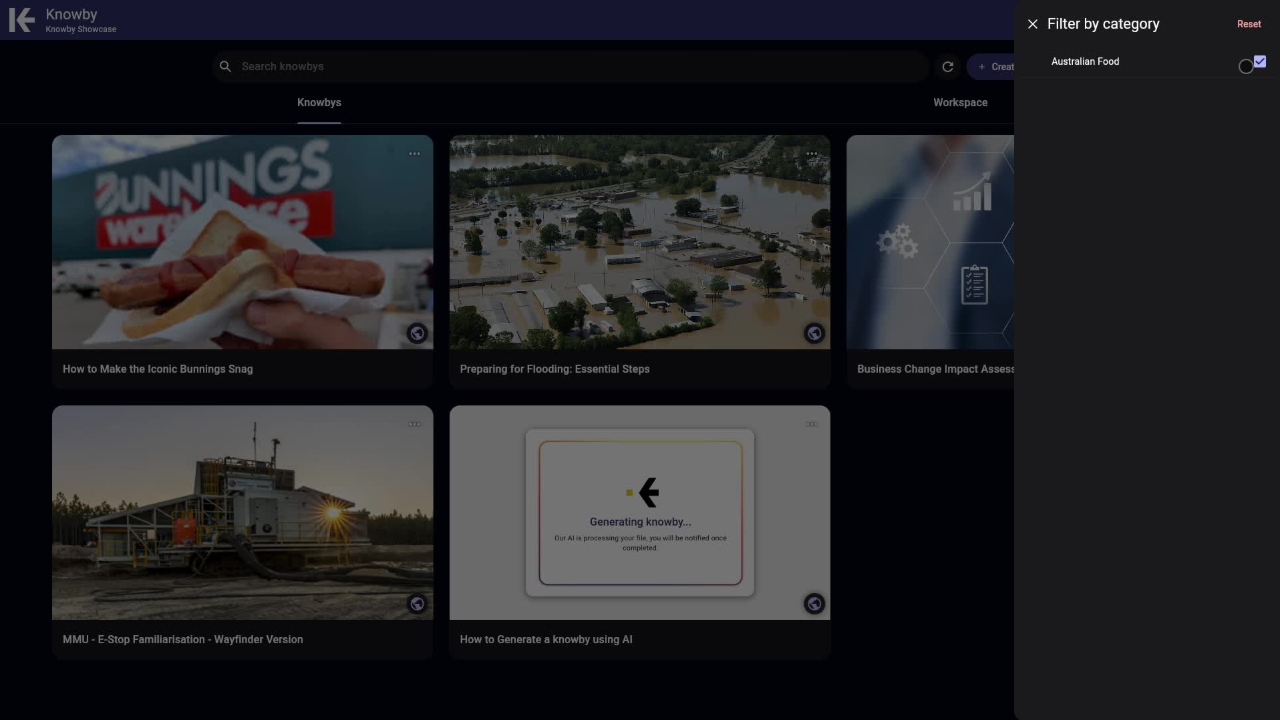
Once the knowby finishes processing, navigate back to the Knowbys tab, and click on the Filter icon (on the right of the +Create button) to filter by category.