
1.
Locate the cover plate beneath the passenger glove box. Release the clips (circled yellow), disconnect the attached plug (circled red) and remove the cover.

2.
On the passenger side, remove the tread plate by pulling upwards to release the clips.

3.
Unscrew the plastic nut and remove the kick panel.

4.
Locate the loose white plug in the cavity.
Connect the matching connector from the supplied harness.

5.
Remove the side access panel and attach the earth cable.
Remove larger connector circled (located near firewall grommet)

6.
Remove larger connector circled (located near firewall grommet)

7.
Attach the supplied wire tap to the GREEN wire, and reattach connector.
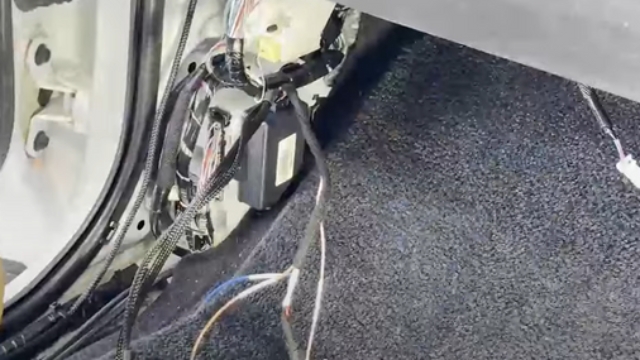
8.
Attach the module using the tap in the available position as shown.

9.
Repeat Steps 4 and 5 on drivers side.
Remove the two screws circled and pull down to detach panel.

10.
From the passenger side, feed the switch portion of the harness behind centre dash and through to drivers side (There is hollow for the harness to pass through as indicated).

11.
Locate dash board side trim and pull firmly outwards to remove.

12.
Pull firmly downwards and back on the fascia panel to release clips.

13.
Attach the supplied wiretap to any adacent plugs (pin 4) for dash illumination.

14.
Remove the blank from the desired location and plug in & fit the supplied OEM style switch.

15.
The pink wire contains the high beam feed. Connect this to the main power harness for the driving lights.

16.
Test the wiring to see if you have high beam feed.
Secure all wiring with the cable ties.
Refit dash panels in reverse order from previous steps.