
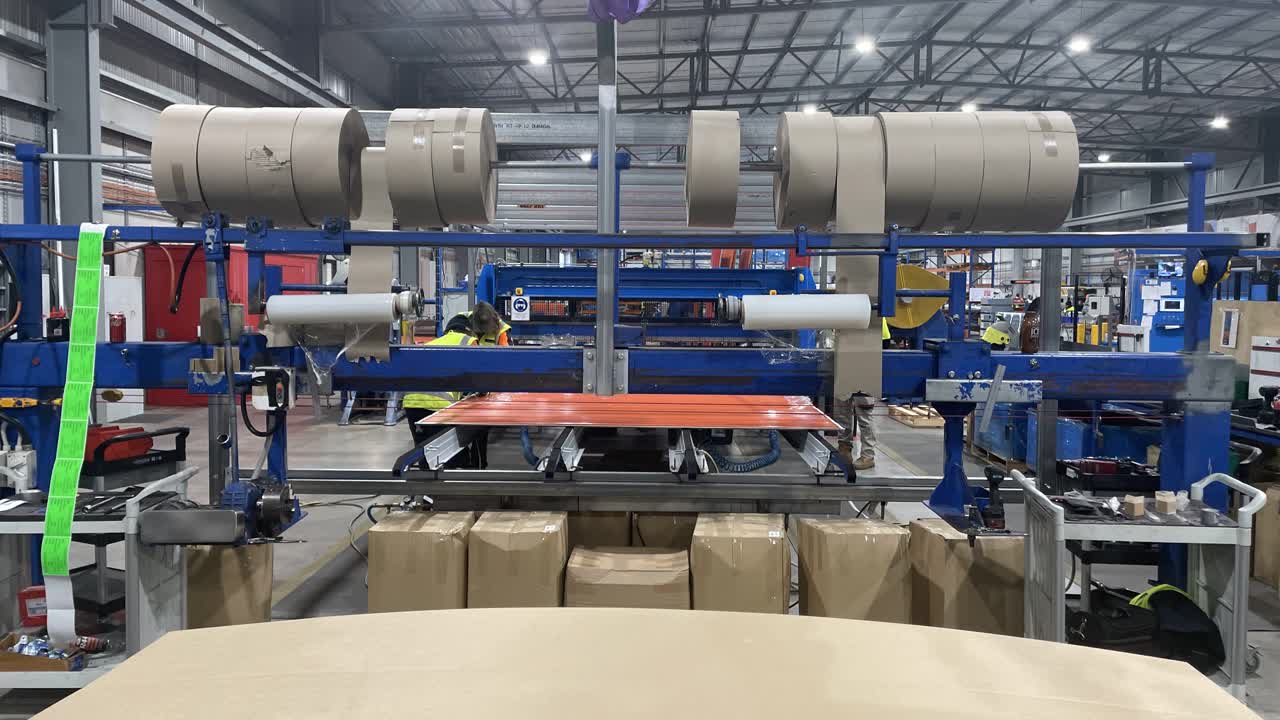

Personal Protective Equipment (PPE). Gloves and Safety Glasses. If you don’t already have a pair of gloves or safety glasses, please see the store person.

QA Sheet. You will find a QA sheet at the machine, if there is no QA sheet there see the team leader or production. A QA sheet will need to be completed at the start, through out and at the end of the day.

Tools required; Drill, clamp, ruler, tape gun.

Turn the power switch to On.
Grab the shaft and put it into place.
On the controllers side (left side), using the chuck key, tighten the chuck to secure the shaft.
On the right side, put the pin 'in' to ensure the shaft doesn't come out during rolling.
Press the green upside down triangle to make the shaft spin.

You will need this blue grease to grease the springs on the shaft.
Dab the paint brush into the grease, getting a decent amount of grease on the brush.
Using the paint brush pat the grease onto the spring, making sure to coat the entire spring, repeat on both springs.
Press the red circle to stop the shaft from spinning, stop it at the right time to have the lip of the wheels facing up.
Both rollers should grab the roller door and bring it to the wheels. Bend it, so the end of the door is sitting in the lip of the wheels.

While still holding the door with one hand, use the other hand to grab the ruler, use the ruler to make sure both sides are an even distance off the door, make sure to talk to the other roller so you can do this.

Right Side Roller.

After the door is even, use the clamp secure the door to the wheels.

Right Side Roller.

Using the drill, screw in two screws, securing the door to the wheels, then take off the clamps. make sure to do all 3 wheels.

Middle wheel.

Right Side wheel.
Count from your second screw five inward divets and hold one hand there, then pressing the green upside down triangle button roll the door slighty to where your hand is.
Right side roller.
Using the drill, screw in more screws, rolling the door backwards (yellow triangle button) until you reach your first set of screws. There should be 6 screws [total] in each side and three [total] in the middle.
Middle, a 4 sheeter door will need 4 screws.
Right side roller.
Grab your plastic wrap and bring it down towards the door, then under the corner then over the door but behind the plastic wrap.
Right side.
Pressing the green upside down triangle button roll the door until the bottom rail is facing up, making sure that the door doesnt go out of line.
Right side.
Using your body, hold the door while you grab the cardboard strip, make sure it is long enough to go around the entire door. Push your plastic wrap down and under the door as far as you can reach. The door should be secured enough so you wont need to hold it.
Right side.
Place 1 hand tightly on the plastic wrap, press the green upside down triangle button to start wrapping the door. Place 3 cardboard corners around the door as it is wrapping, once the end of the cardboard corners are covered, move along the length of the roller door, once the entire door is covered in plastic wrap you can break the plastic wrap.
Right side.
Once the door is covered press the red circle button.

The entire door covered.
Left Side. Using T-bar, loosen the spider and using the chuck key, loosen the chuck.
Right Side. Using the T-bar, loosen the spider and take out the pin.
Both 'rollers' will hold the shaft, the right side roller is going to lift their end of the door and pull the door towards them slightly [so the left side roller can lift their end of the door], then both rollers are going to carry the door to the table to be packaged.
Left side. Twist and pull out the red spider and slide it to the right side.
Right Side. Twist and pull out the silver spider, then grab both the red and silver spider and take them both to the shaft table.