
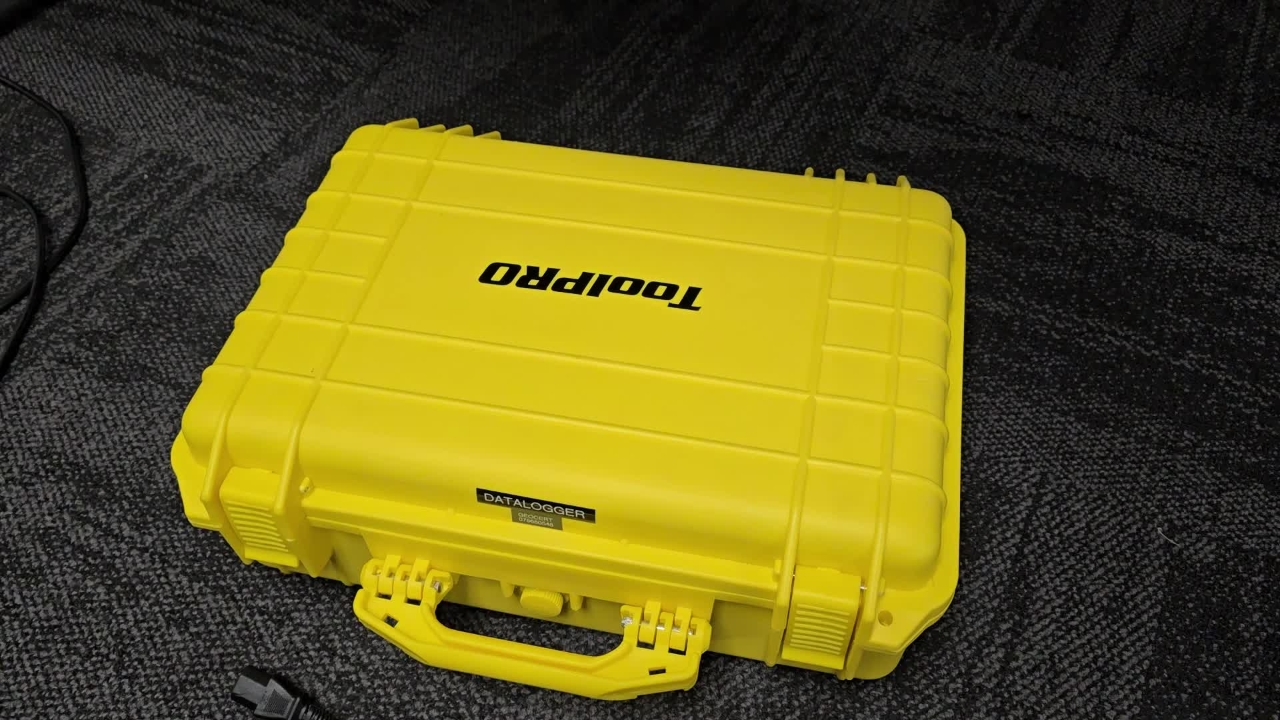
Just a quick introductory training video on how to use the Geocert data logger with the PT100 temperature probe.
Once open, you'll see the extension lead and the PT100 temperature probe on the console.
Take these out.
We're going to plug it in using the provided power cord into the fused power point at the back of the unit.
The data logger key goes in the switch at the top corner of the unit.
Turn clockwise to turn on the unit.
This will show by the green light turning on and the digital displays booting up.
You'll see that it's a 24 volt DC circuit so you'll see the display read between 23.8V and 24.2V.
The temperature probe has a 4 pin plug with a locking collar on it.
The 4 pin plug has a guide channel on it, to show the orientation of the plug in the socket.
Once in, tighten the collar but don't over tighten.
That switches to on. You'll notice channel 6 will live up here.
This recording instrument measures at one second intervals.
Wait for a minute or two for the reading to stabilise.
Undo the collar, and remove the probe plug.
Now we can turn it off using the key. Once out, wait until all of the panels are black.
That shows the system's de-energized. Remove the key and place it in the compartment at the bottom right of the case with the USB.
Once done, you can load the extension lead back in along with the temperature probe.
Note: don't need to zip the probe bag. it will just make it hard to close.
That is how to use the Geocert Datalogger with the PT100 temperature probe.
Any questions please contact Joel Sorensen - 078689909