
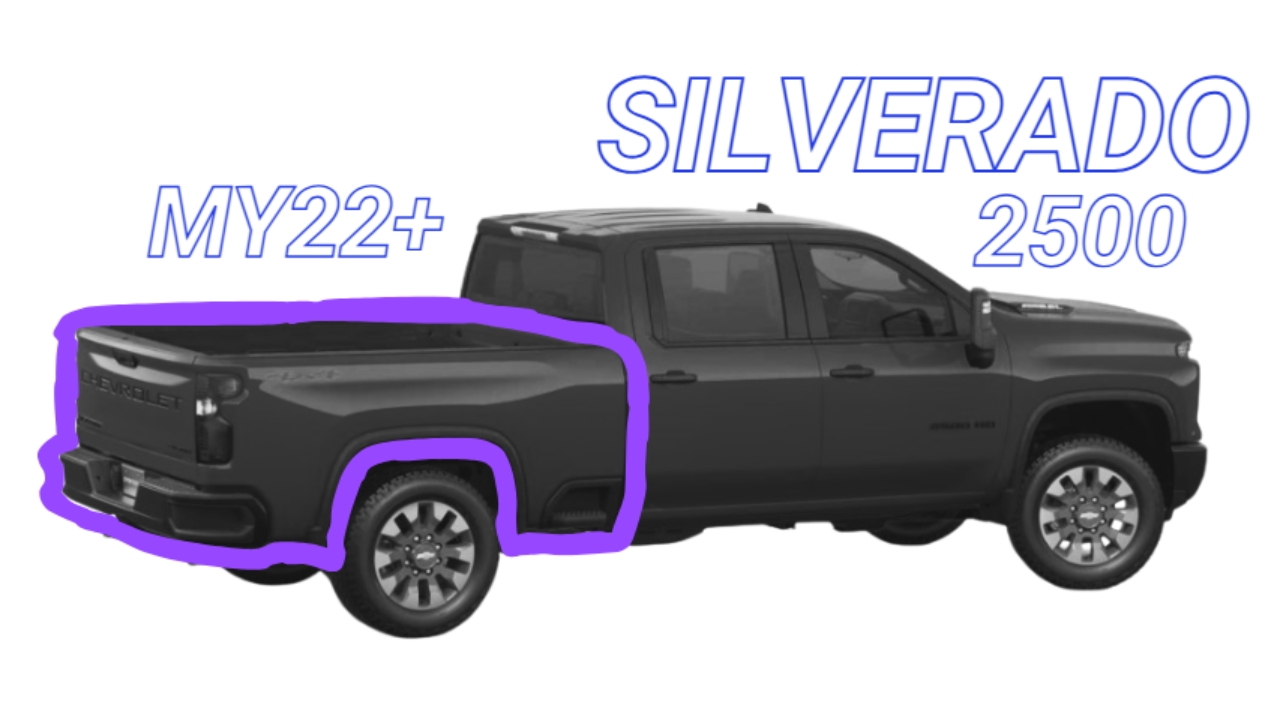

Tools Required
- Sockets (mm): 7, 10, 13, 18, 21
- Spanners (mm): 13, 18
- Torx: T15, T20
- Philips head screwdriver
- M4 Hex Head
- Wire cutters
- Forklift with Tyne Extensions
- 4 x Lifting Slings
Remove fuel caps. Shown above is the 2500 model. The 1500 does not have AdBlue - as it is Petrol.

Push tabs from the back side of the fuel door. This will allow the plastic to pop outward
Now the fuel door assembly will pull out
10mm for fuel bracket
Push button to open tail gate
T15 for tail light inner bolts
Pull Back directly back, and unplug
T15, to remove tailgate screws
T15, drive side little panel
M7 to remove control module in tailgate

Unplug it

Put it somewhere safe - it will be reconnected once tub is removed from vehicle
T20 for the 2 x camera screws
Remove camera

Unpllug the camera

Put the camera somewhere safe it will be reconnected later
All of the tailgate harness should now be loose
Tip! Bundle the harness together with tape, it will make it easier. Push the harness back out of the tailgate.
Front Mounts
- 18mm front mounts. (passenger side is shown here)
Second Mounts - The 1500 does not have these mounts
- 18mm 2nd mount. (passenger side is shown here)

Middle Mounts
- 18mm 3rd mount. limited access due to leaf springs. Use 18mm ratchet spanner if required.

Back Mounts
- 18mm for back mounts
Phillips head to remove Licence plate
4mm hex. Hold with 10mm on back
13mm behind the license plate
Unplug any wiring connected to the rear bumper
Unplug this
13mm bumper brace. repeat for opposite side
18mm and 13mm LED bar. Use a ratchet spanner as there is limited access

18mm this shows the passenger side
Remove bumper
Disconnect all wiring from the tub. It should look like this.

Use lifting straps to lft off Tub
When partially lifted, check to confirm that no Wiring is still attached to the tub
Will look like this when Tub has been removed
Remove bumper supports, 21mm socket

These brackets are not reused. Please put them with the tub.
Remove these white plastic locators pop them

Find the tailgate control module which was unplugged previously
Plug-in the tailgate control module

Put all unused parts and fasteners into the tub