
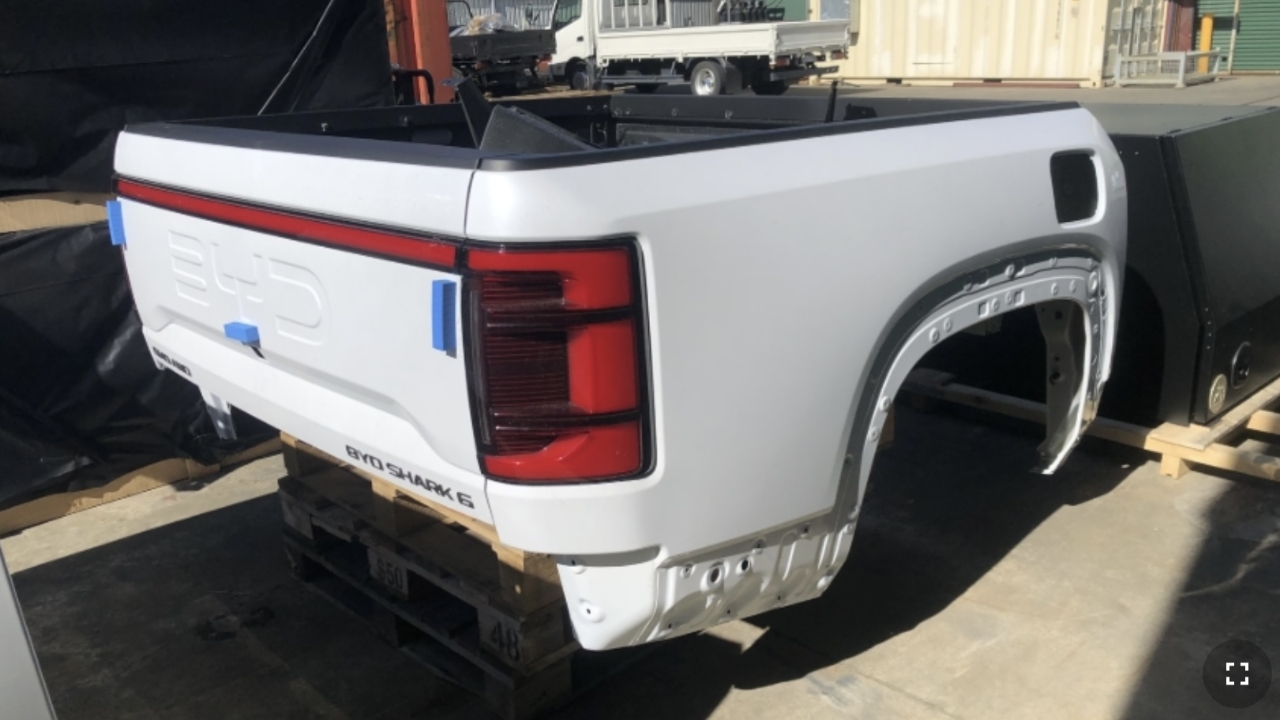

Begin by removing the taillights from the wellside.
Cut the taillight wires as close to the taillight as possible.
You will be needed this plug for the M2 taillights later.
Undo the bolts holding the guard to the wellside.
Pick out the clips at the bottom of the wheel guard
Unplug the rear bumper from behind the bumper.
Cut the cable ties holding the bumper loom and cooling hoses to the wellside.
Remove the bolts holding the plate to the tailgate.
Unplug and cut the cable ties of the reversing camera loom.
Unplug the reverse camera.
Pull the loom out the back of the tailgate and cut the rubber grommet off.
Pull the other rubber grommet out of the end of the wellside bed.
Cut the cable ties holding the bumper loom to the wellside and pull out from the hole that you had just cut the rubber grommet from.
Back the bolts off that hold the bumper to the chassis.
Make sure all plugs and looms that connect the bumper to the wellside have been unplugged.
Undo the bolts and remove bumper.
Your wellside should be looking like this.
Remove the bolts from the inner guard and mud flaps.
Pull the guard trim off the wellside and pull the clips out that hold the inner guard to the wellside.
Keep removing the clips.
Pull the red clip from the wheel guard, remove the red plastic from the cord and pull the cord back out from the inner guard and reinstall the red plastic.
Pull the inner guard from the wellside.
Cut the cable ties holding the fuel filler looms from the wellside and unplug the fuel flap locking plug from behind the fuel filler.
Cut the taillight loom from the wellside as well as the breather.
Unbolt the breather mounts.
Unbolt the carbon filter , fuel pump and fuel filler from the wellside.
Cut the fuel filler cap from the flap. Make sure you cut the plastic clip holding the cap and not the cap itself.
Pull the fuel pump from the wellside.
Pull the fuel filler out from behind.
On this side of the wellside, you should have no looms cable tied, plugged in to the wellside or parts bolted to it.
Remove the flap cover and plunger from the fuel flap.
By pushing the x2 tabs at the bottom of the fuel filler bracket pull the bracket from the wellside.
Unclip the locking plug from the fuel filler bracket.
Remove the stay bracket from the wellside.
Unbolt all the charging parts from the wellside.
Continue unbolting and cutting the cable ties from all charging parts from the wellside.
Continue pulling and unplugging the charging and taillight looms from the wellside.
Unbolt the wellside power outlet earth from the wellside.
Unscrew outlet from the wellside.
The wellside light only needs to be unplugged.
Remove the flap cover from the charging port and the plunger.
Cut the charging caps from the port, once again only making sure you cut the clip and not the actual cap.
Pull the charging ports out while pressing the clips at the bottom and unplug the locking mechanism.
Unbolt the ports from the wellside and set to the side.
This side of your wellside should now have nothing attached.
Undo the bolts holding the wellside to the chassis mount.
Remove the reverse camera from the tailgate
Lift the wellside off making sure that it doesn't damage the cab or get caught on any looms..
Cut any remaining cable ties.
Cut the spring off the emergency charging release.
Your wellside removal is now complete.