Knowby
How to create a production order.
How to create a production order and production tickets.
1
Step 1 of 32
<p>Log into Business Central.</p>

Log into Business Central.

2
Step 2 of 32
<p>Get the sales order and check for the number.</p><p>It should be in the top right-hand corner.</p>

Get the sales order and check for the number.

It should be in the top right-hand corner.

3
Step 3 of 32
<p>Click on Sales &amp; Purchases.</p>

Click on Sales & Purchases.

4
Step 4 of 32
<p>Click on sales orders.</p>

Click on sales orders.

5
Step 5 of 32
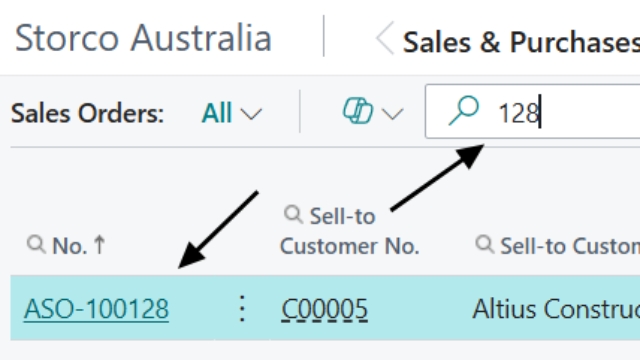
<p>Find your Sales order number.</p>

Find your Sales order number.

6
Step 6 of 32
<p>You can search the number to make it easier, just make sure you select the right one.</p>

You can search the number to make it easier, just make sure you select the right one.

7
Step 7 of 32
<p>You are now in the sales order.</p>

You are now in the sales order.

8
Step 8 of 32
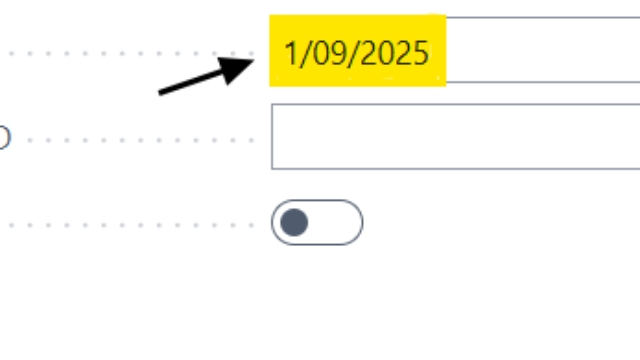
<p>Check the due date, if it doesn't match the sales order, change it</p>

Check the due date, if it doesn't match the sales order, change it

9
Step 9 of 32
10
Step 10 of 32
<p>Click on Actions.</p>

Click on Actions.

11
Step 11 of 32
<p>A drop-down bar should appear.</p><p>Click on Plan.</p>

A drop-down bar should appear.

Click on Plan.

12
Step 12 of 32
<p>Another drop-down bar should appear.</p><p>Click on Create Prod. Order - All Lines</p>

Another drop-down bar should appear.

Click on Create Prod. Order - All Lines

13
Step 13 of 32
<p>If the job is 1 month or more away, leave this as firm planned and follow steps 15, 16, 17, 26 and add it into the month in the green folder, on Billi's desk. But keep in mind WA and NZN jobs get picked up a month before its due date.</p>

If the job is 1 month or more away, leave this as firm planned and follow steps 15, 16, 17, 26 and add it into the month in the green folder, on Billi's desk. But keep in mind WA and NZN jobs get picked up a month before its due date.
14
Step 14 of 32
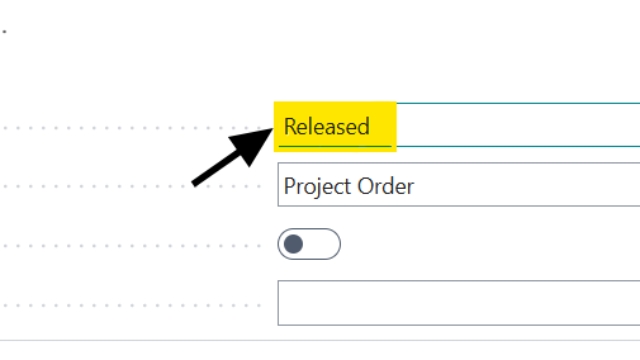
<p>If the job is closer than a month away the change from firm planned to released.</p>

If the job is closer than a month away the change from firm planned to released.

15
Step 15 of 32
<p>Everything should be ticked, except stock items. Keep an eye out for trim angle because you'll have to write it on a ticket later.</p><p>If you get a sales order with only stock items, all you have to do is change the date and give the sales order to the logistics Co-ordinator. </p>

Everything should be ticked, except stock items. Keep an eye out for trim angle because you'll have to write it on a ticket later.

If you get a sales order with only stock items, all you have to do is change the date and give the sales order to the logistics Co-ordinator.

16
Step 16 of 32
<p>Click on Show document to take you to the production order.</p>

Click on Show document to take you to the production order.

17
Step 17 of 32
<p>You are now in the production order.</p>

You are now in the production order.

18
Step 18 of 32
<p>Change the date on the production order before printing the tickets so the production team know when to have the product ready.</p><p>Products will get picked up a day or two before its due date. If the due date is a Monday, it will get picked up on the Friday before.</p><p>For a WA it will get picked up a week before its due date.</p><p>For NZN job, it will get picked up a month before its due date.</p><p>Don't stress to much about the dates as sometimes they get changed.</p>

Change the date on the production order before printing the tickets so the production team know when to have the product ready.

Products will get picked up a day or two before its due date. If the due date is a Monday, it will get picked up on the Friday before.

For a WA it will get picked up a week before its due date.

For NZN job, it will get picked up a month before its due date.

Don't stress to much about the dates as sometimes they get changed.

19
Step 19 of 32
<p>Check to make sure everything came through.</p>

Check to make sure everything came through.

20
Step 20 of 32
<p>Once everything is checked, click print.</p>

Once everything is checked, click print.
21
Step 21 of 32
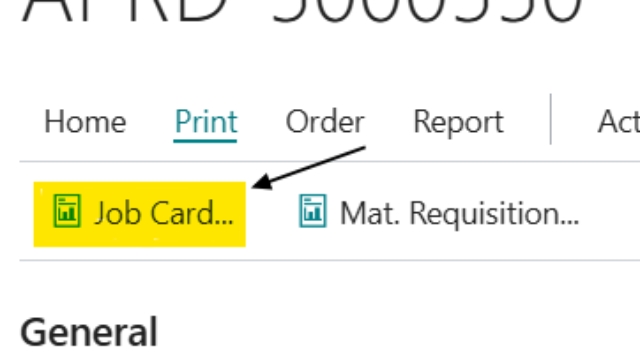
<p>Click job card.</p>

Click job card.

22
Step 22 of 32
<p>Click print.</p>

Click print.

23
Step 23 of 32
<p>Choose a printer, preferably one that's closer to you.</p>

Choose a printer, preferably one that's closer to you.

24
Step 24 of 32
<p>Click print again.</p>

Click print again.

25
Step 25 of 32
<p>Change the date back to the original date.</p>

Change the date back to the original date.
26
Step 26 of 32
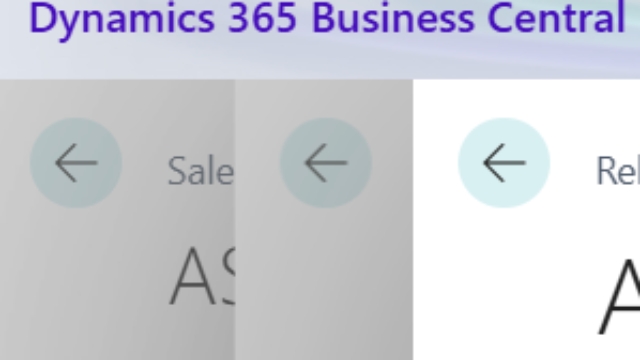
<p>Click the back arrows to back out of the production order and sales order back to the start to either find another sales order or close out of B.C.</p>

Click the back arrows to back out of the production order and sales order back to the start to either find another sales order or close out of B.C.

27
Step 27 of 32

Pick up your printed production tickets and with the perferator, cut across the dotted line on all of the tickets, except for roller doors, that comes with its own little ticket.

28
Step 28 of 32

Fold your tickets and sort them into piles, such as, white channel, zinc channel, notched channel e.t.c.

29
Step 29 of 32
<p>Remember to write the amount of trim angle needed on a 6m tophat or zinc channel ticket to the tophat or channel person can pack it with their product. </p>

Remember to write the amount of trim angle needed on a 6m tophat or zinc channel ticket to the tophat or channel person can pack it with their product.

30
Step 30 of 32
<p>Mark the zinc channel ticket with highlighter.</p>

Mark the zinc channel ticket with highlighter.

31
Step 31 of 32
<p>Bundle up your tickets and ask P.T if he wants them on the board or left on the desk.</p>

Bundle up your tickets and ask P.T if he wants them on the board or left on the desk.

32
Step 32 of 32

After all the sales orders are turned into production orders, put them on the logistics co-ordinators desk.