
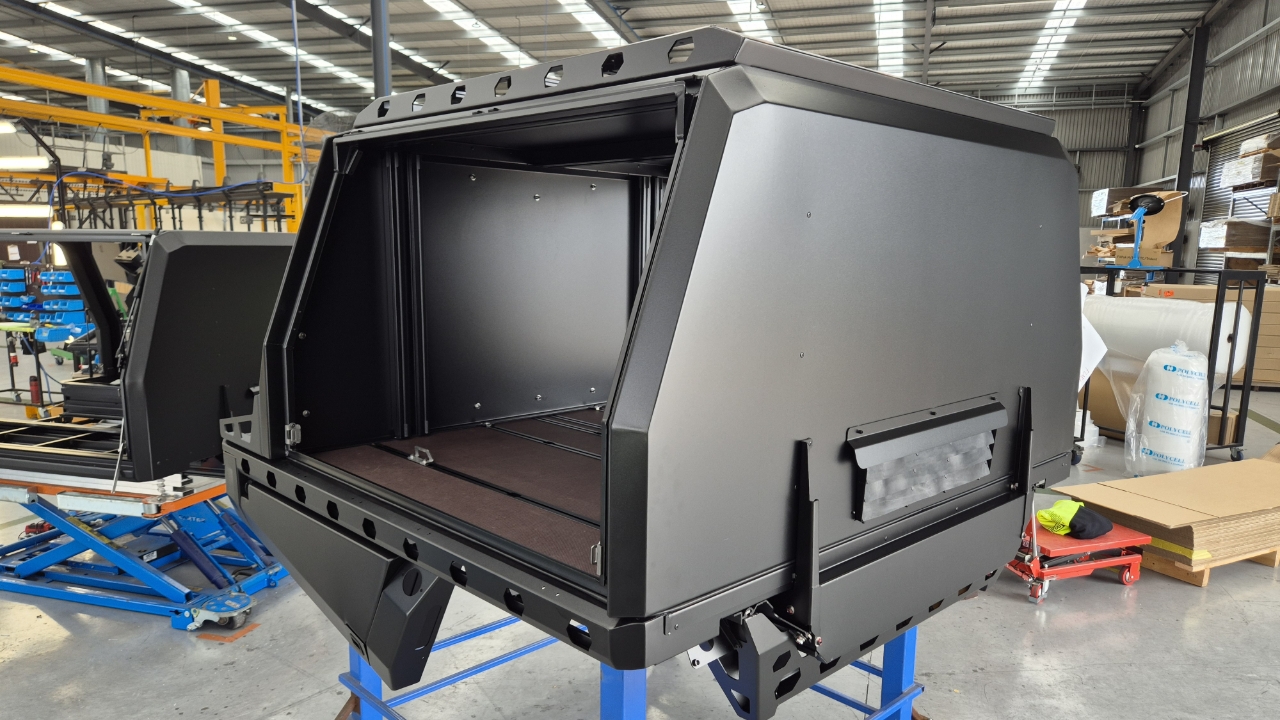

Install the T-Gasket to the front corners up against the front wall and at the back of the T-Track below where the canopy will sit.
At the front, ensure these are sitting vertical, against the front of the tray with the gasket sticking out the top.
For extra weatherproofing, add sealer around these gaskets.
Install the 4 crush tubes into the tray where the corners of the canopy or toolbox will be.

CQC: Seal inside the rear outer corners (where the foam steps down from the tray to the plywood) using SMP60.

Using the groove in the ply as a guide, run the D-Seal around where the canopy or toolbox will go.

Insert 4 threadplated even down each side of the tray and 2 at the end of the second track from center.
(refer to Image)

Install the 2 front wall gaskets onto the ply

Lift the canopy or toolboxes onto the tray
Secure the 4 corners of the canopy using:
Black M8x40 button head bolt
Canopy
Crush Tube
Deck
SS M8 Nyloc Nut
Locate the thread plates under the securing points then secure all remaining fixing points (up to 12) with:
If the canopy has rear support brackets, secure these to the canopy using
M8x16 Black Button Head
Spring Washer
Medium Washer
Support Bracket
Foam / Rubber Gasket
Canopy
Clinch Nuts (built into canopy)
Install 2 rubber gaskets around rivet holes on the front wall of the canopy.
(Canopy Only)
Install the front brace brackets in the following sequence:
Front middle bolt: M8x16 Btn Head with Spring and medium washer.
Front top rivet, 4.9mm Black
Front bottom bolt: M8x20 Btn Head Black, with spring and medium washer.
Underneath Front: M8x16 btn head, with spring and medium washer.
Underneath Rear: M8x16 btn head bolt with spring and medium washer.
CQC: Mark all bolts with chassis marker pen once secured.
Seal this gap in the front corners using Black SMP60 Sealer.
Spray your finger with soapy water and press sealer into the gap and smoothen off.