
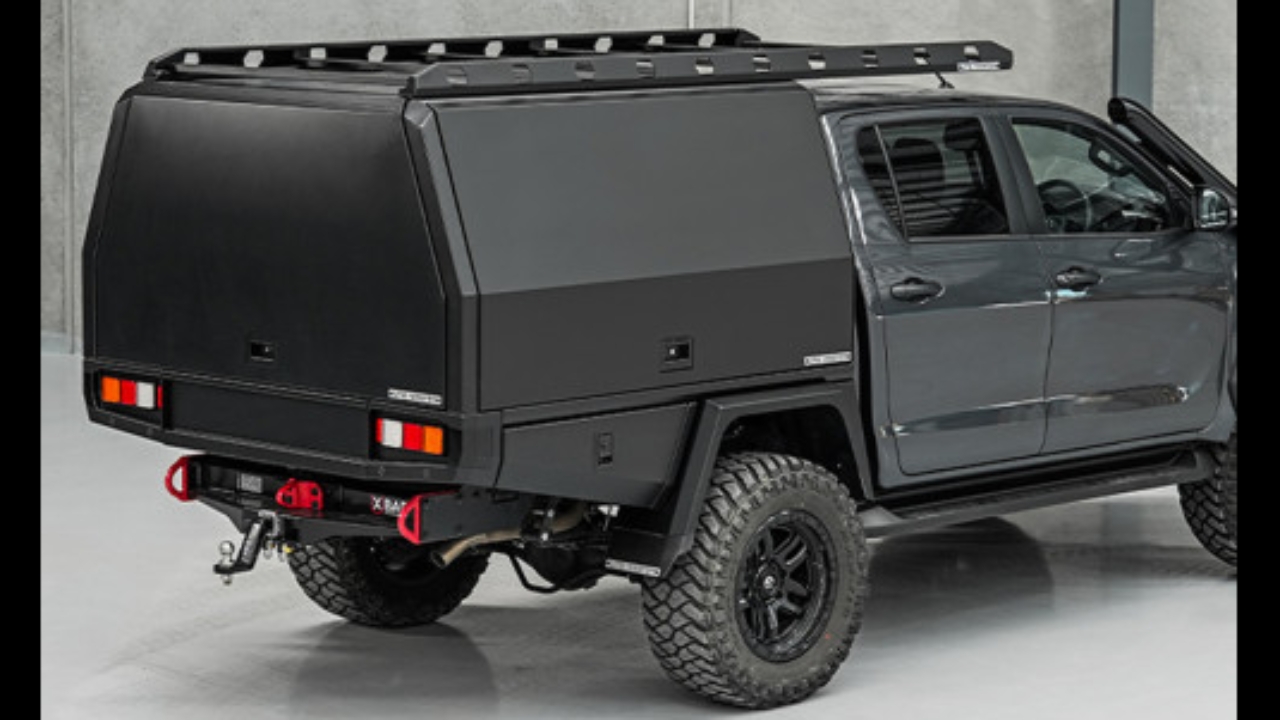

Should a suspect leak be identified for a Trailcore Body, the following points need to be inspected and verified for leakage:
Body Roof seals x 4, Extrusion Welds, Rivets
Front wall Rivets & Air Vent
Handle corners/welds are in place
Rear-door seal is secure and intact
Inspecting Roof Seals
Check all sealed roof joins for pin holes, cracking or joint separation
Remove or reseal as needed
Inspecting Roof Welds
Check roof extrusion welds for any cracks, pin holes or ingress points
Apply sealant as needed

Example of aged seal showing hairline cracking - remove and reseal

If a small section of the seal is damaged, mask around just the damaged section and apply black sealer to the damaged area.
(Standard spec used by Utemaster is black Sabre Bond SMP60B)
Leave the seal for 24 hours to fully dry before water testing.
Note: Water can travel along the join before emerging at a different location.
Remove any roof-mounted accessories, such as a cantilever rack or roof platform.
Remove the existing sealant from the roof join. Use a craft knife if required and clean away any remaining sealant - recommend using wax and grease remover to assist
Apply masking tape along both sides of the roof join, leaving a 10 mm gap between the tape.

Apply surface activator or plastic primer to ensure silicone will adhere to the groove detail
Caution when applying as discolouration of powdercoated surfaces will occur if touched with solution
Utemaster supplied 3M Sachet Surface Activator
Apply a continuous bead of sealant along the groove.
Using a rubber or plastic applicator, press the sealant firmly into the groove to ensure full coverage.
Remove the masking tape by pulling it away from the sealed join while the sealant is still wet.
Inspect joins for any pin holes or bubbles.
Allow the sealant to cure for 4 hours before performing a water test.
Once the repair has passed the water test, reinstall the roof-mounted accessories.
It is recommended to leave the seal to dry for 12 - 24 hours before re-installing roof accessories to prevent these from damaging the seal.
After any roof mounted accessories are re-fitted, water test again to ensure these have not caused a leak