
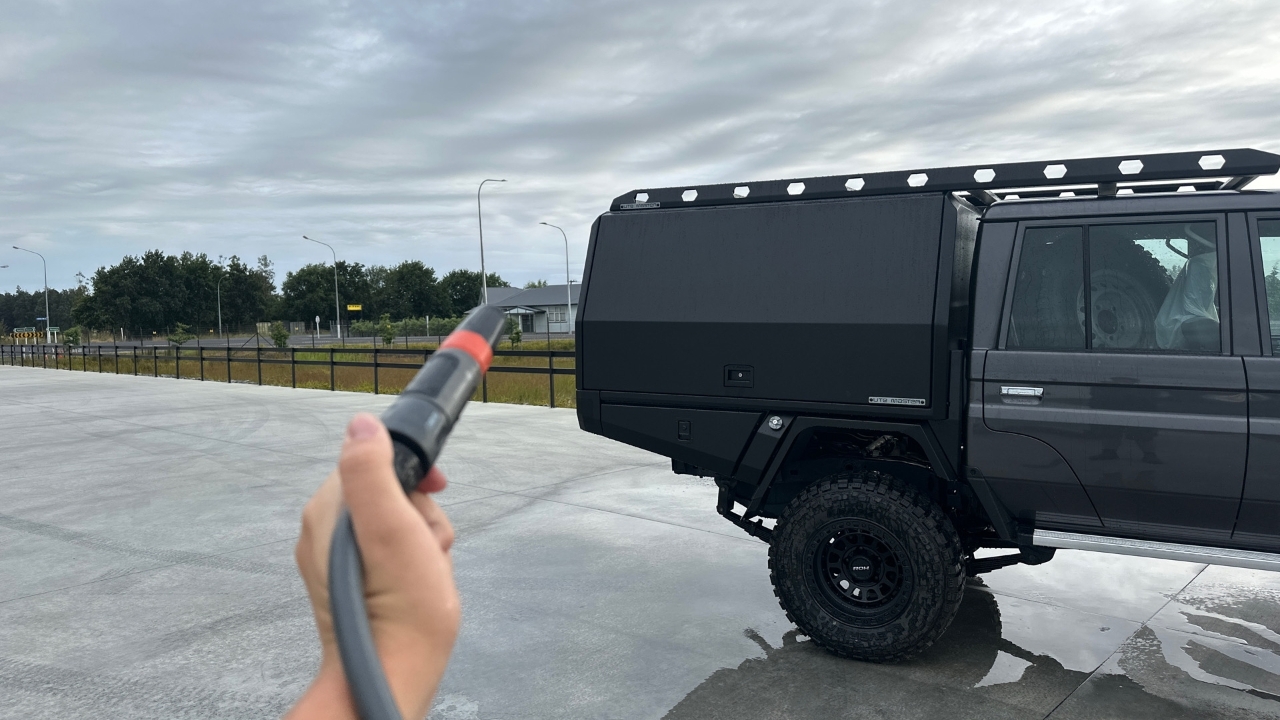

Drive vehicle under water test tower

Turn on submersible pump

Connect water hose to ballcock

Let water run for 3 minutes ensuring all areas of the body/tray are wet

Spray water over the whole body for 2 minutes making sure the full body is wet
Spray all door seals, joins, handle housings, electrical accessories and hinges for 30 seconds
Repeat on all sides with a door
Spray directly along each roof join for 30 seconds
For Despatch
Spray all front wall rivets, any bolts and front air vent for 30 seconds
Canopies/toolboxes ensure front bulb seal and front corners are sprayed directly
For onsite fittings
Spray between cab and body, all front wall rivets, any bolts and front air vent for 30 seconds
Canopies/toolboxes ensure front bulb seal and front corners are sprayed directly
Spray rear of toolboxes, canopies rivets and main bulb seal points, spray all rear mounted panels for 30 seconds
IF Tray with UB Drawer - Spray directly underneath chassis rails on both sides for 30 seconds
Trays - spray through inner hex position to ensure inner frame leaks are identified into UB drawer
Trays - Verify any tie down points on deck are not pooling water
Let sit for 3 minutes prior to moving vehicle or opening doors/drawers etc

Open doors slowly - Inspect all interior for any water entry, pay close attention to any drips internally and note location for rework, inspect all front and rear walls

Make sure to check if there’s water in each of the corners if so rectify and water test again

In this instance, the point of ingress needs to be identified and fixed.
If water is dripping in this area, this usually indicates a faulty roof join seal.
Open rear drawer slowly - Check rear drawer for any water ingress within the drawer or down the sides of the extrusion rails
Retest any rework that was completed to ensure leak proof