
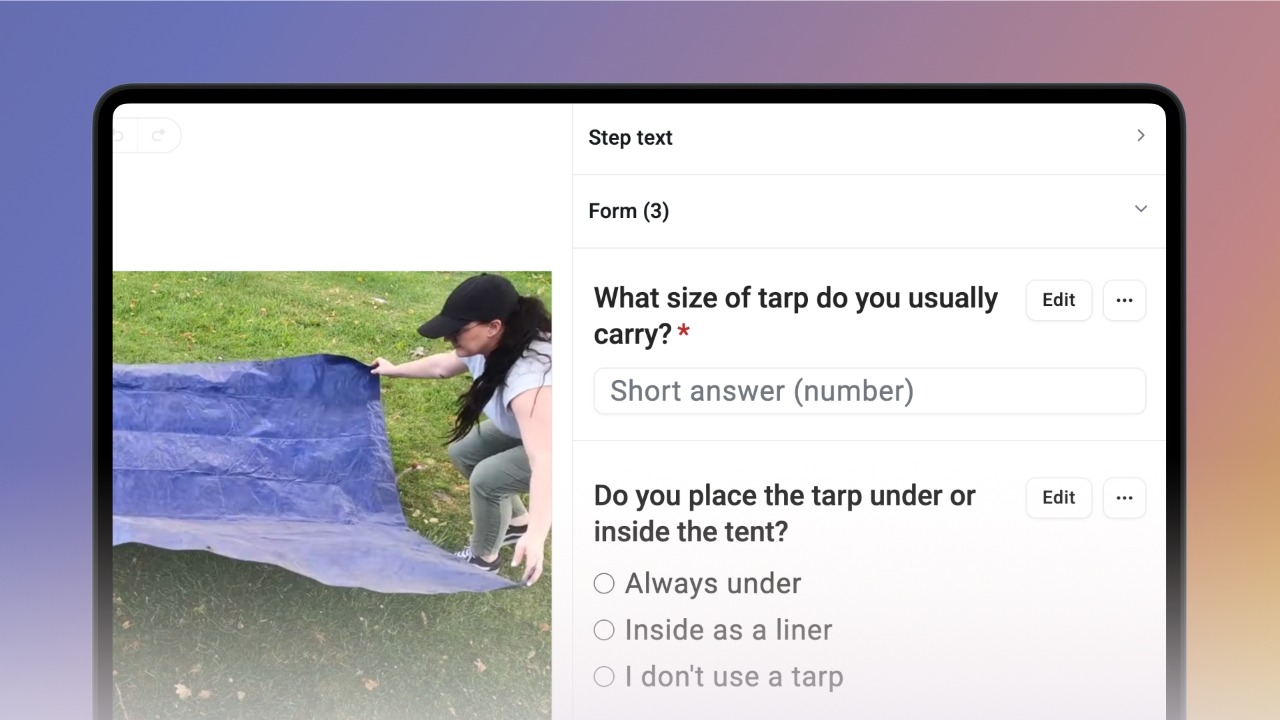
Form fields let you collect feedback, answers, confirmations, or images right in the context of your instructions.
To add one, go to the Create/Edit screen, switch to the Steps tab, and open the Form panel on the right — this collapsible panel is where you build and preview all your form fields.

You can add these field types:
Short answer — a short text or number response, with optional validation
Long answer — for open-ended responses
Checkbox — a single agreement-style statement (e.g. "I agree to…")
Single choice — pick one answer from several options
Multiple choice — pick more than one answer
Dropdown — a compact list to choose one option from
Image upload — lets users attach photos
Start by entering a Label — this is your question or statement.
If the field type needs options (single/multiple choice, dropdown), add them below the label.
Once it's ready, click Save to add the field to the step.
For fields with multiple options, you can reorder or delete them at any time.
You can also tick Values for integrations under the label — handy if you need to sync this field with other systems.
Every saved field appears as a preview in the Form panel.
You can click through them to see how users will interact with the form — this is just for testing, though, since nothing is recorded yet while the knowby's in Draft.
To edit a field, click Edit next to its label.
For more options — duplicating, reordering, or deleting — click the three-dot menu next to Edit.
While your knowby is still a Draft, you're the only one who can see and test the forms — no answers get saved yet.
To start collecting real responses, you'll need to publish it.
💡 Not sure how?
See the Approve and publish a knowby guide →
Once published, your forms appear directly below the step, right after the media and step text — if a step has more than one form, viewers can scroll to see them all.
As users fill in each field, their answer saves automatically, with nothing to click or submit.
💡 If someone leaves the knowby before finishing a step with a required form, or with an answer still in progress, Knowby will ask them next time whether to continue where they left off or start over.
When you translate a knowby — automatically or manually — your form labels and options are translated along with everything else.
Even though each answer saves automatically, the knowby still needs to be marked Complete for your responses to count as a full completion.
Go through each step and make sure all required form fields are filled in, then click Complete on the final step and confirm by clicking Mark as complete.
You can view knowby completions from Reporting — either jumping straight to one knowby, or browsing the full dashboard.
📱 Reporting is only available to Admins, on desktop devices.
To see a specific knowby's responses, open the Completions menu — either from the three-dot menu on a knowby card, or from Knowby Details — then click the button next to the record you want. This opens the knowby in a read-only view, showing every answer that was filled in.
Completions are only visible to the knowby's owner (editor) or an Admin.
You can also browse completions for any knowby on your own. Open Settings, go to Reports, and click Open reports to reach the dashboard.
Select Knowby in the left-hand menu, then Completions, and choose the knowby you want from the dropdown list.